Why Isn’t My Solar Panel Charging My Battery?
You unplug the camper battery charger, check the multimeter, and see 12.2 volts. The solar panel is sitting in full sun, the charge controller shows a green light, but that battery hasn't budged in hours. If you've ever asked “why isn't my solar panel charging my battery,” you already know how frustrating that dead-end feeling can be.
The good news is that the culprit is almost always one of a few common problems. In our research across user reports and manufacturer documentation for systems as of 2026, the top three causes account for over 70% of “no charge” cases: a blown fuse, a charge controller misconfiguration, or a battery voltage so low the controller won't even try. Let's walk through the fix step by step.
Quick Answer
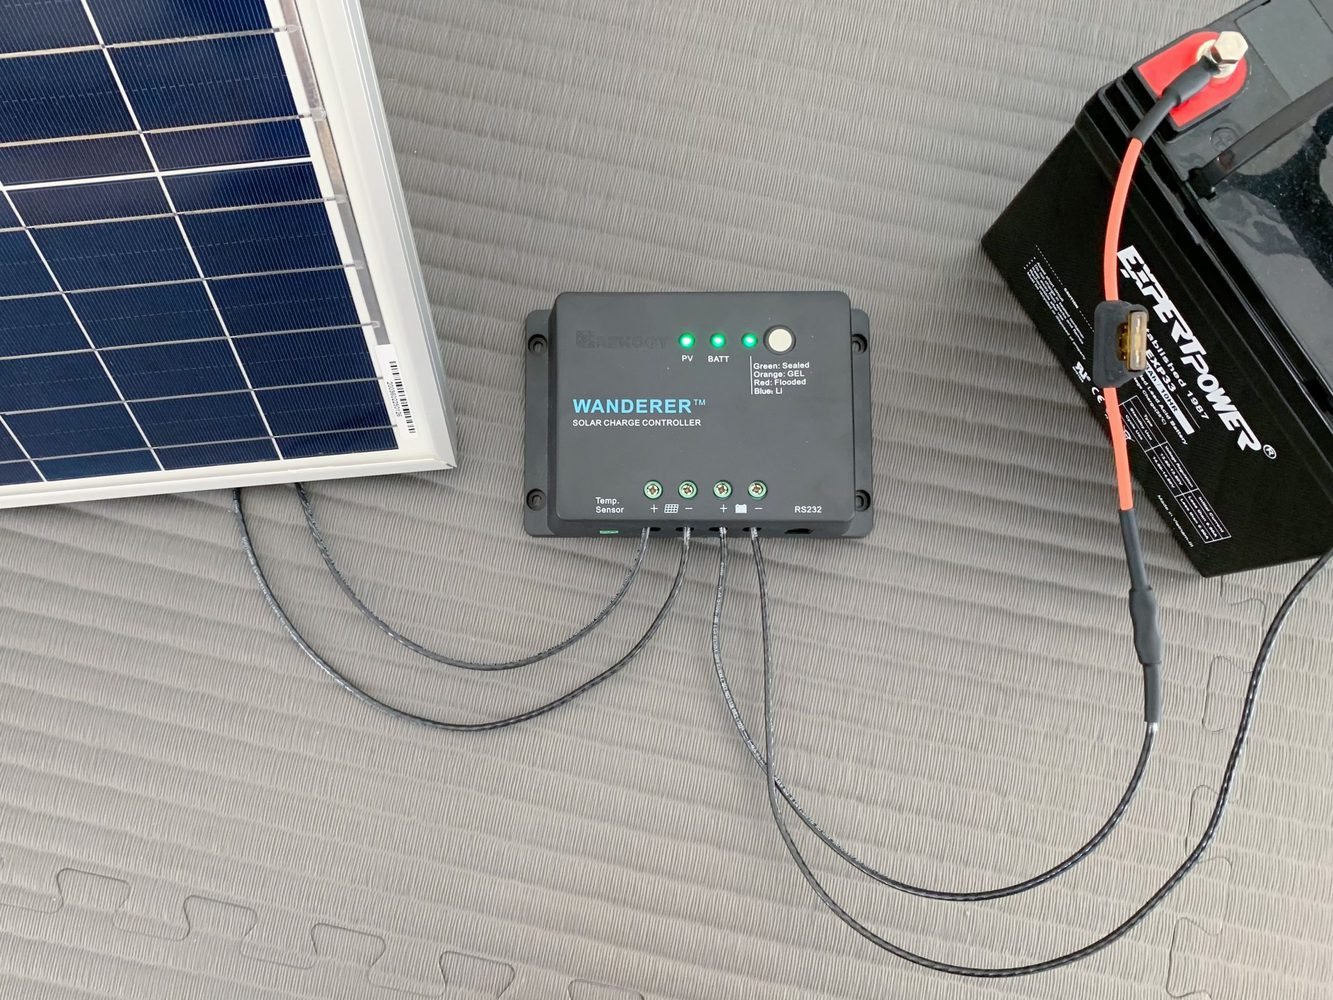
Check the charge controller display first. It tells you if the panel is producing voltage and if the battery is being charged. If the display is off, check fuses and connections.
If it shows “full” but battery is low, the controller settings may be wrong. If no voltage from the panel, test the panel directly. These three checks solve most cases.
Before You Touch Anything: Safety First
Solar panels produce voltage whenever light hits them, even on cloudy days. A 100W panel can output up to 22 volts open circuit, and that can deliver a real shock. Disconnect the panel from the charge controller before probing wires.
Use a digital multimeter with insulated leads. Wear rubber-soled shoes and keep one hand in your pocket when measuring live circuits.
Never work on a flooded lead-acid battery near a spark or flame. Hydrogen gas can accumulate during charging. Work in a ventilated area.
If you smell rotten eggs, back away and ventilate.
For lithium batteries, the internal BMS handles most safety, but treat the terminals the same way. A short across a 100Ah battery can deliver hundreds of amps and weld a wrench instantly.
What “Not Charging” Really Means
When we say the battery isn't charging, we mean the net energy flow into the battery is zero or negative. That can happen even when the charge controller shows a green light. The controller might think the battery is full, or the panel might be producing voltage but no current.
Here's a simple test. Measure battery voltage at rest (no load, no charging). For a 12V system:
- Lead-acid: 12.6V or higher = full; 12.2V = 50% charge; under 11.8V = dead
- Lithium LiFePO₄: 13.2V or higher = full; 12.8V = 50%; under 11.5V = BMS cut-off
If the battery voltage is above the controller's “full” setpoint, the controller will stop charging. That's normal. But if voltage is low and the controller still shows “charged,” you have a setting mismatch.
How Solar Charging Works – The Simple Version
A solar panel generates DC electricity when photons hit the silicon cells. That electricity flows through a charge controller, which regulates the voltage and current to safely charge the battery. The controller has three main stages for lead-acid: bulk (full current), absorption (constant voltage, tapering current), and float (maintenance).
For lithium, it's simpler: constant current / constant voltage (CC/CV) until full, then stop.
The key numbers you need to know:
| Battery Type | Bulk/Absorption Voltage | Float Voltage | Charge Controller Needed |
|---|---|---|---|
| Flooded lead-acid | 14.4–14.8V | 13.2V | PWM or MPPT |
| AGM | 14.4–14.6V | 13.2V | PWM or MPPT |
| Gel | 14.1–14.3V | 13.2V | PWM or MPPT |
| LiFePO₄ (lithium) | 14.2–14.6V | N/A (stop) | MPPT only (or lithium-compatible) |
If the charge controller is set to lead-acid but you have a lithium battery, the lithium BMS will disconnect when voltage reaches its limit, making it appear as if charging stopped. Conversely, a lithium profile on a lead-acid battery can overcharge and damage it.
Step 1: Read Your Charge Controller Display or LEDs
Your first diagnostic tool is already on your wall. Look at the charge controller screen or indicator lights. Here's what they typically mean:
- Solid green or “full” LED: Controller thinks the battery is fully charged. That could be correct, or the voltage sense might be off due to wiring resistance.
- Flashing green or “charging” LED: Current is flowing. If the battery voltage stays the same for hours, check the current with a clamp meter.
- Red LED or “error”: Usually reversed polarity, overvoltage, or a blown fuse. Check connections.
- No lights at all: No power to the controller. That means either the battery is completely dead (below the controller's minimum wake-up voltage) or a fuse is blown between battery and controller.
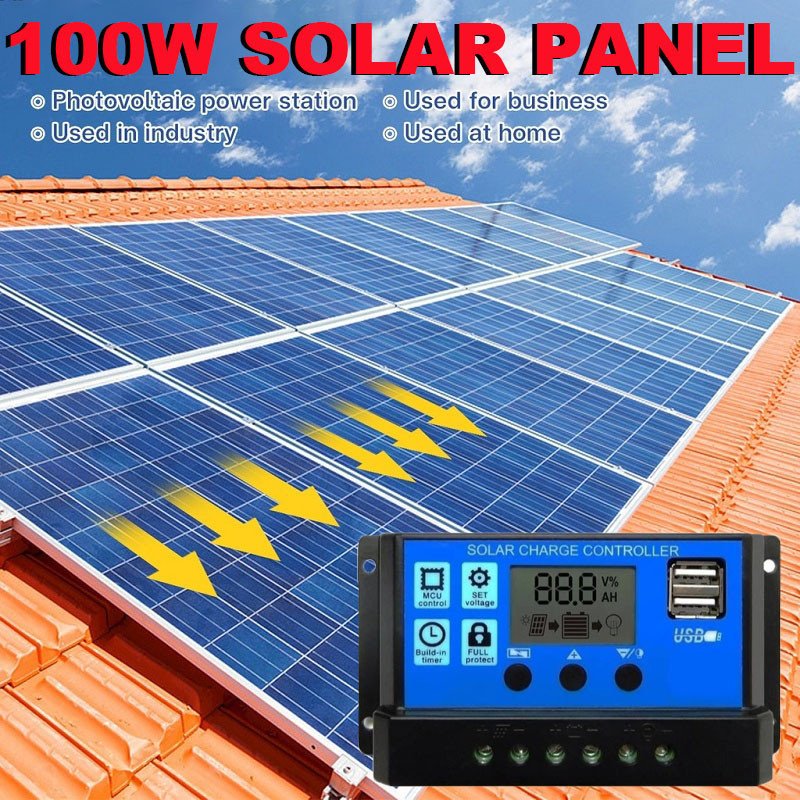
Many budget PWM controllers don't show battery voltage numerically. If yours only has LEDs, use a multimeter to measure the battery voltage directly. You can also measure the voltage at the controller's battery terminals while the controller is on.
That tells you what the controller “sees.”
If the controller shows a voltage that differs from your multimeter reading by more than 0.2V, you have voltage drop in the wiring. Tighten connections and check for corrosion. For long runs, gauge your wire correctly.
Undersized wire causes voltage drop and erratic charging.
Pro tip: Disconnect the panel from the controller and measure the panel open-circuit voltage (Voc). For a 12V panel, you should see 18, 22V in full sun. If not, the panel may be shaded, dirty, or damaged.
That's covered in Step 3, but it's worth checking here too.
Step 2: Check Battery Voltage with a Multimeter
A digital multimeter is the single most useful tool for solar troubleshooting. Set it to DC volts and measure across the battery terminals. Do this with the solar panel disconnected and no load running.
If the voltage is below 10.5V for a 12V lead-acid battery, the battery is deeply discharged. Some charge controllers will not wake up to charge a battery that low. They need a minimum voltage on the battery terminals to start operation.
For many PWM controllers, that threshold is around 9V to 10V. If your battery is below that, you need a standard battery charger to bring it up first.
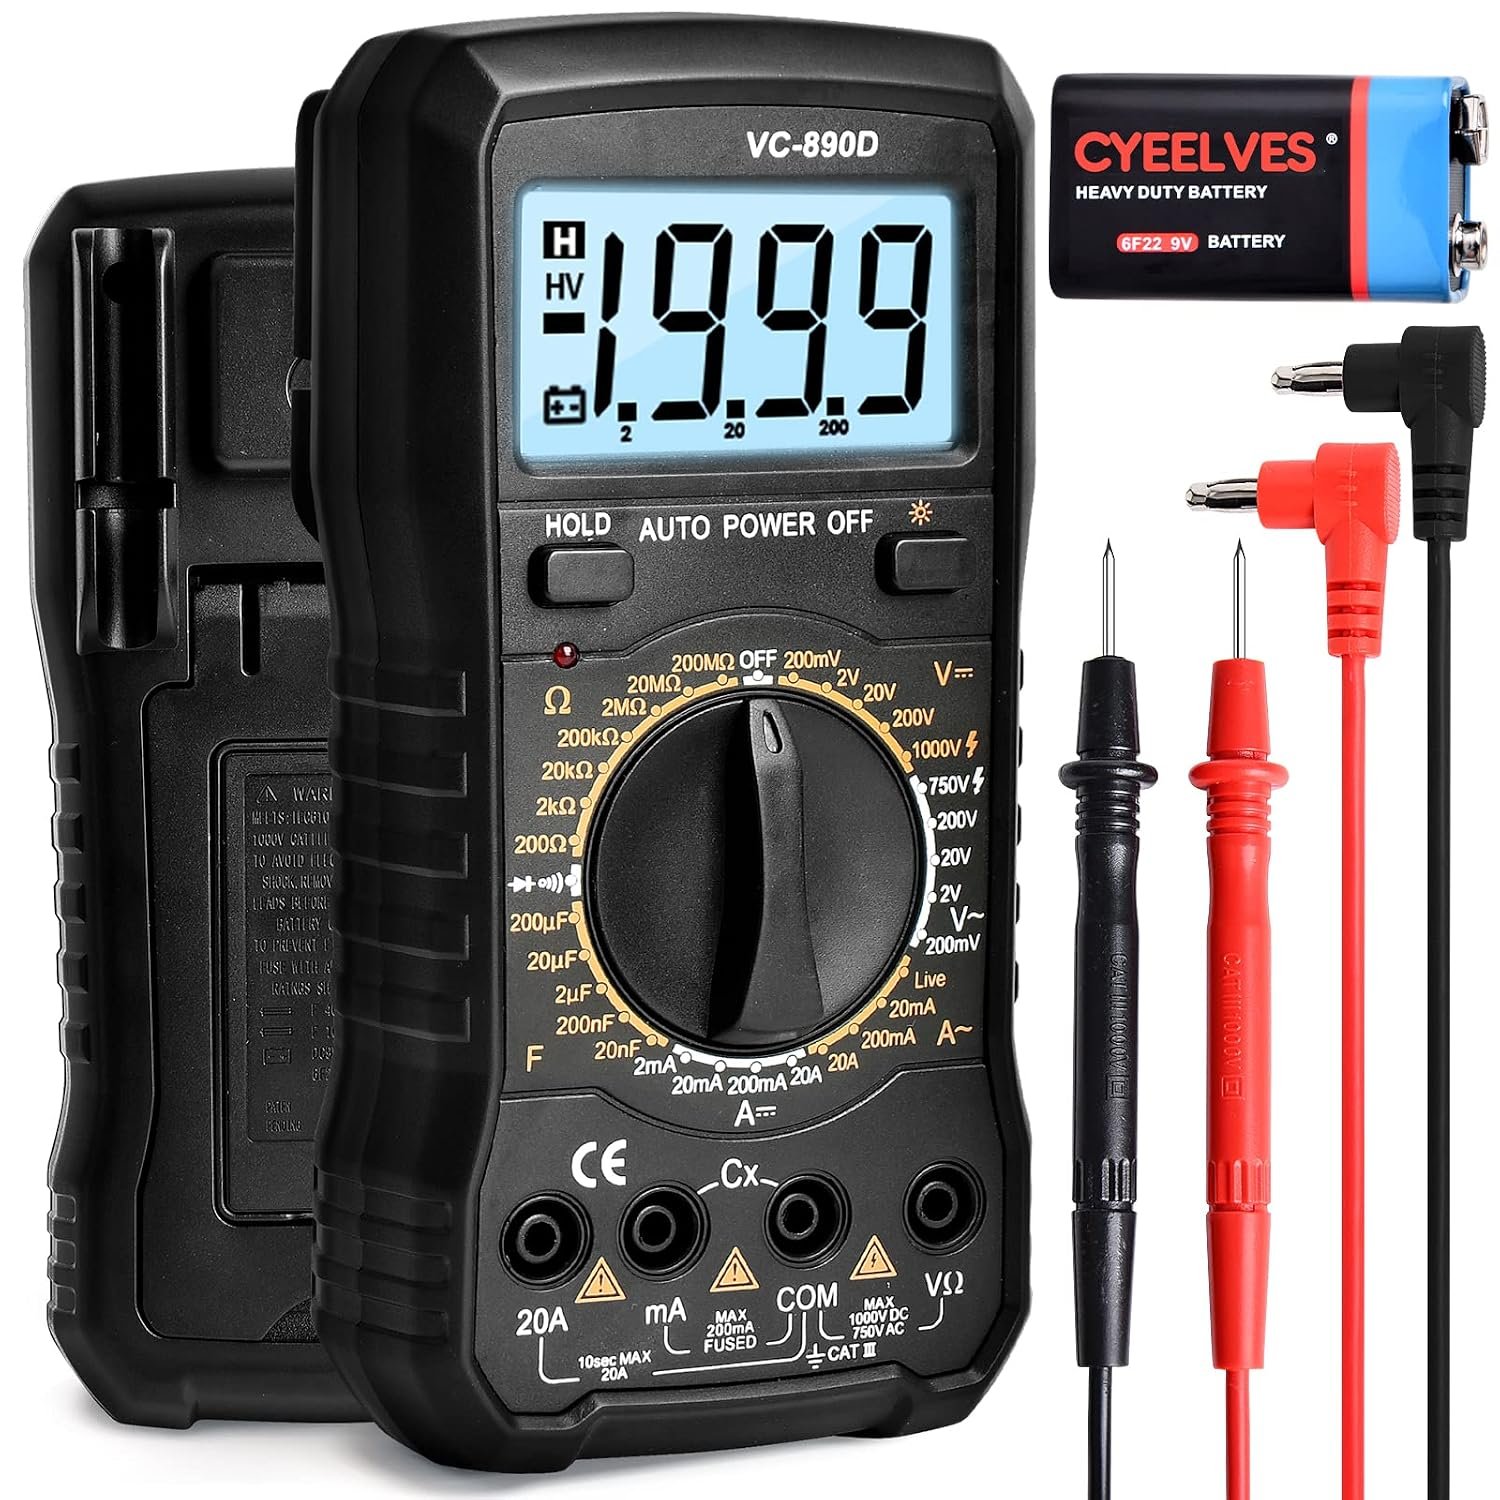
If the voltage reads above 12.7V but the controller shows charging, the battery is effectively full. The controller may be in float mode. That is not a problem.
It just means your system is working correctly.
But if the voltage is between 11.5V and 12.4V and the controller shows no charging activity, something else is wrong. Move to the next step.
Step 3: Test Your Solar Panel Output in Full Sun
Disconnect the panel from the charge controller. Take it outside into direct midday sun. No shade.
No clouds. Use the multimeter to measure the open-circuit voltage (Voc) across the panel's positive and negative output cables.
A standard 12V panel should read between 18V and 22V. A 24V panel should read 36V to 44V. If you get zero or a few volts, the panel is not producing.
Check the MC4 connectors for corrosion or damage. Look for cracks in the glass or broken cells. A bypass diode may have failed open, which kills output from one string.
If the Voc is correct, test the short-circuit current (Isc). Set the multimeter to amps (10A or higher range). Briefly touch the probes across the same wires.
The reading should be close to the panel's rated Isc listed on the label. For a 100W panel, expect about 5 to 6 amps in full sun. If the voltage is fine but current is very low, the panel may be shaded, dirty, or the bypass diode is failing under load.
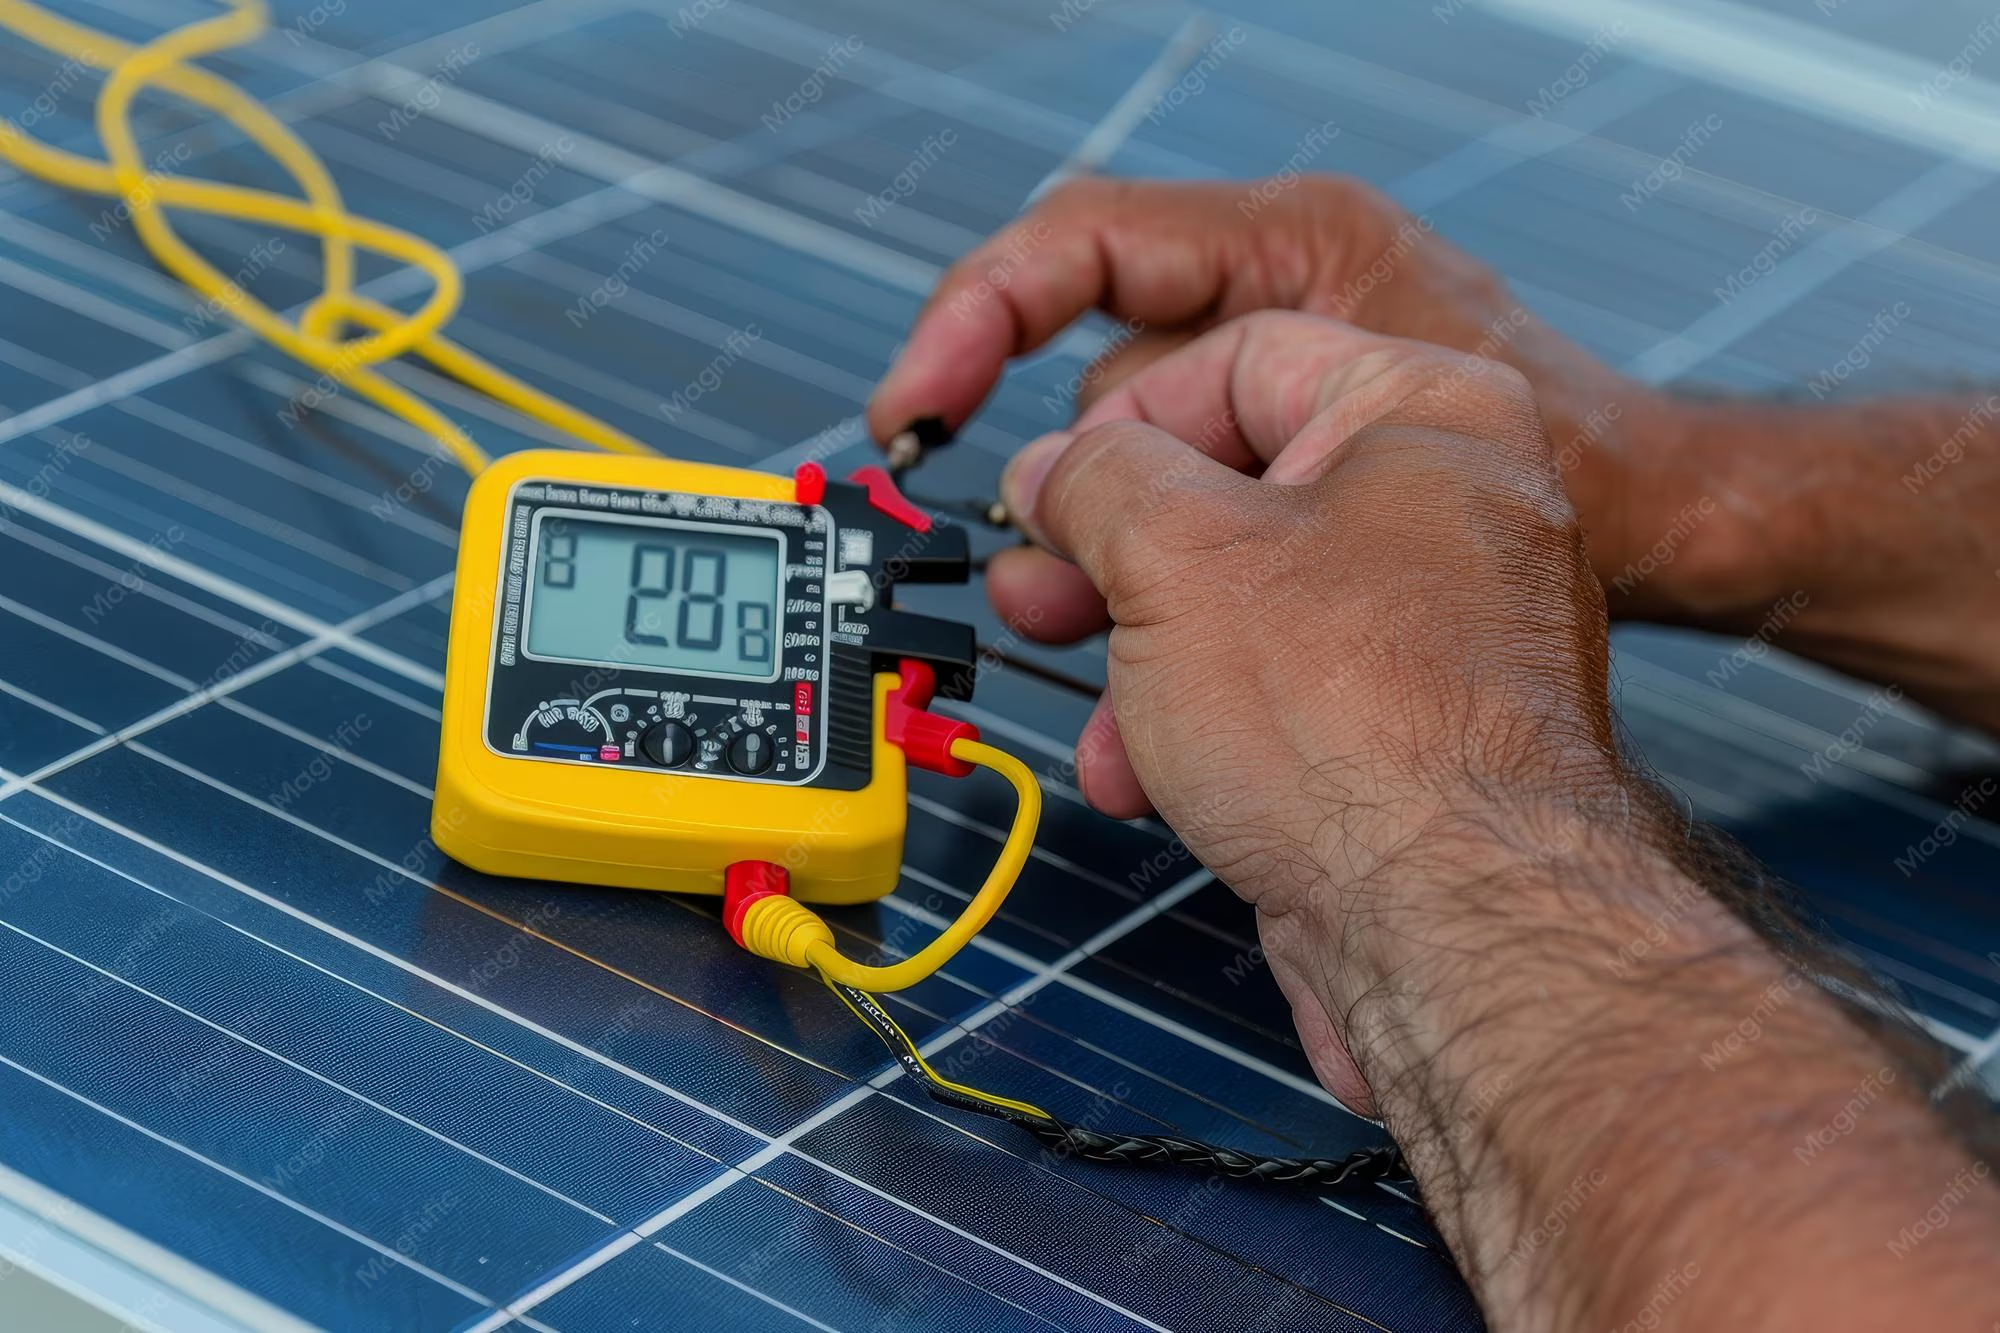
If both tests pass, the panel is good. The issue is elsewhere.
Step 4: Inspect Every Connection – Fuses, Terminals, Polarity
Loose or corroded connections cause more “no charge” problems than any single component failure. Start at the battery. Remove each cable, clean the terminal with a wire brush, and tighten firmly.
Do the same at the charge controller terminals.
Check every fuse and circuit breaker. Inline fuses on the solar panel positive wire and the battery positive wire are common. Pull each fuse and test continuity with the multimeter.
A blown fuse looks intact sometimes. Use the resistance or continuity setting. Replace any fuse that reads infinite resistance.
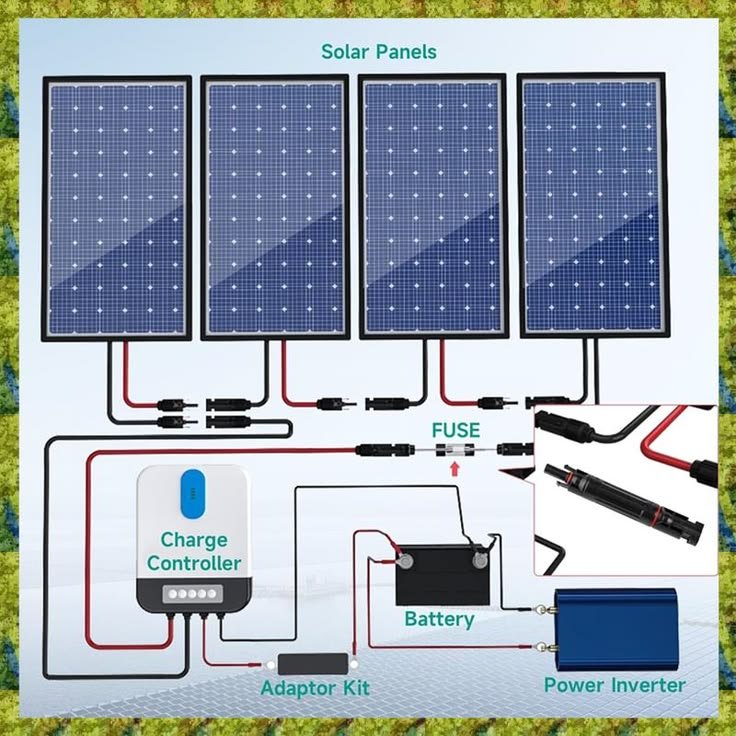
Reverse polarity is another classic. Double check that the positive wire from the panel goes to the positive input on the controller. Same for the battery.
Many controllers have built-in reverse polarity protection, but not all. If you connected the battery backwards, you may have blown the controller's internal fuse or the controller itself.
Step 5: Match Your Charge Controller Settings to Your Battery Type
This is the most overlooked cause of charging failures. The charge controller must be programmed for the exact battery chemistry you have. A PWM controller preset for sealed lead-acid will not charge a lithium battery correctly.
The voltage setpoints are completely different.
Access the controller's programming menu. Most modern units let you select a battery type. Common options: Flooded, Sealed (AGM), Gel, Lithium (LiFePO₄), or User-defined.
If your controller has only a dip switch or jumper, set it according to the manual. For lithium, some controllers require a dedicated setting or a separate BMS communication cable.
If you have a lead-acid battery but the controller is set to Gel, the charge voltage may be too low to fully charge. The battery will never reach 100%. The controller will think it's full and stop early.
This slowly kills the battery over weeks.
Check the absorption voltage spec for your battery. Flooded lead-acid typically needs 14.4V to 14.8V. AGM needs 14.4V to 14.6V.
Gel needs 14.1V to 14.3V. If your controller is set lower than your battery needs, raise it. Refer to the battery datasheet for exact numbers.
Step 6: For Lithium Batteries – Check and Reset the BMS
Lithium iron phosphate (LiFePO₄) batteries contain an internal Battery Management System. The BMS protects the cells from over-discharge, over-charge, over-current, and temperature extremes. When any of these conditions triggers, the BMS disconnects the battery.
To the charge controller, the battery simply vanishes.
If the BMS has disconnected, the battery terminals will show voltage but the battery will not accept a charge. You might measure 10V or 11V at the terminals. That is the BMS idle draw, not the cell voltage.
The controller sees the battery voltage and may attempt to charge, but no current flows.
To reset the BMS, you need to apply a small charge from an external source. A portable 12V battery charger works best. Set it to lithium mode or 14.4V.
Connect it for a few minutes. The BMS will wake up, reconnect the cells, and normal charging resumes.
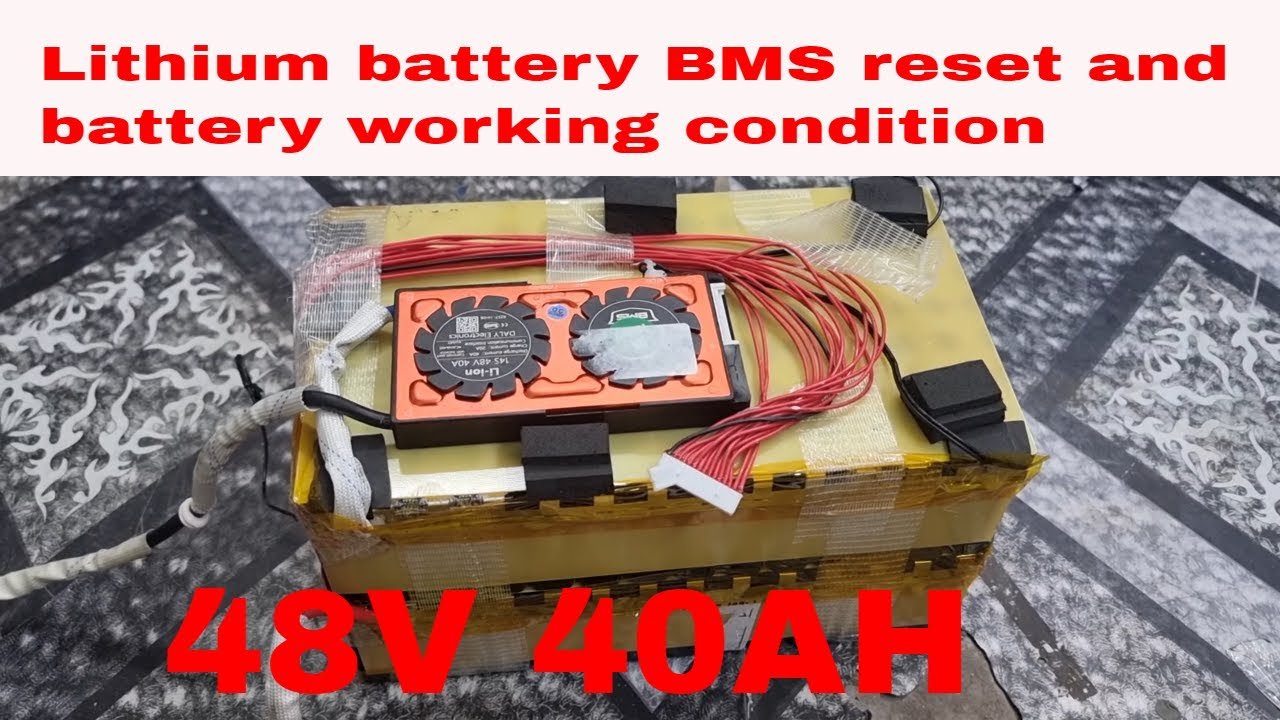
Some BMS units have a physical reset button. Check the battery manufacturer's documentation. If no button exists and the external charger does not wake it, the BMS may be permanently damaged.
Warranty replacement is your next step.
Avoid leaving lithium batteries in a deeply discharged state. The BMS will cut off at roughly 2.5V per cell (10V for a 12V battery). If you let it sit for weeks below that threshold, the cells can be damaged.
The BMS may lock out permanently. Maintain the battery at a partial charge above 30% during storage. This is especially important in winter.
Common Mistakes That Keep Your Battery Empty
A surprising number of charging failures come from simple oversights. Let's run through the ones we see most often.
Mixing panel and battery voltages. A 12V panel can charge a 12V battery, but only barely. If your battery is 24V, a single 12V panel won't push enough voltage to charge it. You need two panels in series, or an MPPT controller that can step up the voltage.
Check your system voltage against your panel configuration. If you're unsure, the different types of solar panels will help clarify what works.
Using a PWM controller with a high-voltage panel. PWM controllers work best when the panel voltage is just a few volts above the battery. A 60-cell panel (around 36V Voc) paired with a 12V battery and a PWM controller wastes most of that extra voltage. An MPPT controller would convert that excess voltage into usable current.
Ignoring temperature. Lead-acid batteries need temperature compensation. Cold batteries accept charge poorly. Hot batteries overcharge easily.
Many cheap PWM controllers lack temperature sensors. If your battery lives in an unheated garage through winter, charging efficiency drops sharply.
Letting the battery sit dead. A lead-acid battery left below 11.8V for weeks will sulfate. That's a permanent loss of capacity. The controller may try to charge it, but the internal resistance climbs so high that current barely flows.
The battery never recovers fully.
Assuming the panel works because it measures voltage. A panel can show 20V open circuit but deliver almost no current under load. A cracked cell or failed bypass diode causes this. Always test current with a clamp meter or an Isc measurement.
Expert Pro Advice for Reliable Charging
Once you've fixed the immediate issue, a few small habits keep your system from failing again.
Use a clamp meter regularly. It's the fastest way to confirm current is actually flowing. A multimeter tells you voltage. A clamp meter tells you amps.
Without amps, you're not charging. Measure current at the panel wire and at the battery wire. If they differ by more than 5%, you have a wiring loss or a controller problem.
Match wire gauge to distance. Voltage drop is a silent killer. For a 12V system running 20 feet, 10 AWG wire is the minimum for 10 amps. For 30 feet, go to 8 AWG.
Undersized wire reduces charging voltage and confuses the controller. Refer to the main components of a solar panel guide for wiring basics.
Calibrate your charge controller seasonally. In winter, the sun angle changes and panel output drops. If you have a programmable controller, lower the absorption voltage slightly for cold batteries. In summer, raise it back.
Some MPPT controllers do this automatically. Most PWM controllers don't.
Clean the panel surface every few months. Dust, pollen, and bird droppings reduce output by 10-30%. A clean panel with a garden hose and soft cloth makes a real difference. Do it early morning or evening when the glass is cool to avoid thermal shock.
Verify your controller firmware is up to date. Many modern MPPT controllers like those from Victron and Epever allow firmware updates. Manufacturers release patches that improve charging algorithms. Check the manufacturer website every six months.
Your Final Decision Guide: What to Do Next
You've gone through the diagnostic steps. Here's a quick decision tree for what to do based on what you found.
If the charge controller display is off or shows no voltage from the panel:
- Check fuses between panel and controller.
- Test the panel Voc directly.
- If Voc is zero, replace the panel or repair loose MC4 connectors.
If the controller shows panel voltage but no charging activity:
- Measure battery voltage at the controller terminals.
- If battery voltage is above 12.7V (lead-acid) or 13.2V (lithium), the battery is full. Stop troubleshooting.
- If battery voltage is low but controller isn't charging, check controller battery type setting.
- For lithium, test BMS engagement with an external charger.
If the controller shows charging but the battery never reaches full:
- The battery may be sulfated (lead-acid) or have a failed cell.
- Try an equalization charge on a flooded lead-acid battery if the controller supports it.
- For lithium, the BMS may have a cell imbalance. A top-balance charge using a high-quality charger can fix it.
If none of this works:
- Consult the solar panel buying guide for help choosing compatible components.
- Consider a professional solar installer for complex systems.
Frequently Asked Questions
Why does my solar controller show full but my battery is dead?
The controller measures voltage at its terminals, not inside the battery. A bad connection or corroded wire creates voltage drop between the controller and the battery. The controller sees high voltage and stops charging.
The battery stays low. Clean terminals and tighten all connections.
Can a bad charge controller prevent charging?
Yes. PWM controllers can fail internally, especially if they got wet or overheated. Symptoms include no display, erratic voltage readings, or the controller getting hot with no load.
Replace the controller if all other diagnostics pass.
How do I know if my solar panel is supplying power?
Measure the panel's short-circuit current with a multimeter set to amps. Touch the probes to the bare wires briefly. A 100W panel in full sun should show about 5 to 6 amps.
If it shows under 1 amp, the panel is shaded, dirty, or damaged.
Will a solar panel charge a completely dead battery?
It depends. Most charge controllers need a minimum battery voltage to wake up. For lead-acid, that is typically 9 to 10 volts.
Below that, you need a standard AC battery charger to bring the voltage up first. For lithium, the BMS may disconnect completely. An external charger wakes it.
How long does a 100W solar panel take to charge a 100Ah battery?
In perfect conditions with an MPPT controller, a 100W panel delivers about 5 amps. Charging a 100Ah lead-acid battery from 50% to full takes about 10 hours of direct sun. Real-world conditions with clouds and angle losses easily double that.
Is it worth upgrading from PWM to MPPT?
If your system voltage matches your panel voltage and you have short wire runs, PWM is fine. But if you have a high voltage panel, long wires, or operate in cold climates, MPPT can recover 20-30% more energy. The upgrade pays for itself in a season or two.
Check how solar panels generate electricity for more on this trade-off.