How to Size Solar Panels, Battery & Inverter
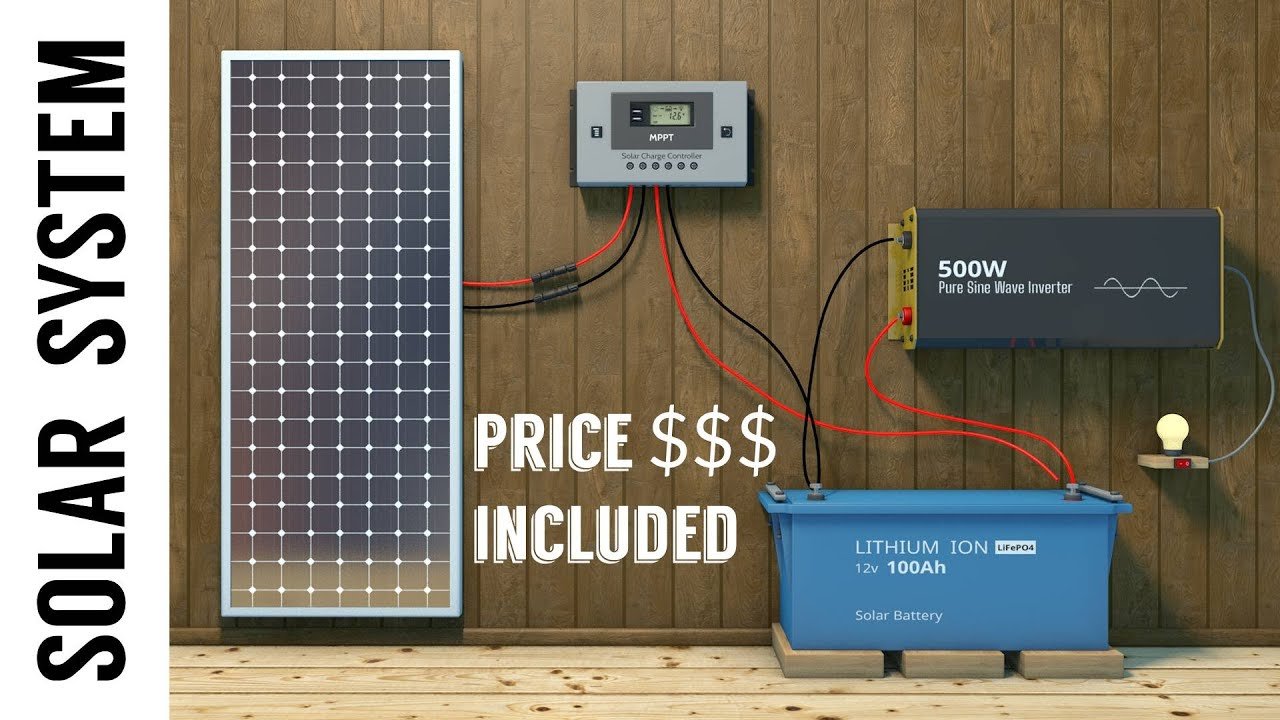
If you've ever stared at a pile of solar gear wondering what battery and inverter you actually need, you're not alone. Knowing how to calculate solar panel battery and inverter properly is the difference between a system that works reliably for years and one that leaves you in the dark. Get these numbers wrong and you risk damaging expensive equipment or creating a fire hazard.
Your daily energy use, local sunlight, battery chemistry, and system voltage all feed into one straightforward formula. Per National Electrical Code (NEC) standards, every solar installation should account for a 25% safety margin on current-carrying components. That single rule alone prevents most undersized-wire fires.
Let's walk through the math step by step so you can size your system with confidence.
Quick Answer
To calculate your solar panel, battery, and inverter sizes, start with a daily load audit. Add up all appliance watt-hours you use in 24 hours. Divide that number by your system voltage (12V, 24V, or 48V) and your battery's depth of discharge.
That gives you battery amp-hours. Multiply your daily load by 1.3 for panel wattage to account for system losses. Size your inverter to handle your largest simultaneous appliance load plus a 25% surge buffer.
The Four Numbers You Need Before You Start
You cannot size a solar system without four specific data points. Guess any of these and your entire calculation falls apart.
Daily Energy Consumption
Grab a notepad or spreadsheet. Walk through your home, RV, or cabin and list every device you plan to power. For each appliance, note its wattage (printed on the label or manual) and how many hours per day it actually runs.
| Appliance | Wattage | Hours per day | Watt-hours |
|---|---|---|---|
| LED lights (4 bulbs) | 40W total | 5 | 200 |
| Refrigerator | 150W (compressor cycle) | 8 | 1,200 |
| Laptop charger | 65W | 4 | 260 |
| Ceiling fan | 50W | 6 | 300 |
| TV (32-inch LED) | 50W | 3 | 150 |
| Water pump | 200W | 1 | 200 |
| Daily total | 2,310 Wh |
That 2,310 watt-hours is your starting number. In our research, most off-grid households underestimate their actual consumption by 30 to 50 percent. Track real usage for three days if you can.
The fridge compressor running more in summer matters.
Peak Sun Hours
This is not the number of daylight hours. Peak sun hours measure when sunlight intensity hits 1,000 watts per square meter. The average US location gets between 3.5 and 5.5 peak sun hours depending on season and latitude.
Use the NREL PVWatts calculator or a solar insolation map for your specific zip code. A location in Arizona might average 6 hours. Seattle in winter might drop to 1.5 hours.
Design for your worst month, not the annual average.
Depth of Discharge
Batteries hate being fully drained. Lead-acid batteries should only be discharged to 50 percent of rated capacity. Lithium iron phosphate (LiFePO4) can go to 80 or 90 percent without damage.
This limit directly multiplies how many battery amp-hours you need.
System Voltage
Small systems under 1,500 watt-hours daily generally run at 12 volts. Systems between 1,500 and 3,000 watt-hours benefit from 24 volts. Anything above that should be 48 volts.
Higher voltage means thinner wire, less voltage drop, and cheaper components.
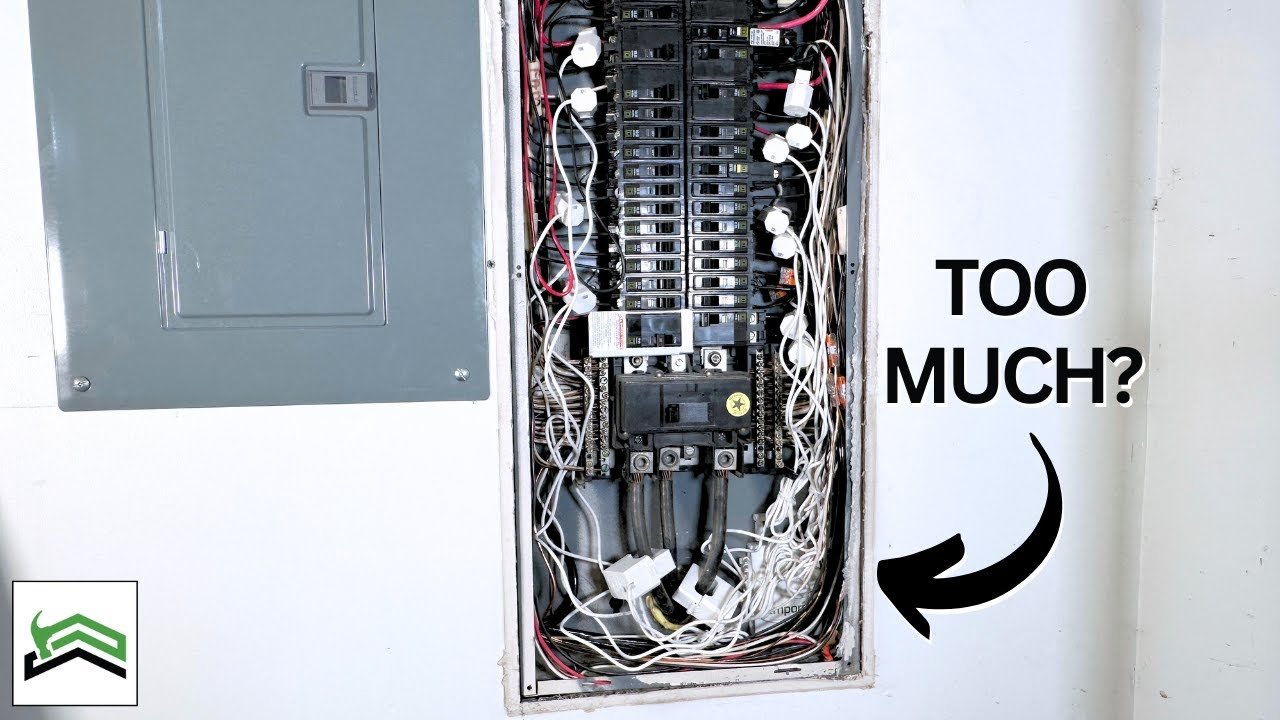
Image source: YouTube / DIY Tiny Home
How to Size Your Battery Bank (Step by Step)
Here is where the math actually happens. The formula looks simple but each variable changes the outcome dramatically.
The Formula
Battery amp-hours = (Daily watt-hours ÷ System voltage) ÷ Depth of discharge
Using our example of 2,310 watt-hours daily on a 24-volt system with LiFePO4 batteries at 80 percent DoD:
(2,310 Wh ÷ 24V) = 96.25 amp-hours
96.25 Ah ÷ 0.80 DoD = 120.3 amp-hours
That means you need roughly 120 amp-hours of usable battery capacity for one day of autonomy. But you should never size for just one day. Cloudy weather happens.
How Many Days of Autonomy?
Three days is the standard recommendation for off-grid homes in most climates. Multiply your daily amp-hour need by your autonomy days.
120 Ah × 3 days = 360 amp-hours total battery bank
For lead-acid batteries at 50 percent DoD, that same calculation would be:
(2,310 Wh ÷ 24V) = 96.25 Ah
96.25 Ah ÷ 0.50 DoD = 192.5 Ah per day
192.5 Ah × 3 days = 577.5 amp-hours total
The battery chemistry choice nearly doubles your required bank size. That is why LiFePO4 has become the standard recommendation for new installations as of 2026.
Real-World Example
A 360 amp-hour, 24-volt battery bank using four 100 Ah 12V LiFePO4 batteries wired in series-parallel gives you 400 Ah total at 24V. That provides three days of backup with room to spare. Manufacturer specifications from Victron Energy and Battle Born Batteries confirm that their LiFePO4 cells maintain rated capacity for over 3,000 cycles at 80 percent DoD.
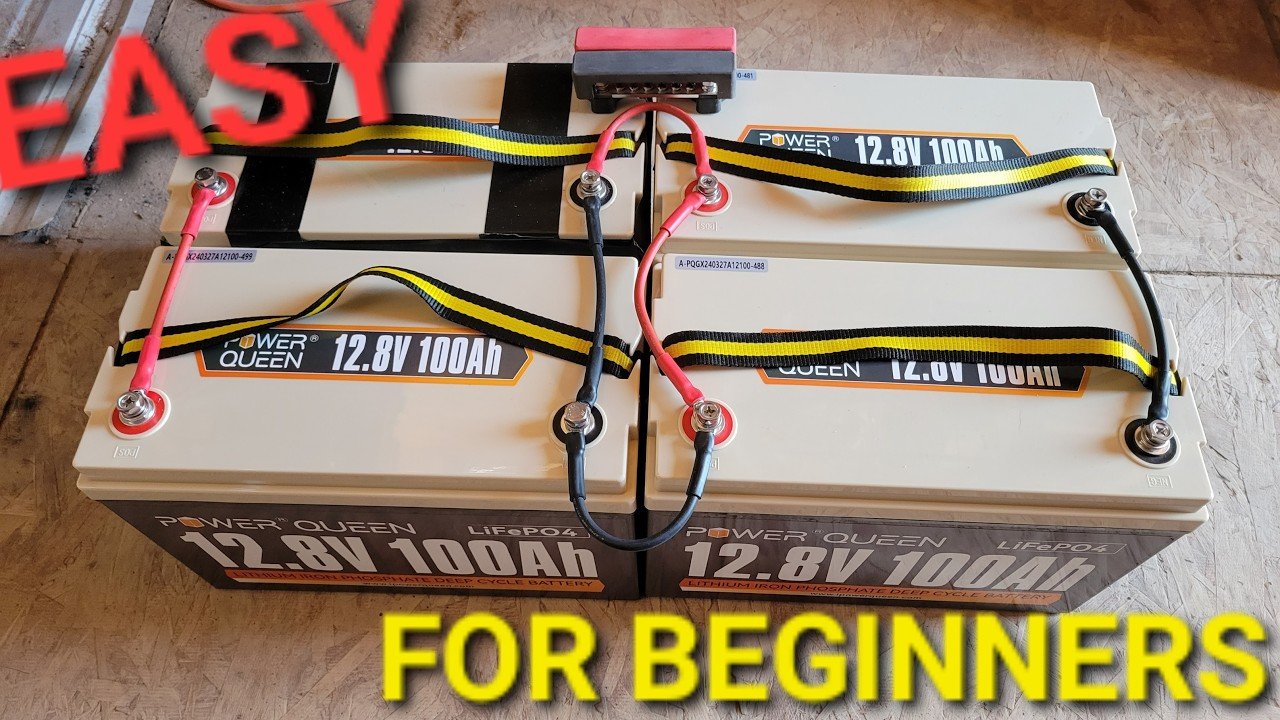
Image source: YouTube / Frugal Off Grid
Inverter Idle Draw
Here is the trap most people miss. Your inverter consumes power even when nothing is plugged in. A typical 3,000-watt pure sine wave inverter draws 20 to 50 watts just sitting there.
Over 24 hours, that is 480 to 1,200 watt-hours you did not account for. Add that to your daily load before running the battery calculation. If your inverter idle draw is 40 watts, add 960 watt-hours to your daily total (40W × 24h).
Recalculate everything from there.
Sizing the Solar Array: Matching Panels to Your Battery
Your solar panels need to replace what you use each day and recharge the battery within a reasonable window. The math here is about charging efficiency and available sunlight.
Daily Watt-Hours Required for Recharging
Start with your daily consumption plus the energy needed to refill the battery from its depth of discharge. For a LiFePO4 battery at 80 percent DoD, you need to replace 80 percent of the battery's rated capacity each cycle.
Battery bank capacity: 400 Ah at 24V = 9,600 watt-hours
Usable energy at 80% DoD: 7,680 watt-hours
Divide by 3 days of autonomy: 2,560 watt-hours per day
So your panels need to generate at least 2,560 watt-hours daily to keep the battery charged while also powering your loads during daylight.
The Solar Array Size Formula
Panel wattage = Daily energy needed ÷ Peak sun hours ÷ System efficiency factor
Using 2,560 Wh, 4.5 peak sun hours, and 85 percent system efficiency (accounting for charge controller losses, wiring losses, and temperature derating):
2,560 Wh ÷ 4.5 hours = 569 watts
569 watts ÷ 0.85 = 669 watts minimum solar array
A 700-watt array using two 350-watt panels in series at 24 volts would cover this comfortably. For lead-acid batteries, you would need closer to 1,000 watts because of the lower DoD and slower charging acceptance.
Panel Voltage Considerations
Your solar panel voltage must match your charge controller input range. For a 24-volt battery bank, use panels with a Voc (open circuit voltage) between 36V and 48V. Wiring two "12V nominal" panels in series (typically 18V each) gives you 36V, which works well with MPPT controllers.
The key is keeping the array voltage above battery voltage by at least 5 volts so the MPPT controller can do its job. Different panel types have varying voltage characteristics, which is why understanding the different configurations available can help you choose the right setup for your voltage needs.
Choosing the Right Inverter Size
The inverter converts DC battery power into AC power for your appliances. Sizing it wrong either wastes money or leaves you with a system that cannot start your fridge compressor.
Continuous vs. Surge Rating
Every appliance with a motor or compressor draws significantly more power during startup than during normal operation. Refrigerators typically need 3 to 5 times their running wattage to start. Water pumps can surge to 7 times the running load.
An inverter must handle these surge loads without shutting down.
A 1,500-watt running load (fridge, lights, TV, fan, pump running simultaneously) with a 3,500-watt surge load needs an inverter rated for at least 3,500 watts peak. Most quality 3,000-watt inverters handle 6,000-watt surges for a few seconds, but always check the manufacturer's specification sheet rather than guessing.
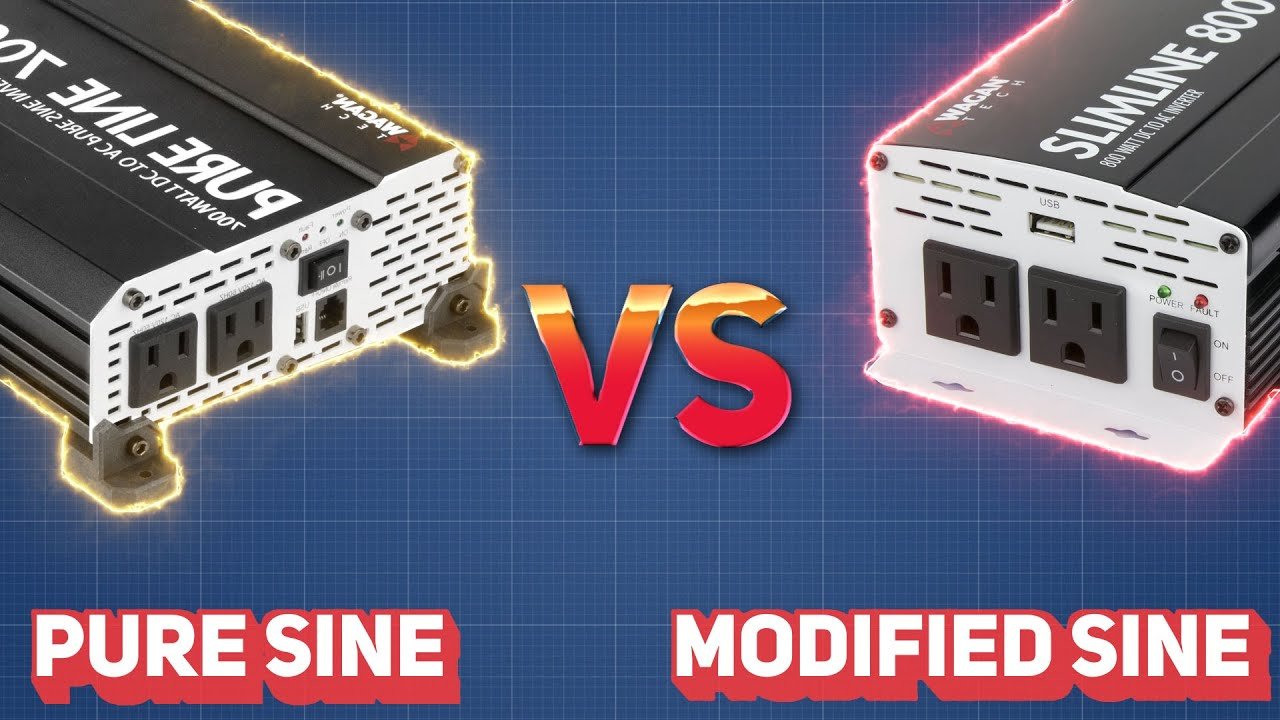
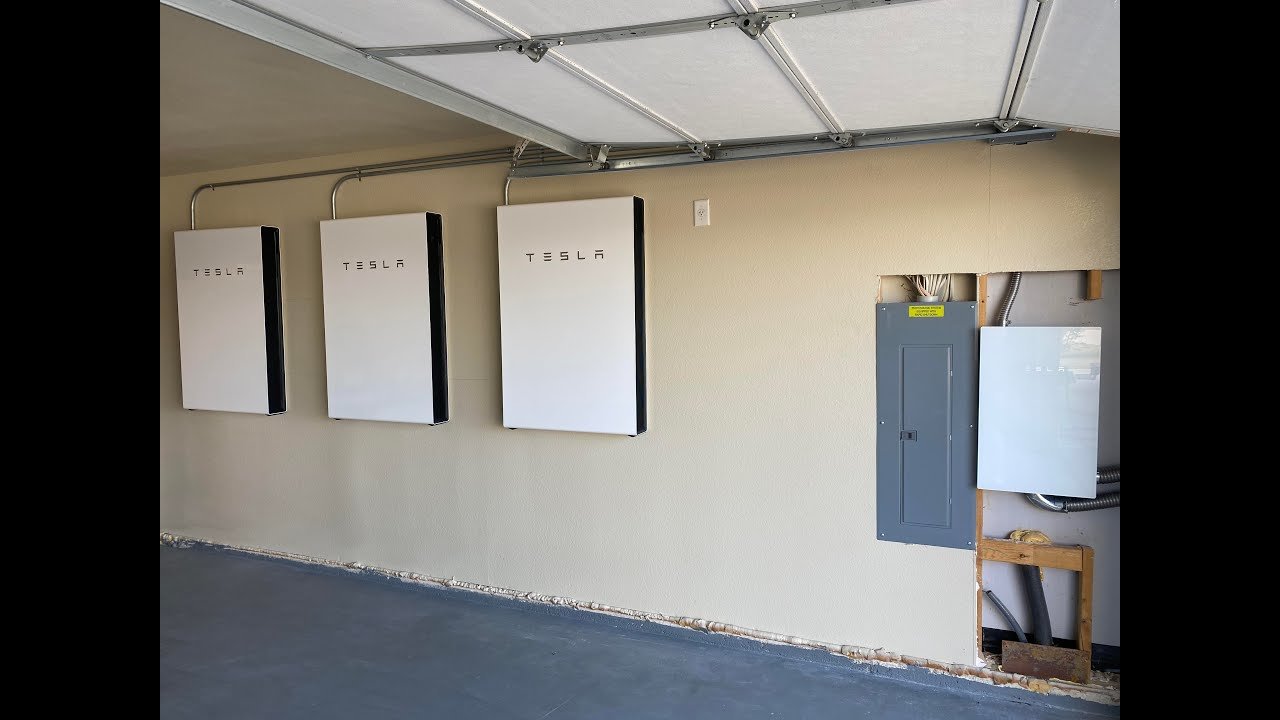
Image source: YouTube / Wagan Tech
How to Calculate Your Peak Load
List every appliance that could possibly run at the same time. Add their running wattages. Then add the largest single surge value from that list.
Example peak load:
- Refrigerator running: 150W (surge: 600W)
- Well pump running: 200W (surge: 1,400W)
- LED lights: 40W
- TV: 50W
- Laptop charger: 65W
- Ceiling fan: 50W
Running total: 555W
Surge total: 600W + 1,400W = 2,000W surge (instantaneous)
A 2,000-watt inverter with 4,000-watt surge capacity would work. A 2,500-watt unit gives a comfortable safety margin without overspending.
Pure Sine Wave vs. Modified Sine Wave
Pure sine wave inverters produce power identical to grid electricity. Modified sine wave inverters produce a stepped waveform that works fine for resistive loads like heating elements and incandescent lights but can damage sensitive electronics, motors, and variable-speed appliances. Anything with a digital clock, variable speed motor, or microprocessor requires pure sine wave.
For a primary home or RV system, pure sine wave is not optional. It is the standard.
The Size Trap
Bigger is not always better. Oversized inverters draw more idle current. A 5,000-watt inverter might consume 60 to 80 watts just being on, compared to 20 watts for a properly sized 2,500-watt unit.
That difference adds over 1,000 watt-hours per week of wasted energy that your panels must replace. Size for your actual loads, not for hypothetical future expansion.
Charge Controller Sizing: The Invisible Bottleneck
The charge controller sits between your solar panels and your battery bank. It regulates voltage and current so your batteries charge safely. Pick the wrong size and you either leave energy on the table or fry your controller on a sunny day.
MPPT vs. PWM
Maximum Power Point Tracking (MPPT) controllers extract more power from your panels, especially in cold weather or when the battery voltage is far below panel voltage. Pulse Width Modulation (PWM) controllers are simpler and cheaper but waste up to 30 percent of your panel's potential in many conditions.
For any system over 200 watts, MPPT is the clear winner. The extra 20 to 30 percent harvest efficiency pays for the price difference within a year. PWM controllers only make sense for tiny cabin setups with a single panel where every dollar matters.
Sizing the Controller
The formula for MPPT charge controller sizing starts with your solar array's short-circuit current (Isc). Multiply that by the number of panels in parallel, then apply the NEC 1.25 safety factor.
Two 350-watt panels with an Isc of 10 amps each wired in parallel:
10A × 2 panels = 20 amps total Isc
20A × 1.25 safety factor = 25 amps
A 30-amp MPPT charge controller handles this comfortably. For panels wired in series, the current stays the same as a single panel while voltage doubles, so the controller current rating remains lower.
Voltage Limits
MPPT controllers have a maximum input voltage rating. Exceed this on a cold winter morning when panel voltage rises and you destroy the controller. A controller rated for 150V max input with two panels in series producing 40V each gives you 80V, well within limits.
Three panels in series producing 40V each hits 120V, still safe until a cold snap pushes voltage up 15 percent. Always leave a 20 percent voltage headroom below the controller's max rating.
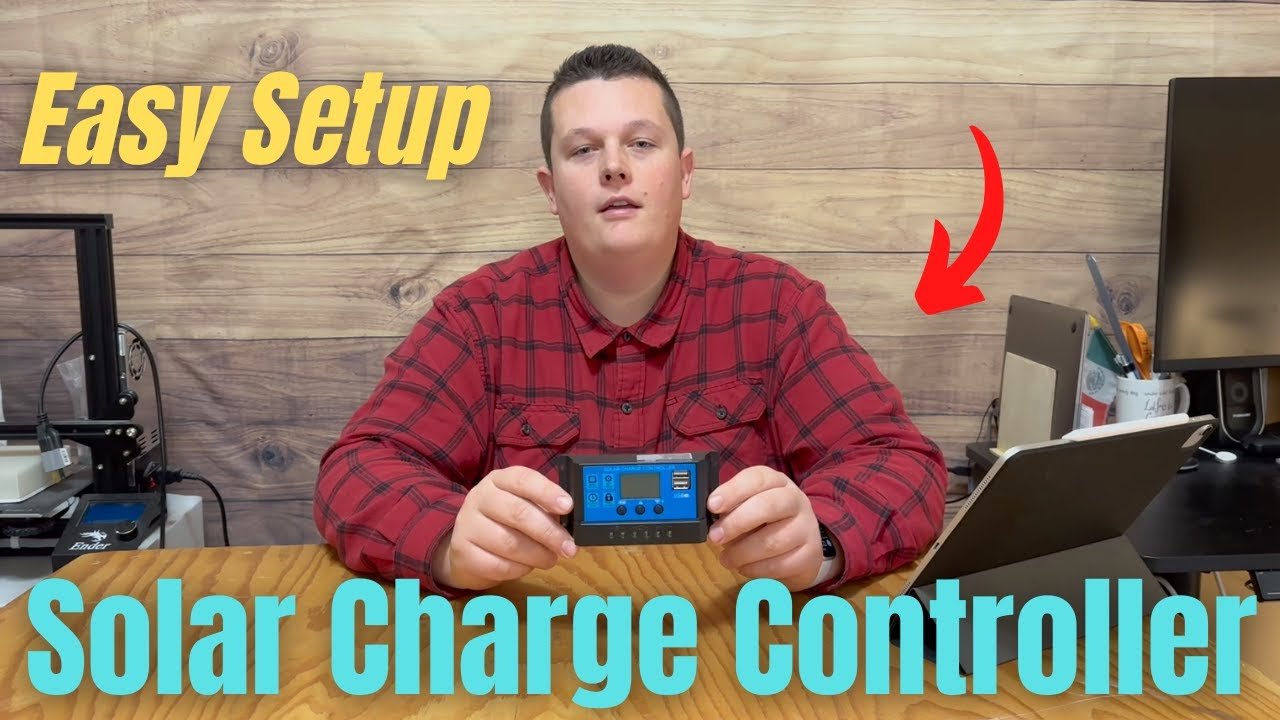
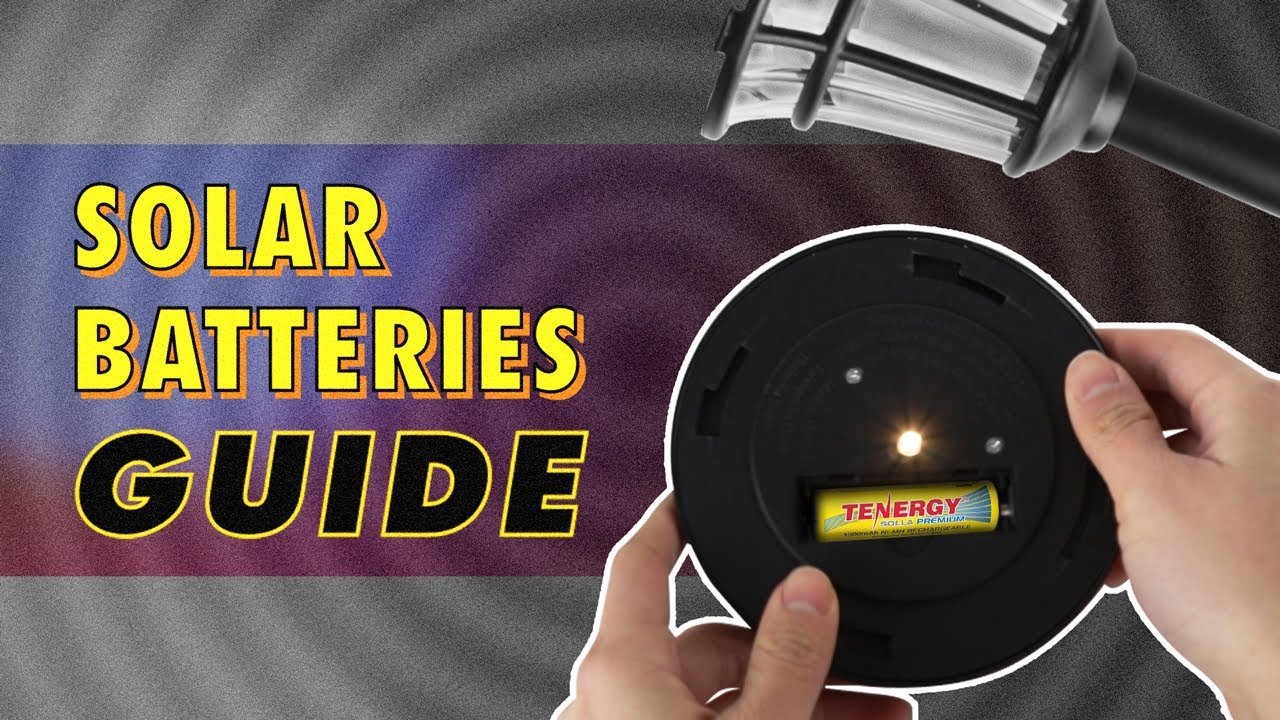
Image source: YouTube / Scott's Solar
Temperature Derating
Cold temperatures increase solar panel voltage. A panel rated at 40V Voc at 25°C can hit 46V at -10°C. Multiply your array's Voc by the temperature correction factor from the panel datasheet.
If you skip this step, a cold sunny morning can exceed your controller's input limit and release the magic smoke. Use a temperature coefficient of approximately 0.3 percent per degree Celsius below 25°C to calculate the adjusted voltage.
Wire Gauge and Fusing: The Safety Non-Negotiables
Undersized wire is the most common fire hazard in DIY solar installations. Voltage drop causes wasted energy. Overheated wires cause fires.
Both are completely preventable with the right math.
Voltage Drop Calculation
The NEC recommends keeping voltage drop under 3 percent for any circuit. The formula uses wire length, current, and conductor resistance.
Voltage drop = (2 × one-way wire length in feet × current in amps × resistance per foot) ÷ 1,000
For a 20-amp circuit running 30 feet from battery to inverter at 24V:
2 × 30ft × 20A × 0.00198 ohms per foot (10 AWG) = 2.376 volts
2.376V ÷ 24V = 9.9 percent voltage drop
That is more than triple the recommended maximum. The fix is thicker wire. Using 6 AWG (0.00049 ohms per foot):
2 × 30ft × 20A × 0.00049 = 0.588 volts
0.588V ÷ 24V = 2.45 percent drop
Acceptable. Keep a wire gauge chart handy or use an online calculator. For battery-to-inverter runs, thicker wire is always better.
The cost difference between 10 AWG and 6 AWG is trivial compared to the safety and efficiency gain.
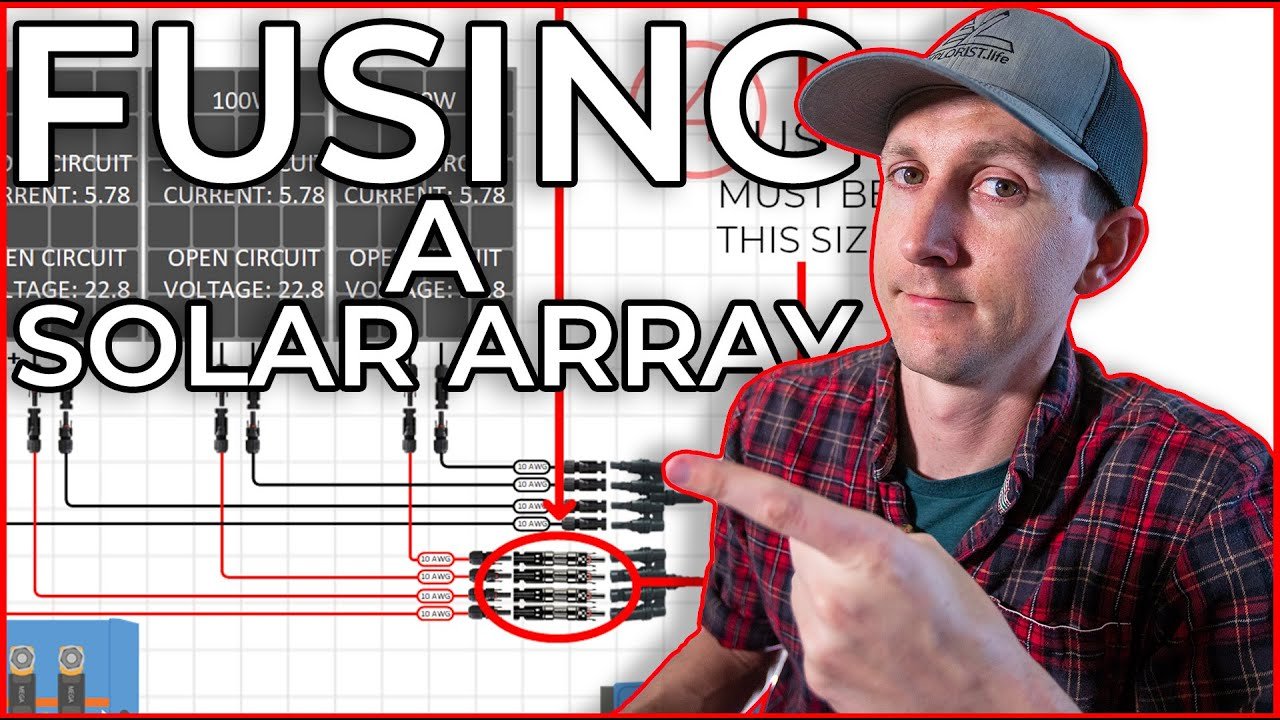
Image source: YouTube / EXPLORIST life Mobile Marine & Off-Grid Electrical
Fuse and Breaker Sizing
Every circuit needs overcurrent protection within 18 inches of the battery positive terminal. The fuse rating should be 125 percent of the maximum continuous current the circuit will carry.
A 24V, 3,000-watt inverter can draw up to 125 amps continuously (3,000W ÷ 24V = 125A). The fuse should be:
125A × 1.25 = 156.25 amps
The standard size is a 150-amp or 175-amp Class T fuse. Class T fuses are the gold standard for battery banks because they blow fast enough to protect against high-current DC arcs. ANL fuses work but are slower.
Never skip the fuse because the breaker on the inverter itself is not sufficient protection for the wire running to it.
The Fire Hazard You Create by Guessing
A loose connection, a nicked wire, or an undersized conductor creates resistance. Resistance creates heat. Heat melts insulation.
Melted insulation causes short circuits. Short circuits cause fires. Every year, improperly wired battery banks cause garage and RV fires.
A proper fuse, correctly sized wire with crimped (not twisted) connections, and a torque wrench on terminal bolts eliminate this risk. Spend the extra hour doing it right. Your future self and your family will thank you.
Common Mistakes That Wreck Systems
Even experienced DIYers make these errors. Catch them before you buy components.
Confusing AC Watts with DC Watts
An appliance rated at 1,000 watts AC draws more than 1,000 watts DC from your battery because of inverter losses. A 90 percent efficient inverter drawing 1,000 watts AC pulls 1,111 watts DC from the battery (1,000W ÷ 0.90). At 24 volts, that is 46 amps instead of 42 amps.
Multiply every appliance by your inverter's efficiency factor before calculating battery draw.
Ignoring Temperature Derating
Battery capacity drops in cold weather. Lead-acid batteries lose 30 to 50 percent of their rated capacity at 0°C. LiFePO4 batteries lose less but still drop about 10 percent and cannot safely charge below 0°C.
If you plan to use your system in winter, add a temperature derating factor to your battery bank calculation. For lead-acid in a cold garage, double your calculated amp-hours.
Mixing Old and New Batteries
Never combine batteries of different ages, brands, or chemistries in the same bank. The weakest battery determines the entire bank's performance and lifespan. A single degraded cell drags down the rest, causes chronic undercharging, and fails prematurely.
Replace all batteries in a bank at the same time with identical models from the same manufacturing batch.
The Surge Rating Trap
Cheap inverters advertise impressive peak surge ratings but cannot sustain them long enough to start a well pump or refrigerator. A 2,000-watt inverter that claims 4,000-watt surge for 10 milliseconds may not start a pump that needs 3,000 watts for 200 milliseconds. Read the fine print.
Look for surge duration in seconds, not milliseconds. Quality brands like Victron, OutBack, and Schneider list real-world surge capabilities in their datasheets. Do not skimp on the inverter.
It is the heart of your system.
When You Should Call a Pro Instead of DIY
Knowing your limits is part of being a smart DIYer. Some parts of solar installation are straightforward. Others require licensed electricians.
NEC Code Requirements
The National Electrical Code Article 690 covers photovoltaic systems. If you plan to connect to the grid, your system must pass inspection. Rapid shutdown requirements, arc fault protection, and proper grounding are complex and vary by jurisdiction.
Failing inspection means rewiring everything.
Permits and Grid Interconnection
Most municipalities require permits for electrical work. Grid-tied systems need a signed interconnection agreement with your utility. DIY work on grid-tied systems is illegal in many areas.
Off-grid systems in unincorporated areas usually have fewer restrictions, but always check local codes before buying equipment.
High-Voltage Arrays
String voltages above 50 volts require specialized knowledge and equipment. A single mistake with a 300-volt array can be fatal. Arc flash hazards at these voltages are severe and invisible.
If your array voltage exceeds 48V nominal, strongly consider hiring a licensed solar installer for the high-voltage DC portion of the system. Low-voltage DC (12V to 48V) work is generally safe for competent DIYers following proper procedures.
Quick Reference: The Calculation Shortcut
Here is a complete worked example using the numbers from earlier sections.
Scenario: Off-grid cabin, two people, weekends only
Daily load: 2,310 watt-hours
Peak sun hours: 4.5 (summer average)
Battery chemistry: LiFePO4 at 80% DoD
System voltage: 24V
Autonomy: 3 days
| Component | Calculation | Result |
|---|---|---|
| Daily amp-hours needed | 2,310 Wh ÷ 24V | 96.25 Ah |
| Battery bank (1 day) | 96.25 Ah ÷ 0.80 DoD | 120.3 Ah |
| Battery bank (3 days) | 120.3 Ah × 3 | 360.9 Ah |
| Panel wattage needed | 2,560 Wh ÷ 4.5h ÷ 0.85 | 669W |
| Inverter continuous | 555W running + 25% margin | 700W minimum |
| Inverter surge | Account for pump/fridge surge | 2,000W recommended |
| Charge controller | (2 panels × 10A Isc) × 1.25 | 30A MPPT |
| Wire (battery to inverter) | 30ft run, 125A, under 3% drop | 6 AWG or larger |
Parts list:
- 4 × 100Ah 12V LiFePO4 batteries (wired series-parallel for 24V 400Ah)
- 2 × 350W solar panels (700W total)
- 1 × 30A MPPT charge controller
- 1 × 2,500W pure sine wave inverter
- 1 × 175A Class T fuse and holder
- 20ft of 6 AWG wire for battery interconnects
- 30ft of 6 AWG wire for inverter power run
- Appropriate breakers and disconnects
The total estimated cost for a system of this size ranges from $3,500 to $5,500 depending on brand choices and whether you source batteries from a value brand or a premium manufacturer. That price includes all wiring, fusing, breakers, and mounting hardware. Assembly takes a competent DIYer about a weekend with basic hand tools.
Frequently Asked Questions
Can I oversize my inverter for future expansion?
Yes, but only within reason. Oversizing by 25 percent gives room for adding an appliance. Doubling the inverter size wastes energy through higher idle draw.
A 5,000-watt inverter on a system that needs 2,000 watts burns roughly 40 to 60 extra watt-hours daily just being turned on. That means you need larger panels and batteries to cover the waste. Size for actual loads plus a reasonable buffer.
Expand later with a dedicated second inverter if needed.
Do I need a pure sine wave inverter for everything?
Anything with a motor, compressor, digital display, or variable speed drive requires pure sine wave. LED dimmers, CFL bulbs, and some battery chargers also misbehave on modified sine wave. The only loads that run fine on modified sine wave are pure resistive loads like incandescent bulbs, heating elements, and basic power tools with universal motors.
For a home or RV used regularly, pure sine wave is the correct choice. The price gap has narrowed to the point where modified sine wave only makes sense for emergency backup systems.
How many days of battery backup do I actually need?
Three days is the standard for off-grid homes in most US climates. This covers typical winter cloud cover without requiring a generator. In very sunny regions like the Southwest, two days may suffice.
In the Pacific Northwest or Northeast during winter, four or five days is more realistic. Calculate your worst-month peak sun hours, not the annual average, and size autonomy accordingly. Adding a backup generator reduces your battery requirements to one or two days of autonomy.
Can I use car batteries for my solar system?
No. Car batteries are designed for high current bursts to start an engine, not for repeated deep discharging. Using a car battery in a solar system destroys it within months.
Deep-cycle batteries have thicker plates and different chemistry designed for regular discharge to 50 percent or more. The cost difference is small compared to replacing car batteries twice a year. Use marine deep-cycle batteries for small systems or LiFePO4 for anything serious.
What happens if my solar panels produce more power than my battery can store?
The charge controller regulates charging and stops delivering current once the battery reaches full voltage. Excess energy is simply not harvested. This is normal and expected.
Oversizing your solar array by 20 to 30 percent ensures you still achieve a full charge on cloudy days. On sunny days with a full battery, your panels sit at open circuit voltage and the system effectively idles. No damage occurs.
Some advanced systems use diversion loads to dump excess energy into water heating or other loads, but this is not required for basic systems.
Do I need a fuse between the solar panels and charge controller?
Yes. Every ungrounded conductor carrying current from your solar array needs overcurrent protection. A fuse or breaker between the panels and charge controller protects the wire from a short circuit in the event of a panel failure or wire damage.
For panels wired in series, a single fuse on the positive conductor near the combiner box is standard. For parallel arrays, each string requires its own fuse rated at 1.25 times the panel's short-circuit current. Most modern charge controllers include internal protection, but the wire run between panels and controller remains unprotected without an external fuse.
Can I connect solar panels directly to a battery without a charge controller?
Never do this. Unregulated solar panel voltage can exceed 20 volts on a nominal 12-volt panel. Connecting directly to a battery overcharges it, boils the electrolyte in lead-acid batteries, and can cause thermal runaway in lithium batteries.
The risk of fire and permanent battery damage is severe. A charge controller, even a basic PWM unit under $30, prevents this. There is no scenario where direct connection is safe or effective.
How do I know if my wire gauge is correct for the distance?
Use a voltage drop calculator or the NEC ampacity table for your wire type. For 12-volt systems, voltage drop becomes significant at distances over 10 feet. For 24-volt systems, the limit stretches to about 20 feet before you need thicker wire.
For 48-volt systems, runs up to 40 feet are manageable with proper gauge. The formula is straightforward: measure the round-trip distance in feet, multiply by the current in amps, divide by the voltage, and ensure the result stays under 3 percent. If it exceeds 3 percent, go up one wire gauge size and recalculate.
Copper wire is worth the premium over aluminum for all solar DC wiring due to lower resistance and better corrosion resistance.
What size breaker do I need between the charge controller and battery bank?
The breaker or fuse between the charge controller and battery should be rated for 125 percent of the charge controller's maximum output current. A 30-amp MPPT charge controller needs a 40-amp breaker (30A × 1.25 = 37.5A, rounded up to 40A). This breaker serves as a disconnect for servicing and protects the wire from the battery to the controller.
Install it within 18 inches of the battery positive terminal. A DC-rated breaker or Class T fuse is required. Standard AC household breakers are not rated for DC current and may not interrupt an arc properly.
Does panel orientation matter for the calculation?
Absolutely. South-facing panels at a tilt angle equal to your latitude produce the most annual energy. West-facing panels produce more late-afternoon power, which helps if you use more energy in the evening.
East-facing panels capture morning sun. The orientation directly affects your peak sun hours calculation. A south-facing array at optimal tilt might receive 5.0 peak sun hours daily.
The same array facing east might receive 3.5 peak sun hours. Adjust your peak sun hours number based on your actual mounting orientation, not the theoretical maximum for your location. Using the right solar setup for your specific site conditions ensures your calculated numbers match real-world performance.
Summary and Final Recommendation
The math behind sizing a solar system is not complicated, but it demands precision. Skip one variable and your numbers drift far enough to cause real problems. Start with your honest daily load audit.
That single number drives everything else. Add inverter idle draw and system losses. Size your battery bank for three days of autonomy with proper depth of discharge.
Match your solar array to your daily needs plus recharge requirements. Choose an inverter rated for your surge loads, not just running loads. Install proper fusing and wire gauge at every step.
The system we walked through in the quick reference delivers reliable power for a small off-grid cabin or RV for around $4,000 in parts. It will run lights, a fridge, a laptop, a TV, a ceiling fan, and a water pump without issues. With proper maintenance, the lithium batteries last a decade or more.
The panels last 25 years. The inverter and charge controller should run for 10 to 15 years before needing replacement.
If this feels overwhelming, start smaller. Build a 12-volt system for lights and phone charging first. Get comfortable with the components and the math.
Then scale up. The same formulas apply whether you are building a 200-watt camping setup or a 5,000-watt off-grid home. The only difference is the numbers you plug in.
One final piece of advice from our research: spend the money on a quality MPPT charge controller and a pure sine wave inverter. These two components determine whether your system frustrates you or delights you for the next decade. Cheap controllers fail, cheap inverters hum, and cheap wiring burns.
Invest in the core components and save money on mounting hardware, wiring, and batteries from reputable mid-range brands. That balance gives you a system that works every single day without wondering if today is the day something fails.
Understanding the Different Panel Technologies
The type of solar panel you choose affects your entire calculation. Our research shows that monocrystalline panels deliver the highest efficiency at 20 to 23 percent, meaning you need fewer panels for the same wattage. Polycrystalline panels sit around 15 to 17 percent efficiency and cost less per watt but require more roof space.
Thin-film panels are the least efficient at 10 to 13 percent but perform better in partial shade and high heat.
For off-grid systems where space matters, monocrystalline is the standard recommendation. If you have ample roof or ground space and want to save upfront cost, polycrystalline works fine. The common trade-offs between these options are worth understanding before you finalize your panel selection.
Understanding the Main Components
Every solar system needs four core components beyond the panels themselves. The battery stores energy for nighttime and cloudy days. The inverter converts DC to AC power.
The charge controller regulates panel output to the battery. And the wiring and fusing connect everything safely.
Skipping or undersizing any of these four components creates a weak link that compromises the entire system. A premium panel paired with a cheap charge controller performs worse than a budget panel paired with a quality controller. Balance your budget across all components rather than overspending on one.
Quick Troubleshooting for Common System Issues
If your system stops charging on sunny days, check the charge controller display first. Most modern MPPT controllers show panel voltage, battery voltage, and charging current. If panel voltage reads zero, check the fuse between panels and controller.
If battery voltage reads full, the controller has entered float mode and charging has stopped normally.
Battery voltage dropping below 12.0 volts on a 12V system indicates excessive discharge. Check your load audit against actual usage. A fridge with a failing compressor can draw three times its normal current.
A wire connection that has corroded adds resistance and drops voltage at the battery terminals. Clean and tighten every connection annually.
Inverter shutdowns during appliance startup usually mean the surge rating is insufficient. If your inverter trips when the refrigerator kicks on, add a startup capacitor or replace the inverter with a model rated for higher surge current. Some induction motors can draw 7 to 10 times running current for 200 milliseconds.
Your inverter must handle that burst without blinking.
When to Seek Professional Help
Certain situations demand a licensed electrician. If your system connects to the utility grid, local codes almost always require professional installation for the AC side. High-voltage arrays above 50 volts present lethal shock hazards.
Arc flash from a short circuit in a 300-volt array can cause severe burns.
Permit requirements vary by jurisdiction, but most municipalities require electrical permits for any system over 600 watts. Failing inspection means redoing work at your own expense. For off-grid systems in unincorporated areas, restrictions are lighter, but it is worth checking local building codes before running wire.
If you are unsure about any step in the process, pause and consult a professional. The cost of an hour of consultation is trivial compared to replacing fried equipment or repairing fire damage.
Final Maintenance and Long-Term Optimization
Your solar system needs minimal but regular attention. Clean panels with water and a soft brush every three to six months depending on dust and pollen levels. Check battery terminals for corrosion at the same time.
Torque all electrical connections to manufacturer specifications annually.
Monitor your battery voltage weekly during the first year to establish a baseline. A gradual decline in peak voltage indicates sulfation in lead-acid batteries or cell imbalance in lithium packs. Most quality LiFePO4 batteries include a BMS that handles balancing automatically.
Track your daily solar production against your load audit. If production drops 20 percent below expected values, check for shading from new tree growth, dirt accumulation, or a failing panel. A 50 percent drop in one string suggests a failed bypass diode or broken cell.
Your inverter and charge controller have expected lifespans of 10 to 15 years. Panels last 25 to 30 years with gradual degradation. Batteries are the only component you will replace on a regular cycle.
Factor that into your long-term cost calculations. A well-designed system with quality components should require nothing more than battery replacement and panel cleaning for two decades.
The Relationship Between Panel Wattage and Battery Voltage
Your panel wattage and battery voltage must work together. A 12-volt battery bank charges best with panels producing 18 to 22 volts. A 24-volt bank needs panels in the 36 to 48 volt range.
A 48-volt bank needs 60 to 80 volt panels or strings.
Mismatch these and your charge controller struggles. Panel voltage too close to battery voltage means the MPPT controller cannot find its optimal power point. The system harvests less energy than the panel is capable of producing.
Panel voltage too far above battery voltage wastes energy as heat in the controller.
String sizing matters here. Wiring panels in series increases voltage while keeping current the same. Wiring in parallel increases current while keeping voltage the same.
For a 24-volt system with an MPPT controller, two 12-volt panels in series gives you the right voltage range and thinner wire than a parallel configuration.
Grounding and Bonding Requirements
Every solar system needs a proper ground. The NEC requires grounding the battery negative, the inverter chassis, and the solar panel frames. This provides a path for fault current and prevents shock hazards.
For off-grid systems, a single grounding rod driven into the earth near the battery bank connects the system to ground. Use 6 AWG copper wire minimum for the grounding conductor. Connect all equipment grounds to a common bus bar before running a single wire to the grounding rod.
Ungrounded systems create a floating voltage that can shock you when touching the inverter case and a grounded object simultaneously. Our research found that many DIY solar fires trace back to missing or corroded ground connections. Do not skip this step.
Seasonal Adjustments for Off-Grid Systems
Your system performs differently in winter than summer. Solar panels produce less power on short winter days. Batteries hold less charge in cold temperatures.
Your load may increase as you run lights longer and space heaters.
A system sized for summer comfort will struggle in January. Plan for your worst month, not your best. If December gives you 2.0 peak sun hours while July gives you 6.0, size your array for December.
The extra summer production simply tops off your battery faster.
Adjustable panel tilts help. Tilting panels steeper in winter captures more low-angle sun. Laying them flatter in summer captures overhead sun.
A simple tilt bracket adds 15 to 25 percent winter production for about 50 dollars per panel.
Battery Chemistry Comparison
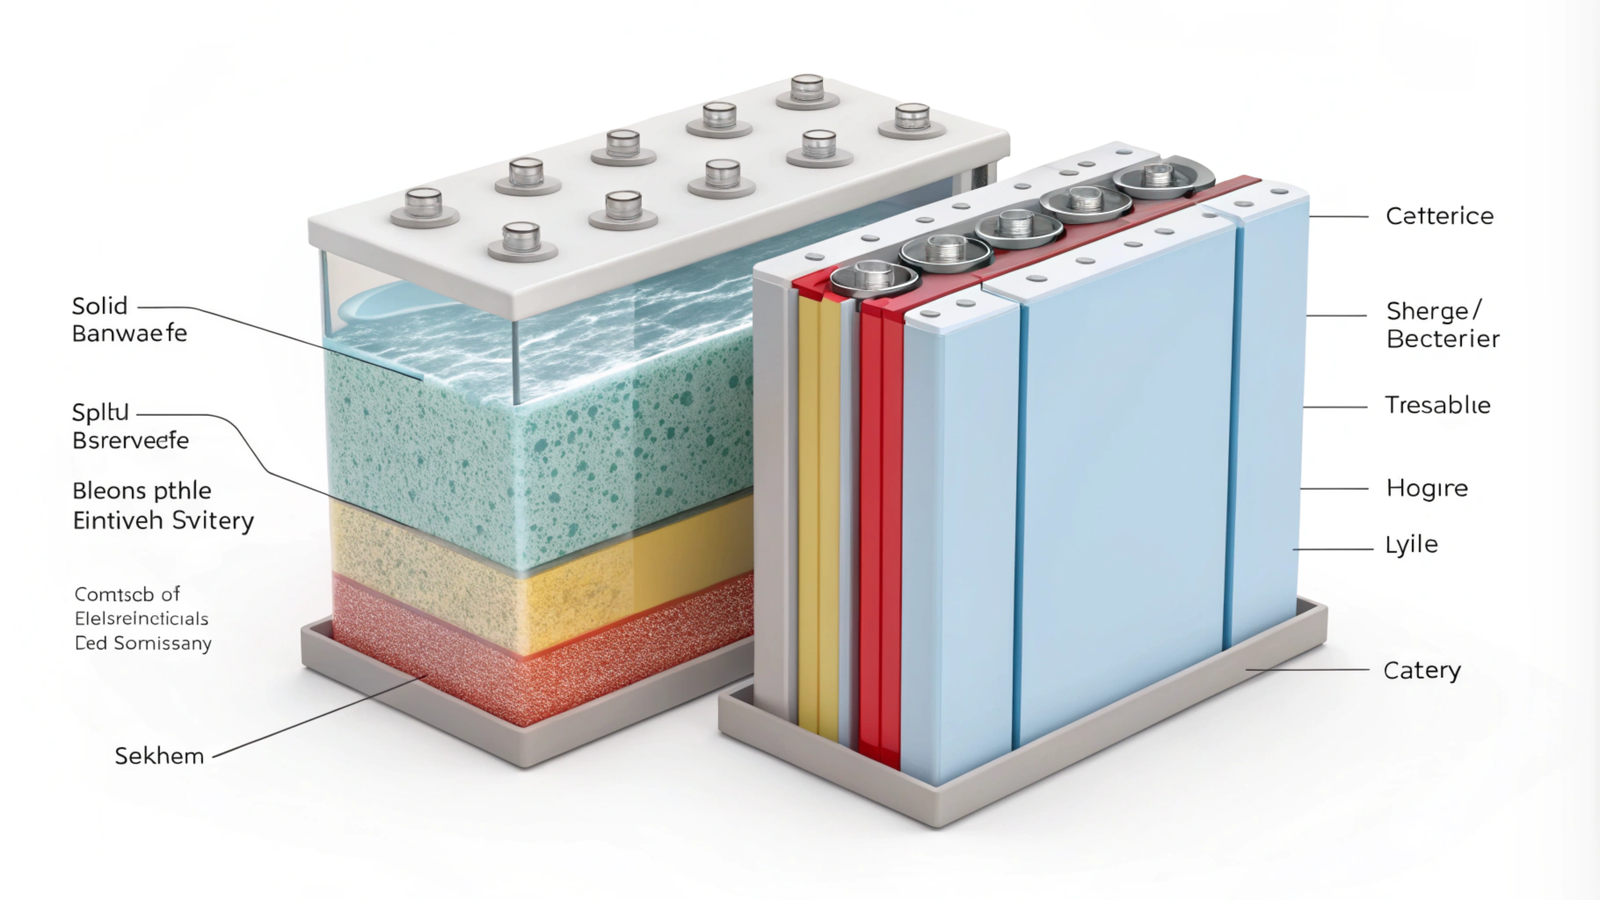
| Feature | Lead-Acid (Flooded) | AGM | LiFePO4 |
|---|---|---|---|
| DoD | 50% | 50% | 80-90% |
| Cycle life (80% DoD) | 500-800 | 800-1,200 | 3,000-5,000 |
| Cold performance | Poor | Good | Excellent |
| Maintenance | Watering required | None | None |
| Cost per kWh | Low | Medium | High |
| Weight per kWh | Heavy | Medium | Light |
LiFePO4 costs more upfront but delivers lower lifetime cost due to longer cycle life. For a system expected to run daily for a decade, lithium is the clear winner despite the higher initial price tag.
Tools You Need for DIY Installation
A basic solar installation requires standard hand tools plus a few specialized items. You need a multimeter for voltage and continuity testing. Wire strippers and crimpers for battery cable lugs.
A torque wrench for terminal bolts to prevent loose connections that cause fires.
Heat shrink tubing protects connections from moisture. A fuse puller helps when working with Class T fuses. Safety glasses and insulated gloves protect you from arc flash when connecting batteries.
Do not attempt installation without a multimeter that reads DC voltage up to 200 volts and DC current with a clamp meter. Guessing voltage levels is how components get destroyed. The tools cost under 100 dollars and save you from replacing a 500 dollar inverter.

Similar Posts