Easy Way to Connect a Solar Panel to a Battery

So you've got a solar panel sitting in a box, maybe a battery too, and you're staring at both thinking "now what?" You're not alone. Learning how to connect solar panel to battery is one of those tasks that looks simple on paper but has a few hidden traps that can wreck your equipment or worse, start a fire. The good news?
It's absolutely doable with the right order of operations and a bit of patience.
Here's what most guides won't tell you: the National Electrical Code (NEC) has specific requirements for solar wiring, even for off-grid setups, and ignoring them is how people blow up charge controllers. As of 2026, the basic principles haven't changed, but the safety standards have gotten tighter. Let's walk through this step by step so you get it right the first time.
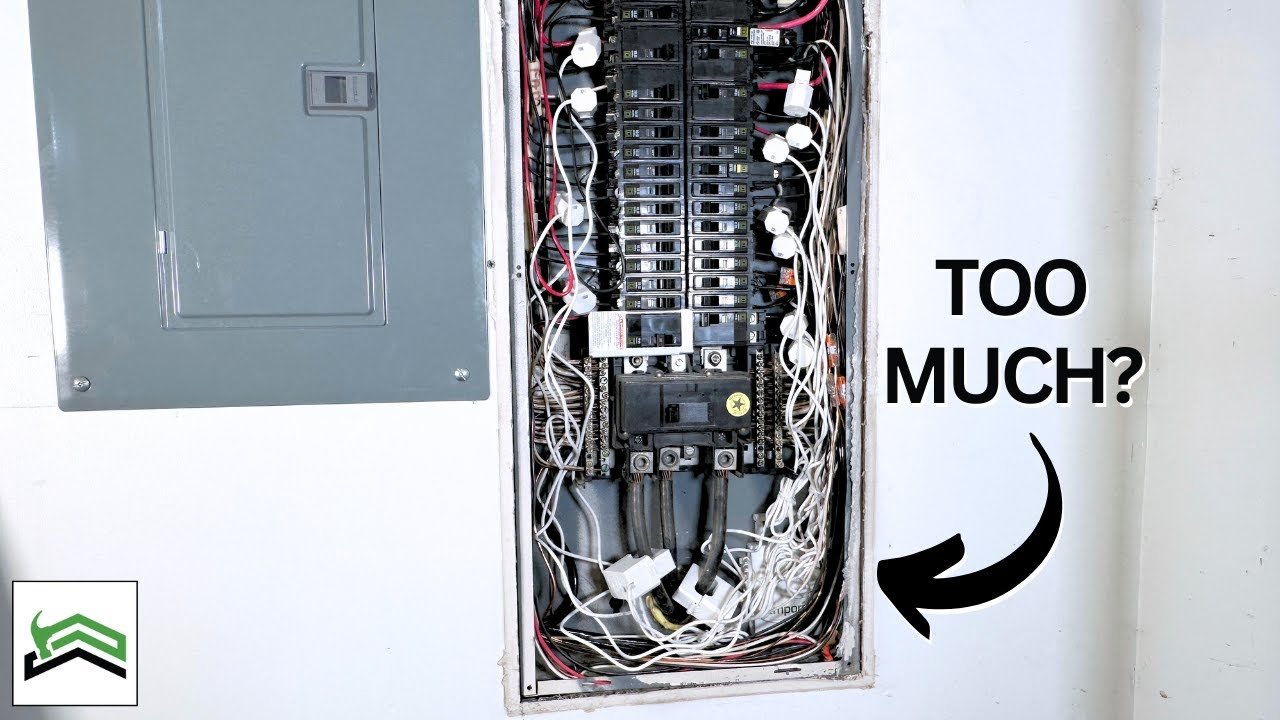
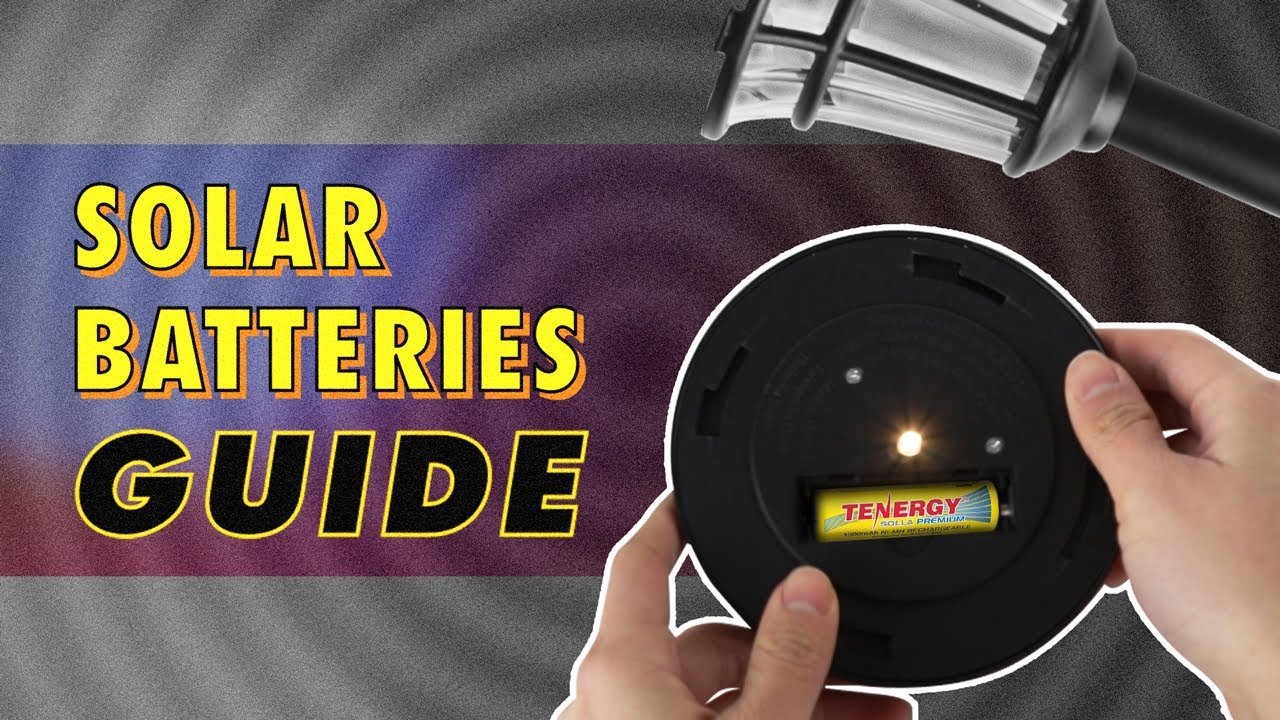
Image source: YouTube / Scott's Solar (YouTube thumbnail (fair-use with source credit))
Quick Answer
Connect the charge controller to the battery first. Then connect the solar panel to the controller. Always install a fuse between the battery and controller.
Use the correct wire gauge for your system's amperage. Never connect a solar panel directly to a battery without a charge controller in between.
Why Getting This Right Matters (And What Happens When You Don't)
Let's get real for a second. A solar panel sitting in full sun puts out more voltage than its label suggests. A "12V" panel can push 20 to 22 volts open-circuit.
Hook that directly to a 12V battery and you're overcharging it fast. Lead-acid batteries will boil off electrolyte and vent hydrogen gas. Lithium batteries will trigger their internal protection circuit and shut down, or worse, they can swell and fail catastrophically if the BMS isn't robust enough.
That's why the charge controller exists. It acts like a gatekeeper. It takes the raw voltage from the panel and regulates it down to a safe charging voltage for your battery chemistry.
Without it, you're gambling with your equipment and your safety.
The other big risk people overlook is wiring. Undersized wire creates resistance. Resistance creates heat.
Heat in an enclosed space like an RV cabinet or a shed corner can melt insulation and start a fire. Per NEC guidelines, you should size your wire so voltage drop stays under 3 percent. For a 12V system running 10 amps over 20 feet, that means at least 10 AWG wire.
Most people grab whatever leftover speaker wire they have lying around and wonder why things get hot.
And then there's fusing. A short circuit anywhere in your system can send hundreds of amps through unprotected wire. A properly rated fuse or breaker between the battery and the controller stops that instantly.
We'll cover exact fuse sizes later, but know this: no fuse means no second chance.
What You Actually Need: The Component Checklist
Before you touch a single wire, gather everything. Running to the hardware store mid-project because you're missing a connector is frustrating and increases the chance you'll wire something wrong out of impatience.
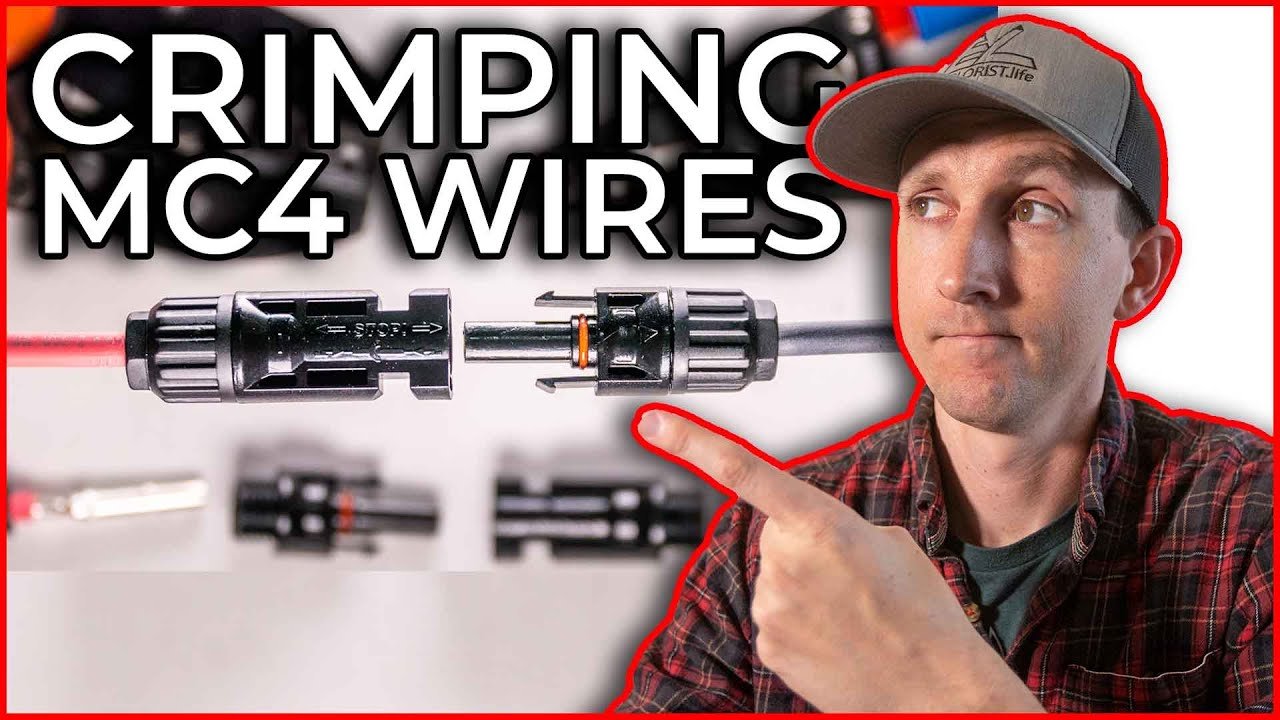
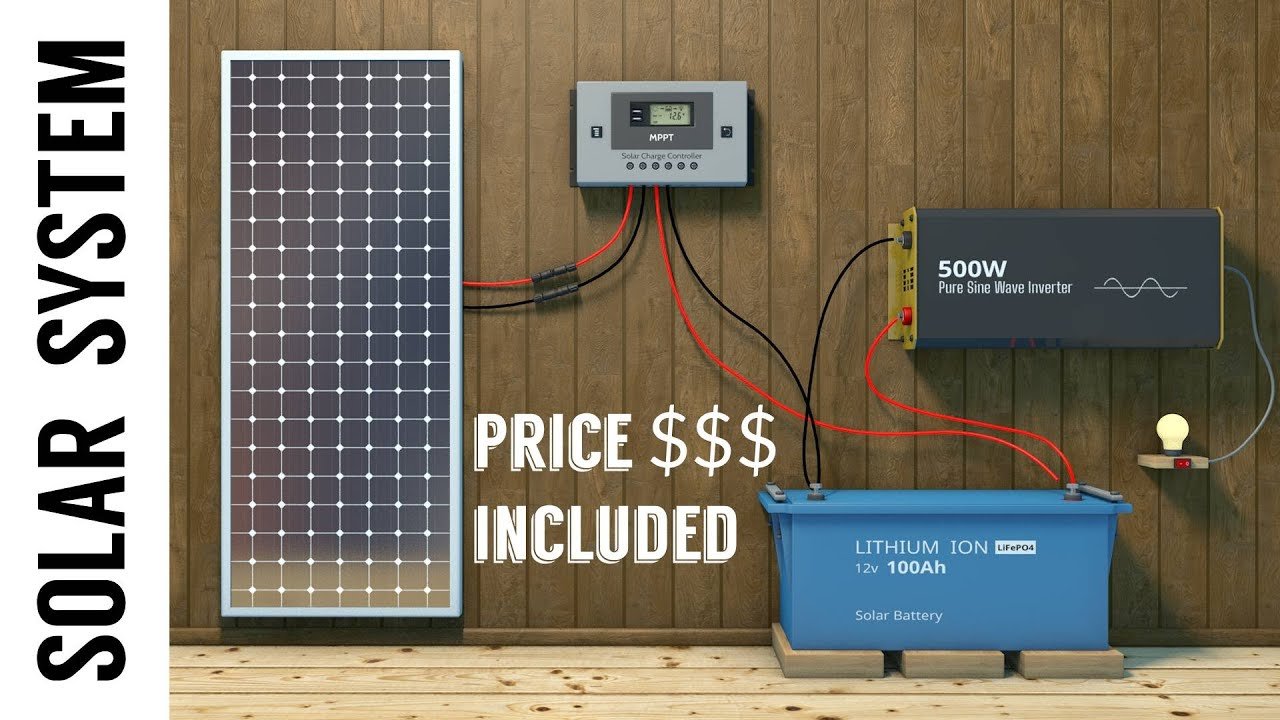
Image source: YouTube / EXPLORIST life Mobile Marine & Off-Grid Electrical (YouTube thumbnail (fair-use with source credit))
The Solar Panel
You probably already have one, but let's confirm it's right for your battery. Most small off-grid systems use 12V panels. A 100W panel is the sweet spot for RVs, boats, and small cabins.
Its open-circuit voltage (Voc) will be around 22 to 24 volts, and its maximum power voltage (Vmp) around 18 volts. That's important because your charge controller needs headroom above the battery voltage to work efficiently.
If you're building a larger system, say 400 watts or more, you might be better off wiring panels in series for a 24V or 48V battery bank. That lets you use smaller wire and reduces voltage drop. But for a first build, stick with a single 12V panel and a matching 12V battery.
There are different panel technologies out there. Monocrystalline panels are more efficient in low light and take up less space. Polycrystalline panels cost a bit less but need more surface area for the same output.
If you're mounting on an RV roof where space is tight, go monocrystalline. If you have plenty of ground space, polycrystalline works fine.
The Battery (And Why Not Just Any Battery Works)
This is where beginners make their second biggest mistake. They grab a car starter battery from the garage because it's sitting around. Don't do that.
Starter batteries are designed to deliver a huge burst of current for a few seconds to crank an engine. They hate being discharged more than 10 to 20 percent. Cycle one in a solar system and you'll kill it in months.
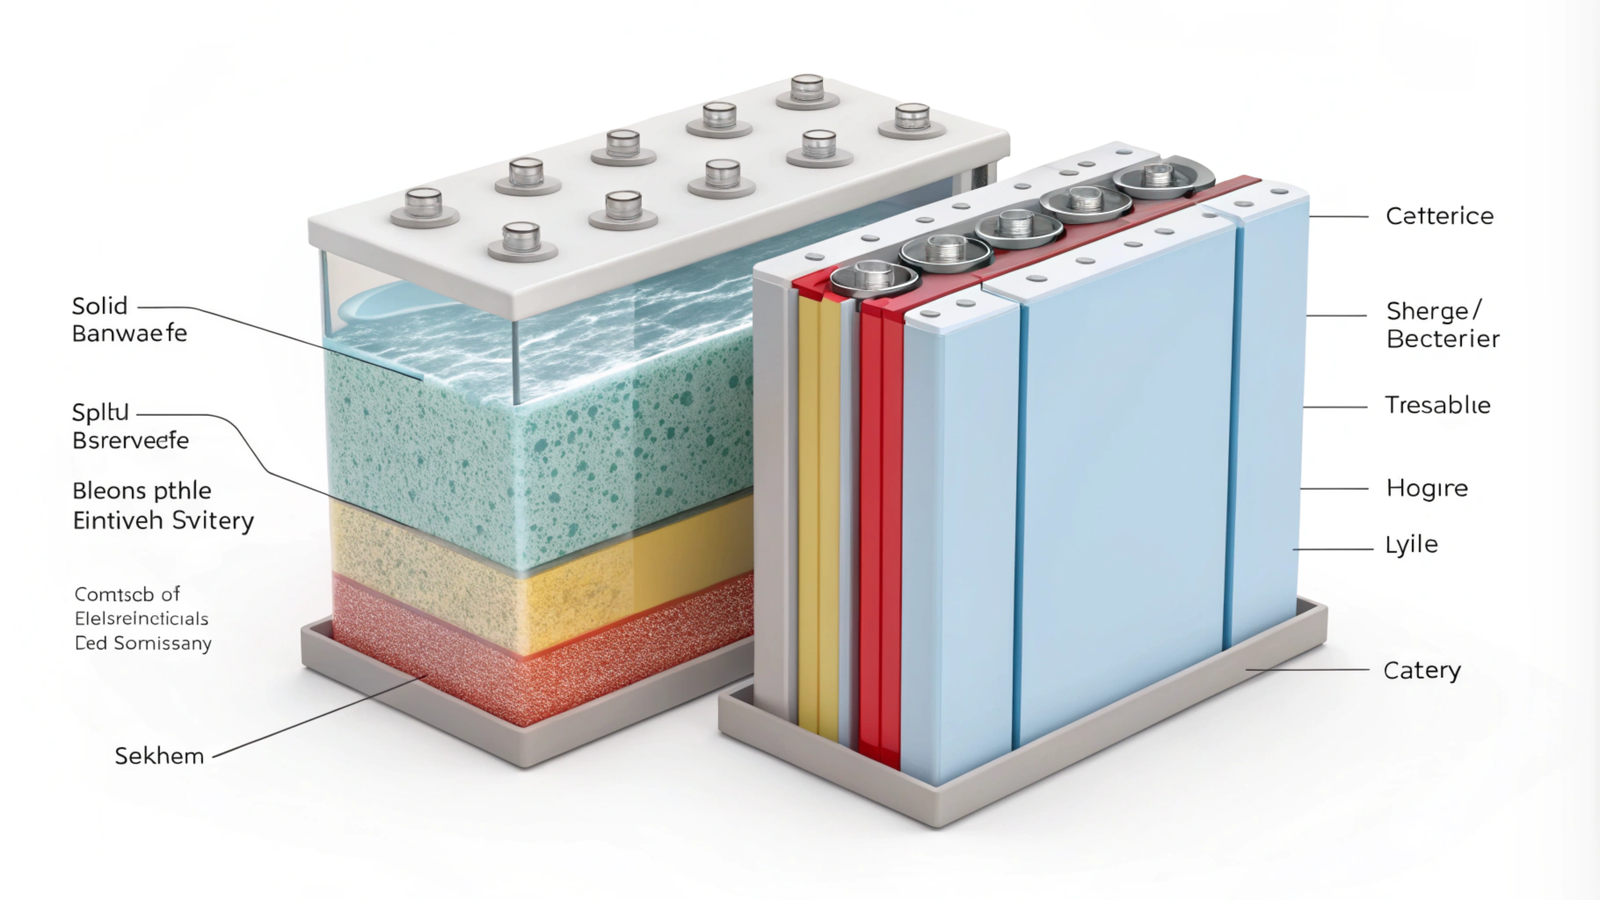
What you want is a deep-cycle battery. These are built to handle regular discharging down to 50 percent (for lead-acid) or 80 percent (for lithium) and then recharge fully. The three main types you'll encounter are:
| Battery Type | Depth of Discharge | Cycle Life | Cost Per Amp-Hour | Needs Venting |
|---|---|---|---|---|
| Flooded lead acid | 50% | 500-1000 cycles | Lowest | Yes (hydrogen gas) |
| AGM (sealed) | 50-60% | 600-1200 cycles | Medium | No |
| Lithium (LiFePO4) | 80-100% | 3000-5000 cycles | Highest | No |
Your battery chemistry determines what voltage your charge controller needs to deliver. Flooded lead acid absorbs at 14.4 to 14.8 volts. AGM absorbs at 14.2 to 14.6 volts.
Lithium iron phosphate absorbs around 14.2 to 14.6 volts but uses a constant current/constant voltage profile that's different from lead-acid. Most modern charge controllers let you select the battery type. If you get it wrong, you'll either undercharge and never fill the battery, or overcharge and damage it.
The Charge Controller (The Most Overlooked Safety Device)
Think of the charge controller as the brain of your system. It monitors battery voltage, adjusts charging current, and prevents overcharging. There are two main types: PWM (Pulse Width Modulation) and MPPT (Maximum Power Point Tracking).
PWM controllers are simpler and cheaper. They work by essentially connecting the panel directly to the battery and then switching on and off rapidly to control voltage. They're fine for small systems where the panel voltage is close to the battery voltage.
But they waste any excess voltage the panel produces.
MPPT controllers are more sophisticated. They convert the higher voltage from the panel down to the lower battery voltage while increasing the current. This gives you 20 to 30 percent more charging power in real-world conditions, especially in cold weather when panel voltage rises.
For systems over 200 watts, MPPT is worth the extra cost.
Both types need to be sized for your system. A 100W panel at 12V puts out about 8.3 amps. A 10A charge controller handles that fine.
A 200W panel at 12V puts out about 16.6 amps, so you'd want a 20A controller. Always give yourself a little headroom. A 20A MPPT controller running near its limit on a hot day will run cooler and last longer than a 20A controller pushed to 19.5 amps continuously.
Wire, Fuses, and Connectors (Size Matters More Than You Think)
This is where the safety rubber meets the road. You need three types of wire runs:
Panel to charge controller. Use PV wire with MC4 connectors. This wire is UV-resistant and rated for high temperatures. Don't use standard extension cord insulation it will crack in the sun within a year.
Charge controller to battery. Use battery cable with ring terminals. This is stranded copper wire with thick insulation. Size it so voltage drop stays under 2 to 3 percent.
Battery to inverter (if you have one). This run carries the highest current. A 1000W inverter at 12V pulls over 80 amps. That needs at least 4 AWG wire.
Here's a quick wire sizing table for typical 12V systems. These assume a round-trip wire length of 10 feet between the battery and charge controller:
| System Wattage | Max Current | Minimum Wire Gauge | Fuse Size |
|---|---|---|---|
| 100W | 8.3A | 14 AWG | 10A |
| 200W | 16.6A | 12 AWG | 20A |
| 400W | 33.3A | 8 AWG | 40A |
| 800W | 66.6A | 4 AWG | 80A |
If your wire run is longer, go up one gauge size for every additional 10 feet of round-trip distance. And always use a fuse or circuit breaker between the battery positive terminal and the charge controller. Place it as close to the battery as possible, within 18 inches of the terminal per NEC guidelines.
You'll also need basic tools: wire strippers, a crimping tool for ring terminals and MC4 connectors, a multimeter, and a small flathead screwdriver for the charge controller terminals. You can find the different types of solar modules and their connectors in our detailed guide on the available options.
How Solar Charging Works in Simple Terms
Here's the one-minute physics lesson. A solar panel generates direct current electricity when photons hit the silicon cells. The voltage depends on the panel design and the amount of sunlight.
The current depends on the panel size and light intensity.
When you connect the panel to a charge controller, the controller looks at the battery voltage. If the battery is low (say 12.0 volts for a lead-acid battery at 50 percent charge), the controller sends full charging current. As the battery voltage rises, the controller tapers the current to prevent overcharging.
A PWM controller does this by connecting and disconnecting the panel rapidly. An MPPT controller does it by electronically transforming the voltage. Both methods end up putting energy into the battery, but MPPT does it more efficiently.
The battery itself stores that energy chemically. In lead-acid batteries, the chemical reaction converts lead sulfate back into lead and sulfuric acid. In lithium batteries, lithium ions move between the cathode and anode.
Either way, the battery's voltage rises as it charges, which is how the controller knows when to stop.
When the battery reaches its absorption voltage, the controller holds that voltage steady while the current gradually drops. When the current falls to a low level (typically 0.5 to 2 percent of the battery's amp-hour capacity), the controller switches to float mode. Float voltage is lower, around 13.2 to 13.8 volts for a 12V lead-acid battery, and keeps the battery topped off without overcharging.
Understanding this process helps you recognize when something's wrong. If your battery voltage never rises above 12.5 volts during a sunny day, either your panel isn't producing power, your wire is too small, or your charge controller isn't set correctly. If your battery voltage climbs over 15 volts, your controller is faulty or set to the wrong battery type, and you need to disconnect immediately.
The Step-by-Step: How to Connect Solar Panel to Battery Safely
Alright, let's wire this thing up. Follow these steps in exactly this order. Skipping steps or mixing up the sequence can cause sparks, blown fuses, or damaged equipment.
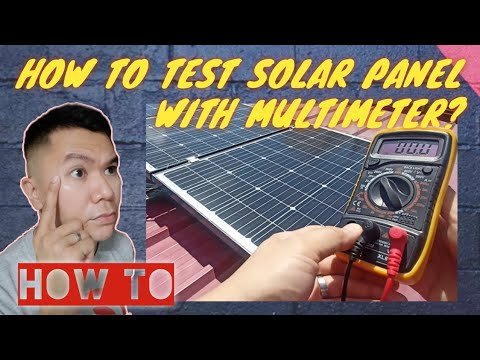
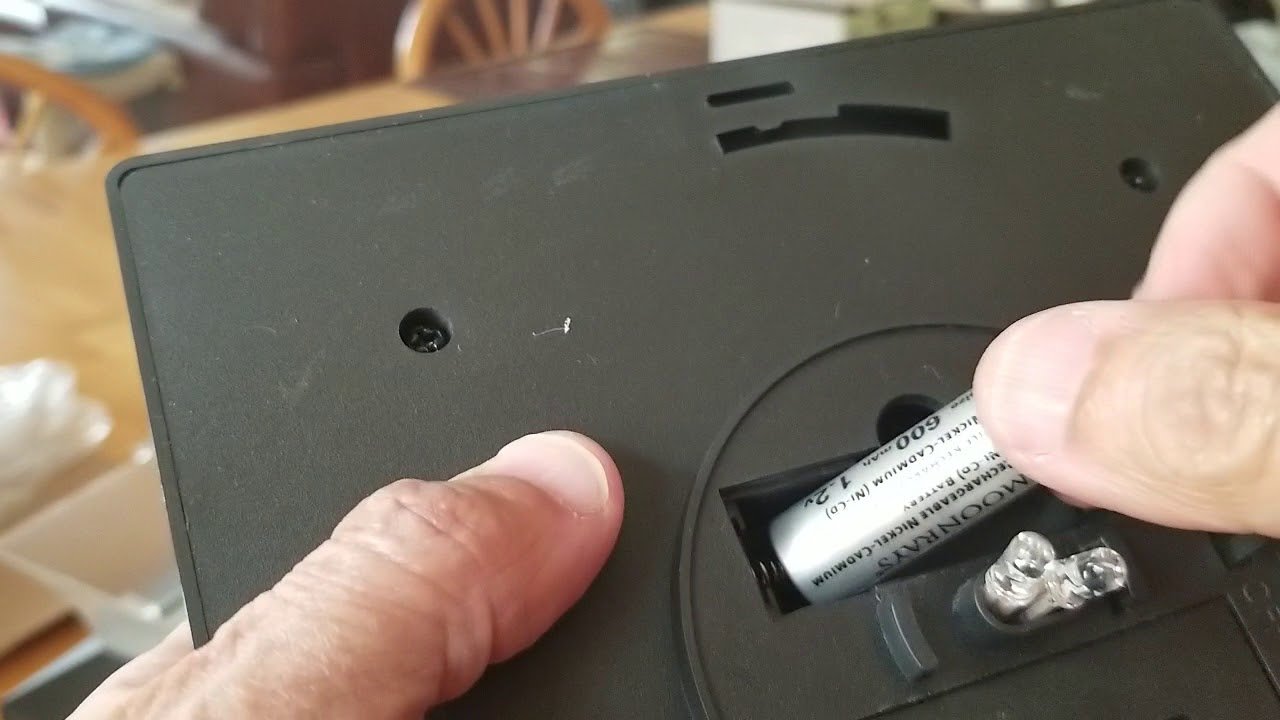
Image source: YouTube / Jack Solar PH (YouTube thumbnail (fair-use with source credit))
Step 1: Mount Your Panel and Run the Wire
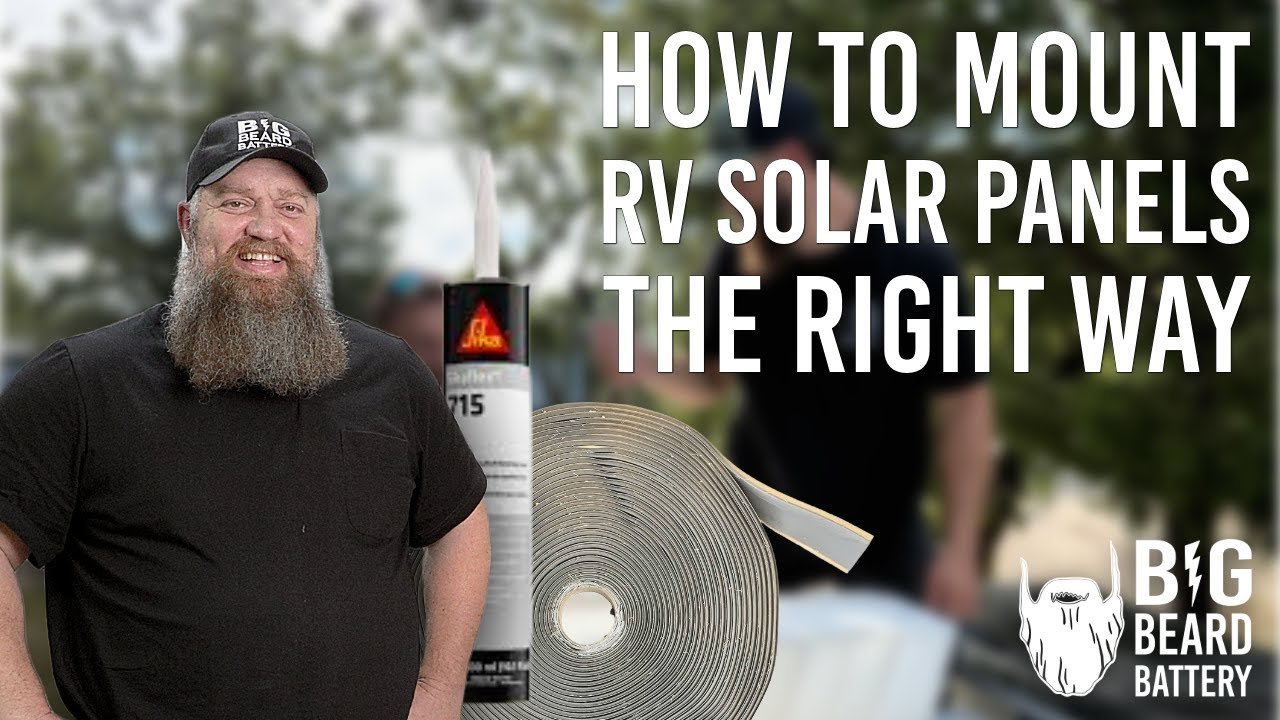
Get your solar panel mounted securely first. On an RV roof, use aluminum brackets with stainless steel hardware and seal the roof penetrations with butyl tape or Dicor lap sealant. For a ground mount, angle the panel toward the sun at roughly your latitude angle.
Run the PV wire from the panel down to where your charge controller and battery live. Keep the MC4 connectors disconnected at the panel end for now. Route the wire through a grommet or cable gland if it passes through a metal surface to prevent chafing.
Step 2: Connect the Charge Controller to the Battery First (Critical Order)
This is the most important step to remember. Always connect the battery to the charge controller before the solar panel. Why?
Most charge controllers need to sense battery voltage to know what voltage to output. If you connect the solar panel first, the controller might boot up with the panel's open-circuit voltage and assume it's connected to a higher-voltage system. That can damage the controller or the battery.
Start with the fuse holder. Install the fuse holder on the positive wire as close to the battery terminal as possible. Leave the fuse out for now.
Connect the positive wire from the charge controller to one side of the fuse holder. Connect the other side of the fuse holder to the battery positive terminal.
Connect the negative wire from the charge controller directly to the battery negative terminal. Double-check your polarity. The charge controller terminals are clearly marked with a plus and minus symbol.
Secure the connections snug but don't overtighten.
Now insert the fuse. You should see the charge controller power on. Its display should show the current battery voltage.
If the display is blank, check your connections. If it shows a negative voltage or an error code, you reversed polarity. Remove the fuse immediately and swap the wires.
Step 3: Set the Controller to the Correct Battery Type
With the controller powered up, navigate through its menu (most have two or three buttons). Select the battery type that matches your battery. Flooded, AGM, Gel, or Lithium.
If you're using a lithium battery and your controller doesn't have a lithium setting, look for a "User" or "Custom" setting where you can manually enter the absorption and float voltages.
Set the absorption voltage to the manufacturer's recommendation. For most flooded lead-acid batteries, that's 14.4 to 14.8 volts. For AGM, 14.2 to 14.6 volts.
For LiFePO4, 14.2 to 14.6 volts. The float voltage should be around 13.2 to 13.8 volts for lead-acid and 13.4 to 13.8 volts for lithium.
If you don't change this setting, the controller will use its factory default, which is usually for flooded lead-acid. That's fine if that's what you have. But if you have a lithium battery and leave it on the flooded setting, you risk overcharging.
Step 4: Connect the Panel to the Charge Controller
Now connect the solar panel. Take the PV wires you ran earlier and plug the MC4 connectors into the panel. If you're using extension cables, connect those first.
The MC4 connectors click when they lock. Give a gentle tug to confirm they're seated.
Connect the other end of the PV wire to the solar input terminals on the charge controller. Again, check polarity. Positive to positive, negative to negative.
Most controllers have a reverse polarity protection, but don't rely on it. Getting it wrong can blow an internal fuse.
Once connected, the controller should show the solar panel voltage and start charging. The panel voltage will drop from its open-circuit value down to near the battery voltage as soon as charging begins. That's normal.
Step 5: Verify Everything With a Multimeter Before Walking Away
Don't trust the controller display alone. Grab your multimeter and verify voltages at key points. Set it to DC voltage mode.
First, measure the battery voltage directly at the battery terminals. It should match what the controller displays within 0.1 to 0.2 volts. If it's off by more than that, you might have a voltage drop issue in your wiring.
Next, measure the voltage at the solar panel input terminals on the controller. In full sun, this should be higher than the battery voltage, typically 17 to 22 volts for a 12V panel. If it's the same as the battery voltage and your controller is PWM, that's expected because the controller is bringing the panel voltage down.
If it's under 12 volts and the sun is out, your panel may be shaded or faulty.
Finally, check for any heat at the connections. Touch the terminals gently. If anything is hot to the touch within a few minutes of charging, you have a high-resistance connection.
Shut down the system and re-crimp or tighten that connection.
What Happens If You Connect the Panel Directly to the Battery (Don't Do This)
I'm putting this section here because someone will read the steps above and think "what if I skip the charge controller for just a test?" Don't. Here's exactly what happens.
A 100W panel in full sun pushes about 5.5 amps into a deeply discharged 12V battery. That's fine at first. But as the battery charges, its voltage rises.
Without a controller, the panel keeps pushing current. The battery voltage climbs to 14.5 volts, then 15, then 16. At around 14.8 volts for a flooded battery, the electrolyte starts gassing heavily.
Water breaks down into hydrogen and oxygen. That's explosive.
At 15 volts, the positive plates begin to corrode. At 16 volts, the battery is cooking. Internal temperature rises.
The case can bulge. Flooded batteries can spew acid. Sealed AGM batteries can vent their pressure relief valve.
Lithium batteries with a good BMS will disconnect, but cheap ones without proper protection can catch fire.
The panel itself isn't harmed. Panels are robust. But the battery is being destroyed in real time.
A battery that costs $200 to $400 can be ruined in a single afternoon of direct connection.
And here's the thing: some people get away with it for a while. They connect a small 10W panel to a large battery bank and the overcharging happens so slowly they don't notice until the battery starts losing capacity. That's the insidious part.
The damage is cumulative and invisible until it's too late.
So no, don't bypass the charge controller. Not for testing. Not for a quick charge.
Not even for five minutes. The controller costs $20 to $100. Replacing a battery costs a lot more, and the safety risk is completely avoidable.
The Three Biggest Mistakes I See Beginners Make
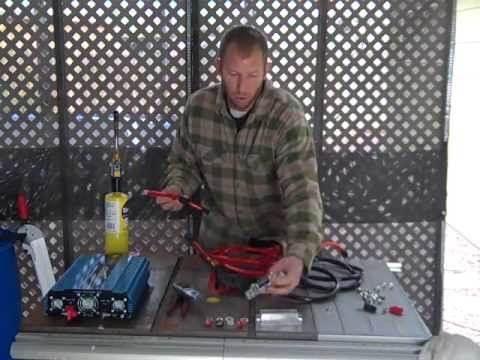
Image source: YouTube / lasvegascollapse (YouTube thumbnail (fair-use with source credit))
Mistake 1: Wrong Wire Gauge
People grab whatever wire is lying around. That 16 AWG lamp cord might work for a few minutes, but it will heat up fast. Use the sizing table from earlier.
When in doubt, go one gauge thicker.
Mistake 2: No Fuse Between Battery and Controller
A short circuit can melt wire insulation in seconds. That fuse is your only protection. Install it within 18 inches of the battery positive terminal.
A 20A system needs a 25A or 30A fuse.
Mistake 3: Reversed Polarity
It's embarrassingly easy to swap positive and negative. Double-check before connecting. Most controllers have reverse polarity protection, but not all.
A split-second mistake can destroy the controller.
PWM vs. MPPT Charge Controllers: Which One Do You Actually Need?
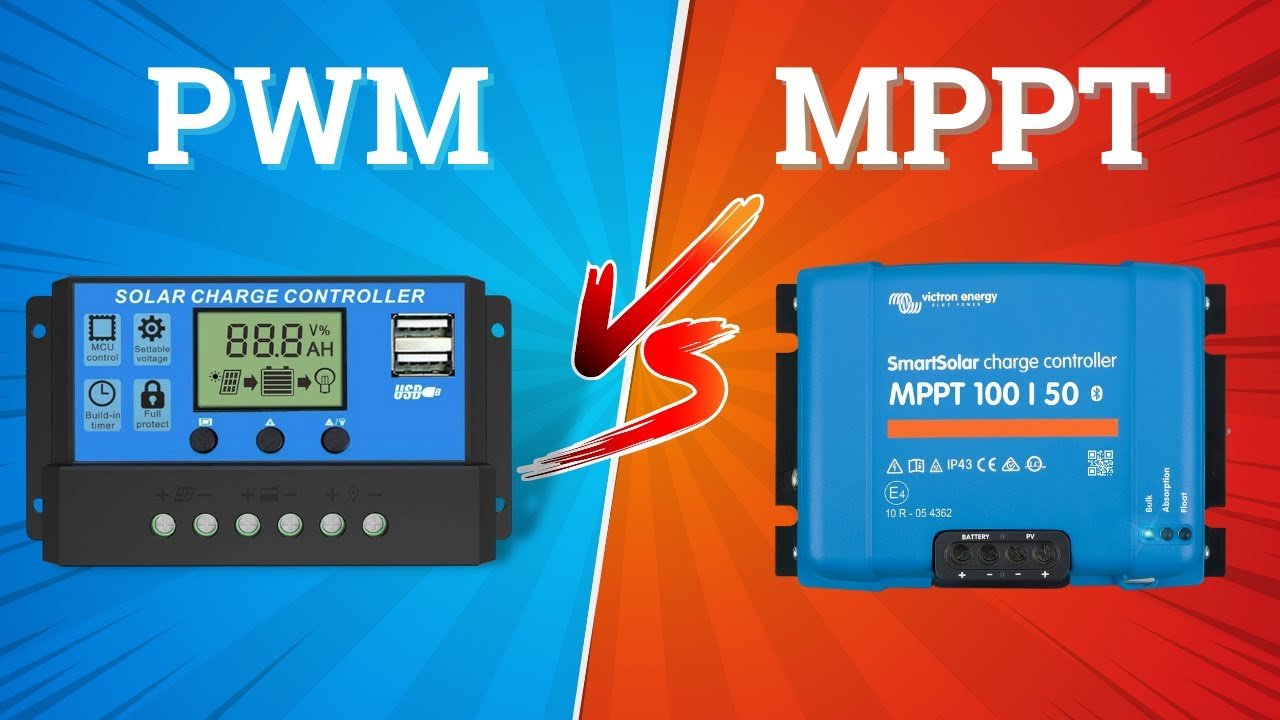
Image source: YouTube / Cleversolarpower by Nick (YouTube thumbnail (fair-use with source credit))
A PWM controller works fine for small systems under 200 watts where the panel voltage is close to the battery voltage. It costs $15 to $40 and is simple to set up.
An MPPT controller adds 20 to 30 percent more charging power. It excels in cold weather and when your panel voltage is much higher than your battery voltage. It costs $50 to $200.
If you're building a 100W camping setup, save your money with PWM. If you're running 300W or more, or if you plan to expand later, get MPPT. The extra efficiency pays for itself.
Lead Acid vs. Lithium: How Battery Chemistry Changes Your Wiring
The wiring steps are the same for both chemistries. What changes is the charge controller settings.
Lead-acid batteries need an absorption voltage of 14.4 to 14.8 volts and a float voltage of 13.2 to 13.8 volts. They also need temperature compensation. If you charge them below freezing, reduce the voltage.
Lithium batteries (LiFePO4) charge at 14.2 to 14.6 volts and don't need float voltage. They can handle higher charge currents and deeper discharges. But they need a BMS and they can't be charged below 32°F.
If your controller has a lithium setting, use it.
When to Call in a Pro (And When It's Safe to DIY)
You can safely DIY a 12V system with a single panel and battery. The wiring is straightforward and the risks are manageable with basic precautions.
Call a licensed electrician if you're wiring into your home's AC panel, installing a system over 1000 watts, or dealing with 48V battery banks. High voltage DC is dangerous and requires proper disconnects and grounding per local codes.
Common Setup Scenarios Walked Through
RV or Van Setup (12V, 200W Panel, Single Battery)
Use a 20A MPPT controller. Mount the panel on the roof with VHB tape or brackets. Run 10 AWG wire down through a roof gland.
Connect the battery to the controller first, then the panel. Set the controller to the correct battery type.
Off-Grid Cabin (24V System, Battery Bank, Heavier Loads)
Wire two 12V batteries in series for 24V. Use a 40A MPPT controller. Wire the panels in series to stay above the battery voltage.
Use 8 AWG wire for the main runs. Install a Class T fuse near the battery bank.
Portable Camping Kit (100W Folding Panel, Small Power Station)
Most portable power stations have a built-in charge controller. Just plug the panel into the MC4 input. The power station handles overcharge protection automatically.
No wiring needed.
Maintenance: What to Check After the Wiring Is Done
Check the battery voltage monthly with a multimeter. A healthy 12V lead-acid battery at rest reads 12.5 to 12.8 volts. If it's below 12.4 volts, your system isn't charging enough.
Clean the solar panel surface every few months. Dust and bird droppings can cut output by 20 percent. Use water and a soft cloth.
No harsh chemicals.
For flooded lead-acid batteries, check the electrolyte level every month. Top off with distilled water only. Never add acid.
Keep the terminals clean and coated with anti-corrosion spray.
Frequently Asked Questions
Can I connect a solar panel directly to a battery?
No. You need a charge controller between the panel and battery. Direct connection overcharges the battery, causes gassing, and can ruin the battery in hours.
It's also a fire risk.
What size charge controller do I need for a 100W panel?
A 10A charge controller handles a 100W panel at 12V. A 100W panel produces about 8.3 amps. Round up to 10A for safety margin.
If you plan to expand, buy a 20A controller now.
Do I need a fuse between the battery and charge controller?
Yes. Install a fuse or circuit breaker on the positive wire within 18 inches of the battery terminal. It protects against short circuits.
Without it, a fault can melt wires and start a fire.
How long does it take to charge a 100Ah battery with a 100W panel?
In full sun, it takes about 12 to 14 hours to charge a 100Ah lead-acid battery from 50 percent. Real-world conditions add more time. Clouds, angle, and temperature all reduce output.
Can I mix old and new batteries in a solar bank?
No. Mixing batteries of different ages or chemistries causes uneven charging. The weaker battery drags down the whole bank.
Replace all batteries at the same time for best performance.
The Safe Connection Order (Cheat Sheet to Save for Later)
- Mount the panel and run the wire. Leave MC4 connectors disconnected at the panel.
- Install the fuse holder on the battery positive wire, close to the terminal. Leave the fuse out.
- Connect the charge controller to the battery. Positive to fuse holder, then fuse holder to battery. Negative direct to battery.
- Insert the fuse. Controller powers on. Set battery type in the menu.
- Connect the panel to the charge controller. MC4 connectors click into place.
- Verify with a multimeter. Battery voltage matches controller display. Panel voltage is higher than battery voltage.
- Check connections for heat after 10 minutes of charging. Tighten anything warm.
Follow this order every time. It prevents sparks, protects your equipment, and keeps you safe.

Similar Posts