how to make more efficient solar panels
You’re staring at your roof, measuring every available inch, and wondering if the panels you pick will actually squeeze out every possible watt. The question “how to make more efficient solar panels” isn’t just about buying the most expensive module on the shelf. It’s about understanding the physics, the manufacturing tricks, and the real-world choices that separate a lackluster system from one that earns its keep for 25 years.
As of 2026, a standard residential monocrystalline panel hovers around 20, 23% efficiency. That number doesn’t sound huge, but a difference of two percentage points can mean hundreds of extra kilowatt-hours per year on a typical roof, or the difference between fitting a system that covers your bill and needing one panel more than you have space for. Before we dive into the nuts and bolts, let’s get one thing straight: you don’t need to become a semiconductor engineer.
But you do need to know what matters and what doesn’t.
Image source: YouTube / SolarQuotes (YouTube thumbnail (fair-use with source credit))
Quick Answer
Make a solar panel more efficient by choosing high-quality cells with low temperature coefficients. Prioritize PERC or heterojunction designs over older polycrystalline. Use microinverters or optimizers to handle partial shading.
Keep panels clean and ensure good airflow underneath. Match your inverter size to the panel’s output without over-clipping. The biggest efficiency gains come from system design, not just the panel spec sheet.
Why Efficiency Matters More Than You Think
Most people assume a 22% efficient panel is simply “better” than a 20% one. That’s true, but the real story is in the compound effect over two decades. Let’s use a concrete example.
A 400-watt panel at 20% efficiency produces about 400 watts under standard test conditions. Bump that to 22% and the same physical footprint yields around 440 watts. Over a year in sunny Phoenix that extra 40 watts per panel can add up to roughly 60, 70 kilowatt-hours.
Multiply that by 20 panels and you’re looking at 1,200, 1,400 extra kilowatt-hours per year, enough to offset a significant chunk of your air conditioning load.
But efficiency also affects how many panels you can fit. If your roof has limited south-facing space, going from 20% to 22% might let you install a system that covers 100% of your usage rather than 85%. That’s the difference between a system that pays for itself in 8 years versus one that never quite zeroes out your bill.
The other angle: lower-quality panels degrade faster. A panel that loses 0.7% of its output per year will be down to about 84% after 25 years. A premium panel with 0.3% annual degradation stays above 92%.
Over the life of the system, that gap compounds, and the high-efficiency panel wins by a bigger margin than the initial spec suggests. The advantages and disadvantages of solar panels are worth weighing carefully, but efficiency directly tilts the scale.
The Physics Behind Solar Cell Efficiency (In Plain English)
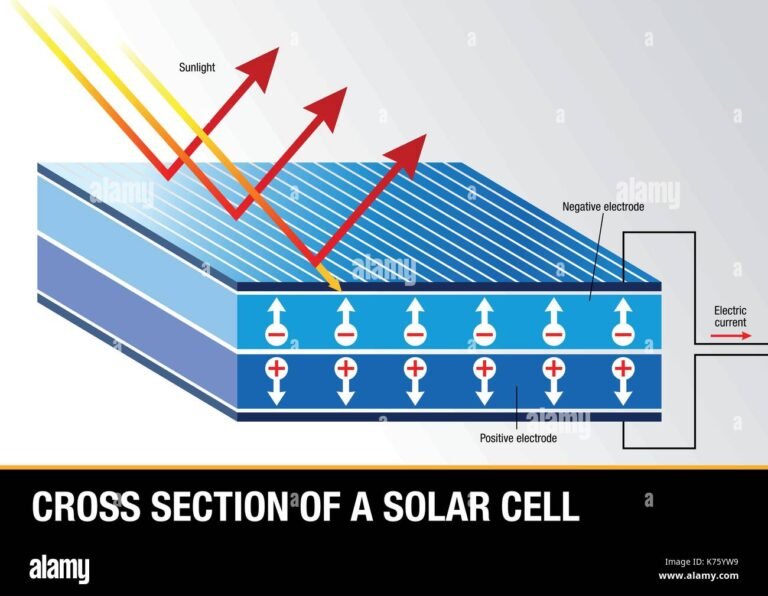
A solar cell is basically a sandwich of two layers of silicon with different electrical properties. When sunlight hits, it knocks electrons loose. Those electrons flow through an external circuit, creating direct current.
The efficiency is simply the percentage of sunlight energy that gets turned into usable electricity.
Why isn’t it 100%? Because physics gets in the way.
First, some photons bounce off the surface entirely. That’s why manufacturers apply anti-reflective coatings, the same principle that makes your glasses less glary. Second, some photons have too little energy to knock an electron loose (they pass right through), and others have too much energy (the extra is lost as heat).
This is the “bandgap” problem: silicon’s bandgap is about 1.1 electron volts, which is a good match for the sun’s spectrum, but not perfect.
Third, once an electron is knocked loose, it can recombine with a “hole” before making it to the circuit. That’s recombination loss. Passivation layers reduce this by coating the cell’s surfaces with materials like aluminum oxide that keep electrons from getting trapped.
Image source: YouTube / edX (YouTube thumbnail (fair-use with source credit))
The diagram above shows the basic bandgap and electron flow. In practice, the best monocrystalline silicon cells in the lab have hit about 27% efficiency. Commercial versions typically top out around 23, 24% for single-junction cells.
Any higher than that usually requires stacking two different materials (tandem cells), which is where the market is heading, but most homeowners aren’t there yet.
If you want a deeper dive into the fundamental process, the article on how solar panels generate electricity lays it out step by step.
What Determines Real-World Panel Efficiency Today
You can’t just pick a panel by its efficiency sticker. The number you see on the datasheet is measured under Standard Test Conditions, 25°C cell temperature, 1000 watts per square meter of light, and a specific spectrum. Real conditions are rarely that perfect.
Here are the key factors that determine how a panel actually performs on your roof.
Cell type. Monocrystalline PERC (Passivated Emitter and Rear Cell) dominates the mid-to-premium market. It adds a passivation layer on the back side that bounces unabsorbed light back through the cell, boosting efficiency by about 1, 2% absolute. Heterojunction (HJT) cells layer a thin film of amorphous silicon on both sides of a crystalline wafer, achieving even higher efficiencies and better temperature performance.
Interdigitated back contact (IBC) cells move all the electrical contacts to the back, eliminating front-side shading, which gives the highest commercial efficiency (SunPower’s Maxeon series hits 22, 23%, for example).
Temperature coefficient. Every panel loses output as it heats up. The temperature coefficient tells you how much. A typical PERC panel has a coefficient around, 0.35% per degree Celsius.
A premium HJT panel might be, 0.28%. In a 40°C rooftop (common in summer), that difference can mean 5, 7% more output from the HJT panel. Hot climates should prioritize a low temperature coefficient over raw nameplate efficiency.
Degradation rate. The National Renewable Energy Laboratory (NREL) publishes data showing that premium panels degrade at about 0.3, 0.5% per year, while budget panels can hit 0.8% or higher. A low degradation rate is effectively an extra efficiency gain over the life of the system. Don’t ignore it.
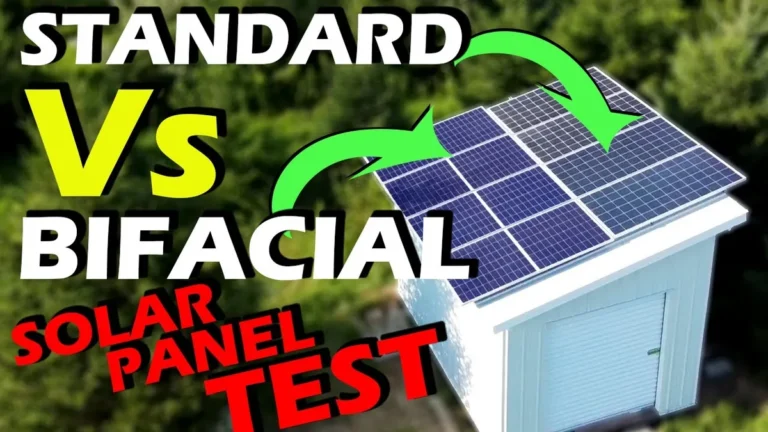
Bifacial design. Bifacial panels capture light reflected off the ground or roof, adding 5, 15% extra yield depending on the surface albedo. They require a transparent backsheet or glass and a reflective mounting surface. In a flat-roof commercial setting, bifacial can be a massive win.
On a dark asphalt shingle roof, the gain is modest.
Shading and mismatch. Even one shaded cell can drop a whole string’s output. That’s where half-cut cells help, they reduce the impact by segmenting the cell so only a portion is affected. Bypass diodes also limit the damage.
For a comprehensive look at all the panel styles available, the guide on types of solar panels breaks down each technology with clear pros and cons.
How Manufacturers Actually Make Panels More Efficient
You don’t need to build your own cell, but understanding manufacturing tricks helps you identify which panels are genuinely advanced and which ones just have a pretty datasheet.
Cell texturing. Manufacturers etch the surface of the silicon wafer with an alkaline solution to create tiny pyramids. These pyramids trap light by causing it to bounce around rather than reflecting straight off. It’s a cheap and effective way to boost absorption.
Anti-reflective coating. A thin layer of silicon nitride or titanium dioxide is deposited on the front surface. This cuts reflection from about 30% down to under 5%. That’s a huge efficiency gain for a relatively small process cost.
Passivation layers. Applying a thin film (often aluminum oxide) to the front and back surfaces prevents electron recombination. PERC cells use a passivation layer on the rear side. The best modern cells use bifacial passivation, covering both sides.
Selective emitter. A heavily doped region under the metal contacts reduces resistance while keeping the rest of the cell lightly doped to maintain voltage. It’s a fine-tuning trick that adds about 0.5% absolute efficiency.
Multi-busbar and half-cut designs. Traditional cells had two to three thick busbars. Newer cells use 9, 12 thinner busbars, which reduces shading from the metal lines and shortens the path for electrons to travel. Half-cut cells divide a standard cell into two halves, reducing current per half and cutting resistive losses.
Shingled cells overlap like roof tiles, eliminating busbars entirely and packing more active area into the module.
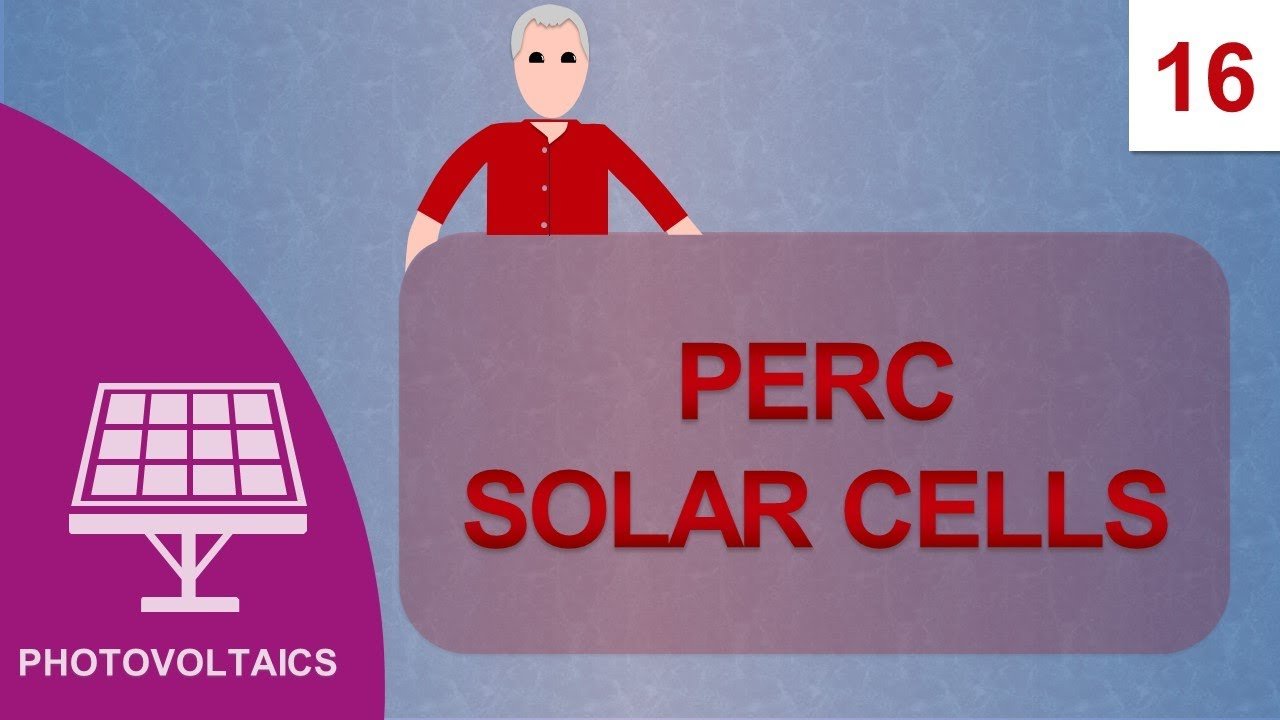
Image source: YouTube / Photovoltaics Explained (YouTube thumbnail (fair-use with source credit))
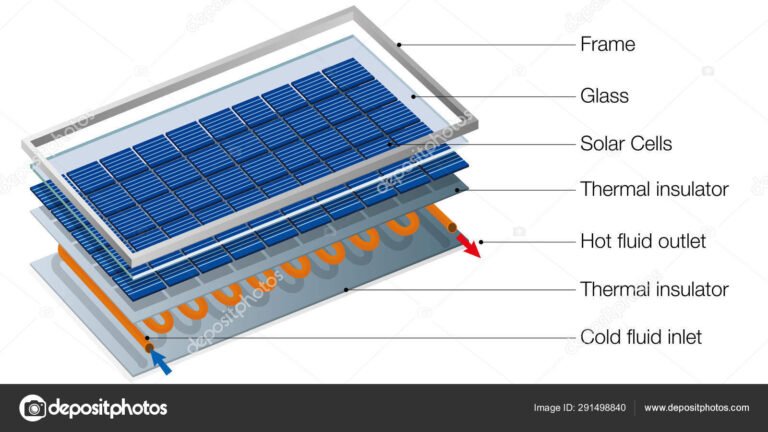
The image above shows a cross-section of a PERC cell with its key layers. The passivation layer on the rear side is what makes PERC different from older designs.
Lamination and encapsulation. The cell is sandwiched between EVA (ethylene vinyl acetate) or POE (polyolefin) and a tempered glass front sheet. Proper lamination prevents moisture ingress, which can degrade efficiency over time. Premium panels use POE because it resists yellowing and PID (potential-induced degradation) better than EVA.
Manufacturing tolerances. Panels come with a “power tolerance”, typically +0 / +5 watts for better brands, versus -0 / +5 for cheaper ones. That means a nominally 400W panel from a premium manufacturer might actually produce 405W, while a budget one might just scrape 395W. The main components of a solar panel are worth exploring to understand what goes into each layer.
Efficiency vs. Yield: The Trap Most Homeowners Fall Into
Here’s where things get counterintuitive. A 22% efficient panel can underperform a 20% one in certain conditions. The reason is that efficiency is just one of many variables that determine total annual energy yield (measured in kilowatt-hours per kilowatt-peak, or kWh/kWp).
The biggest trap is ignoring your local climate. A panel with a high temperature coefficient will lose more output on a hot summer day than a panel with a slightly lower nameplate efficiency but a better temperature coefficient. In Phoenix, a 22% panel with a, 0.38% coefficient may yield less annually than a 21% panel with a, 0.28% coefficient.
Shading is another killer. If part of your roof gets shaded by a chimney or tree in the afternoon, your string inverter will drag down the whole array. In that scenario, buying ultra-high-efficiency panels is wasted money unless you also install microinverters or power optimizers.
A standard panel paired with a microinverter often yields more actual electricity than a premium panel with a string inverter under partial shade.
Inverter matching also matters. Oversizing your inverter (more panel DC capacity than inverter AC capacity) causes clipping on the best days, wasting potential output. Undersizing means the inverter never hits peak efficiency.
The ideal DC-to-AC ratio is around 1.1 to 1.3 depending on your location. The solar panel buying guide includes a section on inverter selection that helps you get this right.
Example: A homeowner in Colorado with a south-facing roof that gets full sun from 9am to 4pm will see a near-perfect match between nameplate efficiency and real-world yield. The same homeowner in coastal Texas with a roof that gets morning shade and afternoon heat will need to prioritize temperature coefficient and shading tolerance over raw efficiency.
The takeaway: don’t fixate on the efficiency number alone. Ask for the specific yield calculation for your climate. Many reputable installers provide a PVsyst simulation that accounts for all these factors.
If they don’t, that’s a red flag.
For a full overview of what solar panels are and how they fit into a complete system, the article on what is a solar panel offers a solid foundation.
Image source: YouTube / Gary Does Solar ☀️ (YouTube thumbnail (fair-use with source credit))
Image source: YouTube / ShopSolar (YouTube thumbnail (fair-use with source credit))