how to select solar panel and battery
If you're trying to figure out how to select solar panel and battery for your home, you've probably noticed the options are overwhelming. One wrong choice can mean thousands of dollars lost or a system that doesn't power your essentials during an outage. Getting it right from the start matters.
As of 2026, the federal Investment Tax Credit covers 30% of the total system cost, but only if the equipment meets UL 9540 and UL 1703 standards. That's a significant incentive, but it also means you can't just grab any random panels and a battery. The industry has specific requirements, and understanding them is the difference between a system that works and one that doesn't.
Let's walk through what you actually need to know.
Quick Answer
Select solar panels based on efficiency and temperature coefficient. Choose batteries by usable capacity and chemistry. Size your system using your utility bills and peak sun hours.
Match the inverter to your battery type. Always verify UL certifications.
Image source: Wikimedia Commons / NASA
Why Getting This Right Actually Matters (The Cost of Getting It Wrong)
A mismatched solar panel and battery system doesn't just underperform. It can cost you thousands in wasted equipment, lost energy production, and even safety hazards. We've seen homeowners install panels that produce more voltage than their charge controller can handle, cooking the electronics within weeks.
The financial stakes are real. A typical residential system runs between $15,000 and $30,000 before incentives. If you pick the wrong battery chemistry for your climate, you might lose 30% of its usable capacity in cold weather.
If you oversize your battery bank, it never cycles properly and degrades faster.
Per the National Electrical Code (NEC 2023), every grid-tied solar plus storage system must include rapid shutdown and arc-fault protection. Installing equipment that doesn't comply means you'll fail inspection and have to rip it out. That's not just frustrating.
It's expensive.
The bottom line? Getting the selection right the first time saves money, keeps your family safe, and ensures your system actually works when the grid goes down. Think of it this way: a solar investment is a 25-year commitment.
The choices you make at the start determine whether that investment pays off or becomes a headache.
Solar Panels 101: What You Actually Need to Know Before Buying
Efficiency, Wattage, and Temperature Coefficient – The Three Numbers That Matter Most
Panel efficiency tells you how much sunlight a panel converts into electricity. Residential panels range from 18% to 23%. Higher efficiency means more power from the same roof space.
If you have limited roof area, you want panels on the upper end of that range.
Wattage is the panel's rated output under ideal conditions. A typical 400-watt panel produces 400 watts in full sun. But here's the catch: that rating is measured at 25°C (77°F).
In real-world conditions, panels get hot, and performance drops.
That's where the temperature coefficient comes in. It tells you how much power the panel loses per degree above 25°C. A coefficient of -0.35%/°C means the panel loses 0.35% of its power for every degree over 25°C.
On a 40°C rooftop, that's a 5% loss compared to the rating. Lower coefficients are better.
Manufacturer specifications indicate that premium panels typically have coefficients between -0.25% and -0.35%/°C. Budget panels can be worse, hitting -0.45%/°C. That difference adds up over the life of the system.
Monocrystalline vs Polycrystalline vs Thin-Film – Which One Belongs on Your Roof
Monocrystalline panels are the most efficient and most common. They're made from a single silicon crystal and have a uniform dark black appearance. For most residential installations, these are the default choice.
Polycrystalline panels are slightly less efficient and have a blue, speckled look. They cost less per watt but take up more roof space for the same output. They're a reasonable option if you have plenty of roof area and want to save on upfront costs.
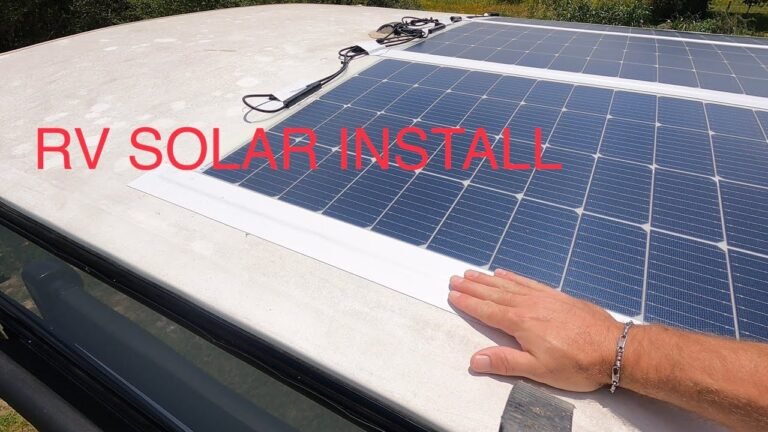
Thin-film panels are the least efficient (around 10-12%) but are flexible and lightweight. They're rarely used for residential rooftops anymore. You'll find them on large commercial buildings, RVs, or portable setups where weight matters more than space.
Here's a quick comparison of the different technologies available:
| Panel Type | Typical Efficiency | Best For | Trade-Off |
|---|---|---|---|
| Monocrystalline | 19-23% | Limited roof space, highest energy yield | Higher upfront cost |
| Polycrystalline | 15-18% | Large roof areas, budget-conscious buyers | Lower efficiency, more panels needed |
| Thin-Film | 10-12% | RVs, portable, lightweight applications | Very low efficiency, short lifespan |
For most homeowners, monocrystalline panels are the right call. The extra cost pays for itself in higher energy production over the panel's 25-year life. If you want to understand the different options better, our guide on the various types available covers the details.

Image source: YouTube / Star Solar Specialists (YouTube thumbnail (fair-use with source credit))
Solar Batteries Are Not One-Size-Fits-All
Lithium Iron Phosphate (LFP) vs NMC vs Lead-Acid – The Chemistry Trade-Offs
Battery chemistry determines everything about how your system performs. It affects cycle life, depth of discharge, safety, and cost. The three main options are lithium iron phosphate (LFP), nickel manganese cobalt (NMC), and lead-acid.
LFP batteries are the current gold standard for home solar. They offer 3,000 to 6,000 cycles at 80-100% depth of discharge. That means you can use most of the battery's capacity every day for a decade or more.
They're also thermally stable and less prone to fire than NMC.
NMC batteries have higher energy density, meaning they pack more power into a smaller space. But they degrade faster, typically lasting 1,500 to 3,000 cycles. They're common in electric vehicles and some older home batteries.
The trade-off is shorter life and higher fire risk.
Lead-acid batteries are the cheapest upfront but the most expensive over time. They only allow 50% depth of discharge, so you need double the rated capacity to get the same usable energy. They last 500 to 1,200 cycles.
They're heavy, require maintenance, and vent hydrogen gas.
Here's how the main battery chemistries stack up:
| Chemistry | Cycle Life | Depth of Discharge | Upfront Cost | Best For |
|---|---|---|---|---|
| LFP (LiFePO₄) | 3,000-6,000 | 80-100% | Higher | Long-term home backup, daily cycling |
| NMC | 1,500-3,000 | 80-90% | Moderate | Space-constrained installations |
| Lead-Acid (AGM) | 500-1,200 | 50% | Lowest | Budget systems, occasional backup |
For nearly all home solar applications, LFP is the right choice. The longer cycle life and deeper discharge make it cheaper per kilowatt-hour over the system's lifetime. You can also learn more about the trade-offs in our comparison of the advantages and disadvantages of different solar setups.
Usable Capacity vs. Gross Capacity – Why the Label Lies
Battery manufacturers advertise gross capacity, which is the total energy the battery can hold. But you can't use all of it. The battery's battery management system (BMS) limits how deeply you can discharge to protect the cells.
A 10 kWh LFP battery with 90% depth of discharge gives you 9 kWh of usable energy. A 10 kWh lead-acid battery with 50% depth of discharge gives you only 5 kWh. That's a huge difference.
When comparing batteries, always look at usable capacity, not gross. It's the number that actually matters for how long your system runs during an outage. Manufacturer specs clearly state both numbers.
Ignore the gross figure and compare usable kilowatt-hours.
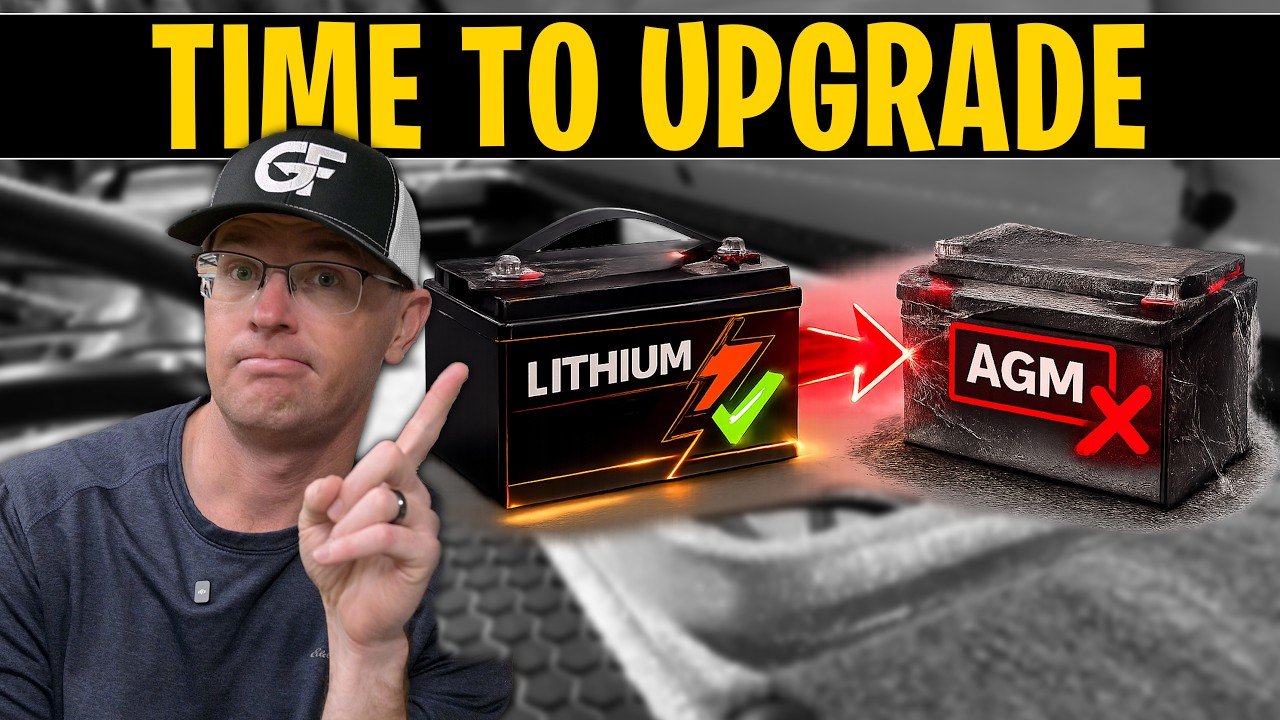
Image source: YouTube / goodman_fishing (YouTube thumbnail (fair-use with source credit))
The Inverter and Charge Controller: The Real Brains of Your System
Hybrid vs. String vs. Microinverters – Which One Works With Your Battery
The inverter converts DC power from your panels into AC power for your home. If you're adding a battery, you need an inverter that can handle both solar input and battery charging. That's where the choice gets tricky.
Hybrid inverters are designed for solar plus storage. They handle both functions in one box. They're the simplest option for new installations.
Most modern hybrid inverters work with LFP batteries and include built-in battery management communication.
String inverters are the traditional choice for solar-only systems. They connect all your panels in a series string. If you want to add a battery later, you need an additional AC-coupled battery inverter, which adds cost and complexity.
Microinverters sit behind each panel, converting DC to AC at the panel level. They're great for roofs with partial shading, but they require a separate battery inverter for storage. They're more expensive upfront but offer better per-panel monitoring.
For most homeowners building a new system with battery backup, a hybrid inverter is the cleanest solution. It simplifies wiring, reduces equipment costs, and ensures seamless integration. If you're retrofitting battery storage to an existing solar system, you'll need to look at the AC-coupled approach, which we cover later.
MPPT vs. PWM – Why Skimping Here Hurts Performance
The charge controller manages the voltage from your solar panels to safely charge your battery. There are two types, and the difference matters a lot.
MPPT (Maximum Power Point Tracking) controllers are more efficient and more expensive. They convert excess voltage into additional current, extracting more power from your panels. In cold weather, when panels produce higher voltage, MPPT controllers can deliver 20-30% more energy than PWM.
PWM (Pulse Width Modulation) controllers are simpler and cheaper. They essentially disconnect the panels when the battery is full, wasting any excess voltage. They work fine for small systems, but they're not suitable for larger home solar arrays.
For any system over 200 watts, use an MPPT controller. The extra cost pays for itself in higher energy harvest within the first year. The components of a solar system all work together, and the charge controller is a critical piece of that puzzle.
How to Size Your Solar Panel Array (It's Not About Your Roof Size Alone)
Reading Your Utility Bill Like a Pro: Peak Demand, Seasonal Loads, and Net Usage
Your utility bill tells you everything you need to know about sizing your system. But you need to know where to look.
First, find your monthly kilowatt-hour (kWh) usage. Look at the last 12 months, not just one month. Summer usage is often higher due to air conditioning.
Winter usage might spike if you have electric heat. Your system needs to cover the highest months, not the average.
Second, check your peak demand. Some utilities charge based on the highest 15-minute power draw in a month. If you have a high peak, your battery needs to be sized to handle that load, not just your average usage.
Third, understand your net metering policy. If your utility offers 1:1 net metering, you can oversize your panels and sell excess power back at full retail rate. If they've switched to net billing or avoided cost rates, oversizing doesn't make financial sense.
In that case, you want to size your system to match your actual consumption.
The National Renewable Energy Laboratory (NREL) provides free tools to estimate your system size based on your location and usage. The PVWatts calculator is worth bookmarking.
The Peak Sun Hours Rule – Why Your Neighbor's System Won't Work for You
Peak sun hours (PSH) measure how many hours per day your location receives full-intensity sunlight. It's not the same as daylight hours. A location in Arizona might get 6.5 peak sun hours per day.
A location in Seattle might get 3.5.
To size your system, divide your daily kWh usage by your PSH, then add a buffer for system losses. For example, if you use 30 kWh per day and live in a location with 5 PSH, you need roughly 6 kW of panels (30 ÷ 5), plus 20% for inverter and wiring losses, bringing you to about 7.2 kW.
The same system in Seattle would need about 10.3 kW (30 ÷ 3.5, plus 20%). That's a much larger array. Your neighbor's system size has no relevance to your situation.
The only numbers that matter are your usage and your local sun hours.
If you're building a new system, our solar panel buying guide walks through the full sizing process step by step.
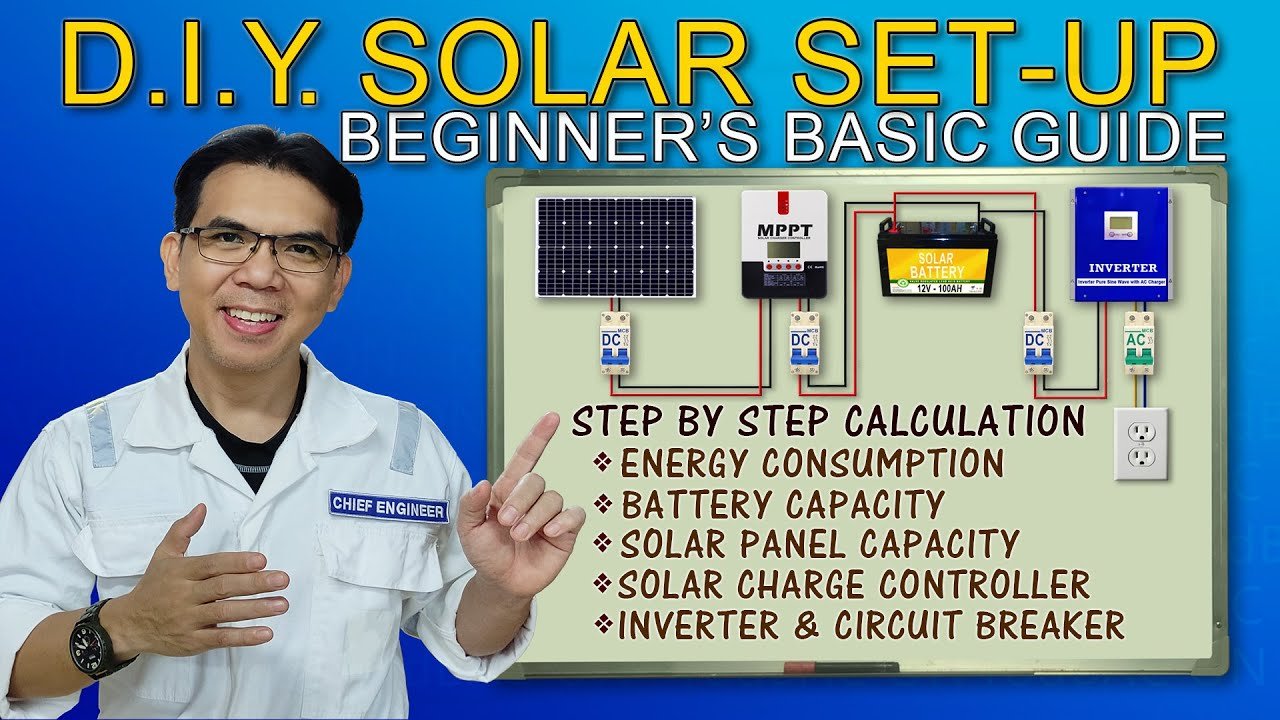
Image source: YouTube / rodBAC ON (YouTube thumbnail (fair-use with source credit))
How to Size Your Battery Bank: Days of Autonomy, Depth of Discharge, and Load Calculations
Critical Loads vs. Whole-Home Backup – The Honest Trade-Off
First, decide what you need to power during an outage. Critical loads include your refrigerator, lights, internet, and a few outlets for charging phones. Whole-home backup covers everything, including your AC, oven, and dryer.
The cost difference is significant. A critical loads setup with a 10 kWh battery runs about $8,000 to $12,000 installed. A whole-home system with 20 kWh or more can cost $20,000 to $30,000 just for the battery.
Most homeowners do fine with critical loads.
Calculate your daily load by listing every appliance and its wattage. Multiply by expected run time per day. Add them up.
Then multiply by your desired days of autonomy. One day covers short outages. Three days handles most storm events.
Remember that your solar panels recharge the battery during daylight. You don't always need to store three full days. A 10 kWh battery paired with a 5 kW array can extend your backup indefinitely if the sun is out.
Divide your total daily load by the battery's depth of discharge. An LFP battery at 90% DoD gives you more usable capacity than a lead-acid battery at 50% DoD. Always use usable capacity, not gross, when sizing.
The Seven Most Common Sizing Mistakes That Cost People Thousands
Mismatched Panel Voltage and Battery Bank Voltage
Your solar panels produce a specific voltage range. Your battery bank operates at a specific nominal voltage. If they don't match, your charge controller either can't charge the battery or wastes energy.
A 48V battery bank needs panels with a Voc (open circuit voltage) that stays within the MPPT controller's input range. Most residential systems use 48V batteries with panels wired in series to hit 100-150V. Going too high or too low reduces efficiency.
Forgetting Future Expansion (And Why That Locks You In)
You buy a system today that meets your current needs. Two years later, you add an electric vehicle or a heat pump. Suddenly your system is undersized.
The fix is planning ahead. Buy a hybrid inverter that can handle more panels than you need today. Choose a battery that supports stacking.
Leave room in your breaker panel and conduit. The extra cost upfront is small compared to a full retrofit.
Oversizing Your Battery So It Never Cycles Properly
Lithium batteries last longest when they cycle regularly. If you buy a 30 kWh battery but only use 5 kWh per day, the battery sits at high state of charge most of the time. That accelerates degradation.
A good rule is to size your battery so you use 50 to 80 percent of its capacity on a typical day. That keeps the battery in its sweet spot for longevity. If you rarely use the capacity, you're paying for storage you don't need.
Other common mistakes include ignoring the temperature coefficient, picking the wrong charge controller type, and buying panels from a brand that may not exist in five years for warranty claims. Stick with established manufacturers with a track record.
AC-Coupled vs. DC-Coupled: Choosing Your System Architecture
Retrofitting a Battery to an Existing Solar System
DC-coupled systems connect your panels directly to the battery through a charge controller. The same inverter then converts DC from the battery to AC for your home. It's more efficient because there's only one conversion step.
AC-coupled systems keep your existing solar inverter. The battery has its own separate inverter that connects on the AC side. This is the standard way to add a battery to an existing solar system.
The efficiency difference is about 5 to 10 percent. DC-coupled systems lose less energy because they avoid the double conversion. But AC-coupled systems are simpler to retrofit and don't require replacing your existing solar inverter.
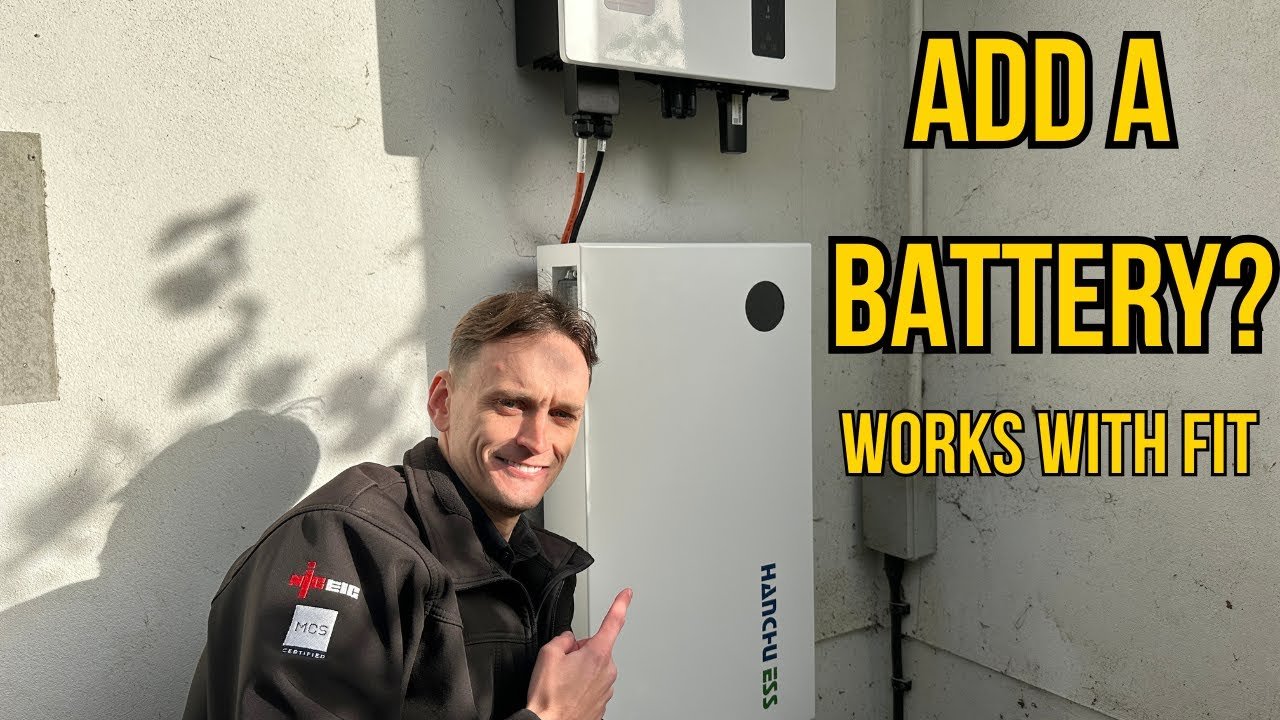
Image source: YouTube / LET Electrical & Renewables (YouTube thumbnail (fair-use with source credit))
For a new installation, DC-coupled is usually the better choice. For retrofitting an existing system, AC-coupled is often the only practical option. Your installer can help you decide based on your current equipment.
Real-World Decision Flow: Is a Battery Worth It for You?
Grid-Tied Only, Hybrid Backup, or Full Off-Grid – Where You Fall Depends on These Three Factors
Three factors determine whether a battery makes financial sense. Your utility rates, your outage frequency, and your net metering policy.
If your utility has time-of-use rates, a battery can save you money by charging during cheap solar hours and discharging during expensive peak hours. The savings can offset the battery cost over 8 to 12 years.
If you have frequent outages, a battery provides peace of mind that a generator can't match. No fuel, no noise, no maintenance. But if outages are rare, a battery might not pay for itself.
If your utility offers 1:1 net metering, a battery is harder to justify financially. You can use the grid as your battery for free. If net metering is limited or gone, a battery becomes more valuable.
Here's a simple decision flow:
- Frequent outages + time-of-use rates: Battery is a strong buy.
- Rare outages + 1:1 net metering: Battery is hard to justify. Stick with solar only.
- No net metering + high electricity costs: Battery is almost essential for solar to pay off.
- Off-grid living: Battery is mandatory. Size for 3 to 5 days of autonomy.
The Real Cost Picture: Equipment, Installation, Incentives, and Payback
Federal ITC, State Rebates, and Net Metering – What's Available in 2026
The federal Investment Tax Credit covers 30 percent of the total installed cost. No cap. It applies to both panels and batteries.
That's a $6,000 credit on a $20,000 system.
State incentives vary widely. California has the Self-Generation Incentive Program (SGIP) for battery storage, offering up to $1,000 per kWh for low-income households. New York has NY-Sun.
Massachusetts has SMART. Check your state's database of incentives.
Here's a typical cost breakdown for a 7 kW solar array with a 10 kWh LFP battery:
| Component | Cost Range |
|---|---|
| Solar panels (7 kW) | $4,900 – $9,100 |
| Inverter and balance of system | $2,000 – $4,000 |
| Battery (10 kWh LFP) | $7,000 – $12,000 |
| Installation labor | $4,000 – $8,000 |
| Permitting and fees | $500 – $2,000 |
| Total before incentives | $18,400 – $35,100 |
| Federal ITC (30%) | -$5,520 to -$10,530 |
| Net cost | $12,880 – $24,570 |
Payback periods typically range from 8 to 15 years depending on your electricity rates and usage. Battery life is 10 to 15 years for LFP. Panels last 25 to 30 years.
If you're planning a system, our detailed buying guide breaks down the full cost and payback calculations for different scenarios.
Safety, Code Compliance, and Permitting – What an Installer Should Handle
Every grid-tied solar plus battery system must meet the National Electrical Code (NEC) 2023 requirements. This includes rapid shutdown within 30 seconds, arc-fault protection, and proper grounding. Batteries need UL 9540 certification for fire safety.
Your installer handles permitting with your local building department. They verify structural load, electrical capacity, and fire code setbacks. Never skip this step.
An unpermitted system can void your insurance and fail a home inspection when you sell.
Maintenance That Actually Matters: Panel Cleaning, Battery Thermal Management, and Firmware Updates
Solar panels need cleaning once or twice a year in most climates. Rain does most of the work. In dusty areas, a hose rinse removes the grime that cuts production by 5 to 15 percent.
Batteries need thermal management. LFP batteries operate best between 60°F and 80°F. If your battery is in an unconditioned garage, extreme temperatures shorten its life.
Manufacturer specs show a 10 to 20 percent capacity loss below freezing.
Firmware updates keep your battery management system running correctly. Most modern systems update automatically over Wi-Fi. Check your monitoring app occasionally to confirm updates are applied.
The Final Decision Guide: Your Three Questions to Answer Before Signing Anything
Question one: What do you want the system to do? Backup power, bill savings, or full off-grid independence. Each goal leads to a different system design.
Question two: How much can you spend? The sweet spot for most homes is a 6 to 8 kW solar array with a 10 to 15 kWh LFP battery. Total cost runs $18,000 to $30,000 before the 30 percent federal tax credit.
Question three: Who installs it? Choose a licensed, bonded installer with NABCEP certification. Get three quotes. Compare equipment specs, warranty terms, and installer reputation.
The lowest price is rarely the best value.
Frequently Asked Questions
Can I install solar panels and a battery myself?
Technically yes, but we strongly advise against it for a grid-tied system. Permitting, interconnection agreements, and safety codes are complex. A mistake can cause fire or electrical shock.
Professional installation is worth the cost.
How long does a home solar battery last?
LFP batteries last 10 to 15 years or 3,000 to 6,000 cycles. Lead-acid batteries last 3 to 5 years. The battery's warranty typically covers 70 percent capacity retention after 10 years.
Do I need a battery if I have net metering?
Not necessarily. With 1:1 net metering, the grid acts as your battery. You sell excess solar power and buy it back later at the same price.
A battery only makes sense if you want backup power or have time-of-use rates.
What size solar panel system do I need for a 2,000 square foot home?
A 2,000 square foot home typically uses 800 to 1,200 kWh per month. That requires a 6 to 9 kW solar array, depending on your location's peak sun hours. Your energy audit will confirm the exact size.
Can I add a battery to my existing solar system?
Yes, but it requires an AC-coupled battery inverter. Not all solar inverters are compatible. Your installer will check your existing equipment and recommend a battery that works with your setup.
What's the difference between AC-coupled and DC-coupled battery systems?
DC-coupled systems charge the battery directly from the panels with one conversion. They are more efficient. AC-coupled systems work with existing solar inverters and are easier to retrofit.
New installations typically use DC-coupled.