how to install solar panel on rv
If you've been staring at your RV's bare roof and wondering about adding solar, you're not alone. Knowing how to install a solar panel on an RV is one of the most practical upgrades you can make for off-grid freedom. But the process isn't just about sticking panels up there and hoping for the best.
A successful installation comes down to careful planning, the right components, and understanding a few key visual cues.
Manufacturer specifications for RV solar installations frequently reference the National Electrical Code (NEC) Article 690, which governs photovoltaic systems. That may sound like overkill for a camper van, but it sets a solid baseline for wire sizing, overcurrent protection, and grounding. As of 2026, modern charge controllers and panels offer better efficiency than ever, making a DIY setup more reliable than it was just a few years ago.
The good news is that with the right visual guidance, you can tackle this project yourself. Let's start with why visuals matter so much for this specific job.
Quick Answer
To install solar panels on an RV, mount them securely to the roof. Route cables through a sealed entry point. Connect to a charge controller, then to your battery bank.
Always use proper fusing and follow the manual for your specific components. A multimeter helps verify everything works before sealing up.
Why Visuals Matter for RV Solar Installation
Every RV roof is different. Fiberglass, aluminum, rubber, TPO, and even wood framing all change how you mount panels and route cables. A diagram or photo can show you in seconds what a paragraph of text takes minutes to explain.
The biggest risk in any RV solar install is a roof leak. A single poorly sealed screw hole can let water damage your ceiling, insulation, and even the plywood subfloor. That's why seeing exactly where to drill, what sealant pattern to use, and how to route cables through a roof gland matters.
A photo of a properly sealed cable entry point is worth a thousand words of warning.
Another reason visuals are critical: roof curvature. Flexible panels handle gentle curves well, but rigid panels need flat mounting areas. If you've got a curved fiberglass roof, you need to see how the brackets sit and where the gap forms.
A picture of a Z-bracket mounted on a curved roof tells you more than any description of angles.
Finally, wiring is where most people get confused. Seeing a series versus parallel wiring diagram clarifies the difference instantly. You can spot the voltage and amperage changes on a schematic faster than you can read through them.
That's why the rest of this guide leans heavily on the visual references you'll find in the images and diagrams we've included.
What You'll Need – Tools, Parts, and Components (Visual Identifiers)
Before you start, gather everything in one place. Running to the hardware store mid-install is frustrating and wastes time. Here's a breakdown of what you'll need, split into tools and components.
Tools
| Tool | Purpose |
|---|---|
| Drill with hex bits | Screwing brackets into roof |
| Hole saw (1/2 inch to 1 inch) | Cutting roof entry for cables |
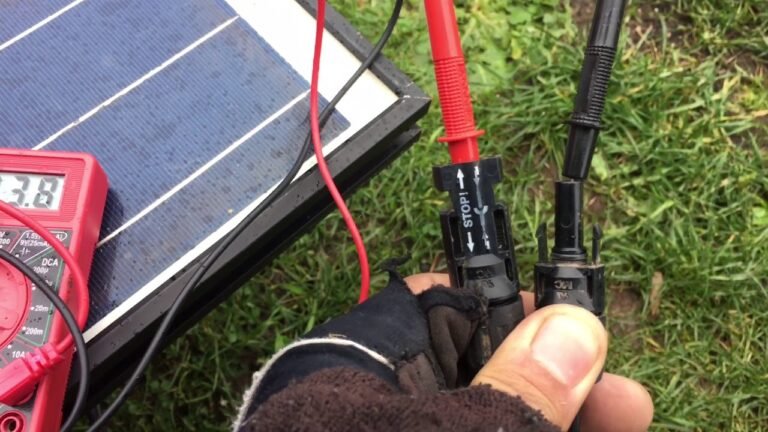
| Multimeter | Testing voltage, continuity, polarity |
| Wire stripper / crimper | Preparing cable ends and lugs |
| Tape measure | Roof layout and panel spacing |
| Level | Ensuring panels sit flat |
| Socket wrench set | Tightening hardware on brackets |
| Sealant gun | Applying Dicor or similar sealant |
| Utility knife | Cutting cable ties, trimming sealant |
| Safety glasses and gloves | Protecting yourself during drilling |
Components
| Component | What to Look For |
|---|---|
| Solar panels (rigid or flexible) | Monocrystalline, 100W to 400W per panel |
| Mounting brackets (Z-brackets or flush-mount) | Compatible with your roof material |
| Charge controller (PWM or MPPT) | Match to your panel voltage and battery type |
| Battery bank | Deep-cycle AGM, lead-acid, or LiFePO4 |
| Fuse / breaker (between panel and controller) | Rated for your panel's short-circuit current |
| Fuse / breaker (between controller and battery) | Typically 1.25x the controller's rated amperage |
| MC4 connectors | Pre-assembled or crimp-on |
| Cable entry gland (roof gland) | Includes sealing gasket and cover |
| Wire (PV-rated, 10 AWG or 6 AWG) | Based on run length and current |
| Battery monitor / shunt | Optional but highly recommended |
Take a photo of everything laid out on your workbench. That way, if you need to double-check a part number or connector type later, you have a visual reference.
Step 1: Measure Your Roof and Plan the Panel Layout
You can't just eyeball panel placement. Roof space is limited, and you need to account for AC units, vent fans, satellite dishes, and skylights. A measuring tape and a piece of cardboard are your best friends here.
How to Measure
Start by measuring the usable roof area. Length and width, minus any obstacles. Write down the dimensions.
Then, lay out your panels on the ground or on a cardboard mockup. Check that they fit with at least 2 inches of clearance between panels for airflow and expansion. Aggregate reviews from experienced RV installers show that tight spacing without airflow increases panel temperature by 10 to 20 degrees, which reduces efficiency by up to 10 percent.
Obstacle Mapping
Mark every roof penetration on your diagram. Vents, antennas, AC shrouds, and plumbing stacks all block sunlight. You want to avoid partial shading as much as possible.
A single shaded cell can drop the output of an entire panel string if you wire in series. If you have unavoidable shading, consider using a charge controller with MPPT technology, which handles partial shading better than PWM controllers.
Orientation and Tilt
Most RV roofs are flat, so panels sit parallel to the roof. That's fine for casual boondocking. If you plan to park in one spot for weeks, an adjustable tilt mount can boost winter output by 15 to 25 percent.
But tilt mounts add weight, height, and wind resistance. For the average weekend camper, flat mounting is the simplest and most reliable choice.
Visual Tip
Take a photo of your roof from a ladder or a drone if you have one. Label the obstacles and the proposed panel positions on the image. This becomes your reference during installation.
It also helps you visualize cable routing before you start drilling.
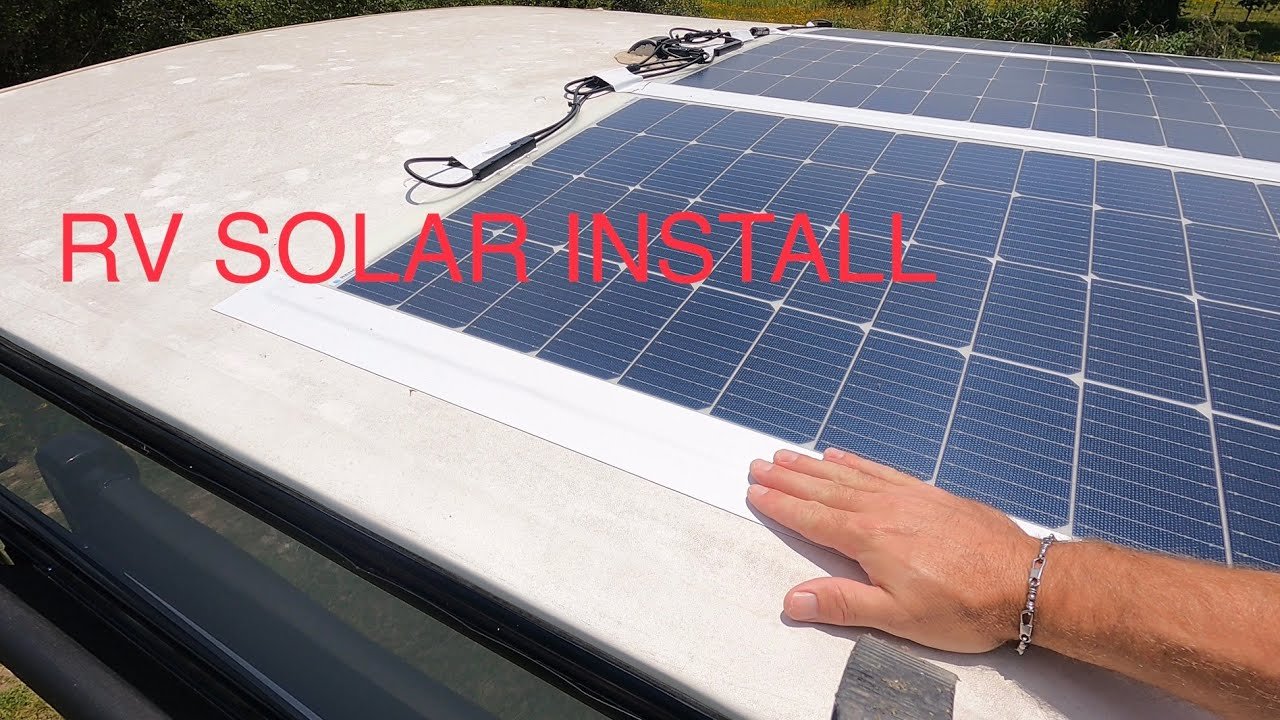
Image source: YouTube / Rocky Rohde (YouTube thumbnail (fair-use with source credit))
Step 2: Mount the Panels – Brackets, Sealant, and Placement
Now you're ready to put hardware on the roof. This is the most permanent step, so take your time. The three most common mounting methods are Z-brackets, flush-mount brackets, and adhesive mounting for flexible panels.
Z-Brackets (Most Common)
Z-brackets work on most roof types. They lift the panel slightly above the roof surface, allowing airflow underneath. Here's the process.
- Position the panel on the roof where you want it. Mark the bracket locations through the pre-drilled holes.
- Remove the panel. Clean the marked spots with rubbing alcohol.
- Apply a generous dab of sealant (Dicor self-leveling or butyl tape) inside each hole location before inserting the screw.
- Screw the brackets into the roof structure. Use stainless steel screws. Do not overtighten or you'll strip the hole.
- Let the sealant cure for 24 to 48 hours before attaching the panels. This prevents movement that could break the seal.
- Attach the panel to the brackets. Tighten evenly.
Flush-Mount Brackets
Flush-mount brackets sit closer to the roof. They're better for low-profile installations. The process is similar to Z-brackets, but you need to ensure the roof is flat where the bracket sits.
Otherwise, the panel will rock.
Flexible Panels
Flexible panels are often glued directly to the roof using a strong adhesive (3M VHB tape or marine-grade adhesive). No drilling is required for the panel itself, but you still need to drill a hole for cable entry. The downside is that flexible panels run hotter because they lack airflow underneath, which reduces efficiency by 5 to 10 percent.
They're best for curved roofs where rigid panels won't fit.
Sealant Is Everything
Use a high-quality self-leveling sealant for the roof. Dicor Lap Sealant is the industry standard for RV roofs. Apply a bead around each screw head and cover the bracket base.
Reapply annually as part of your maintenance. Leaks are the most common complaint in aggregate reviews of DIY solar installs, and almost all of them trace back to poor sealing.
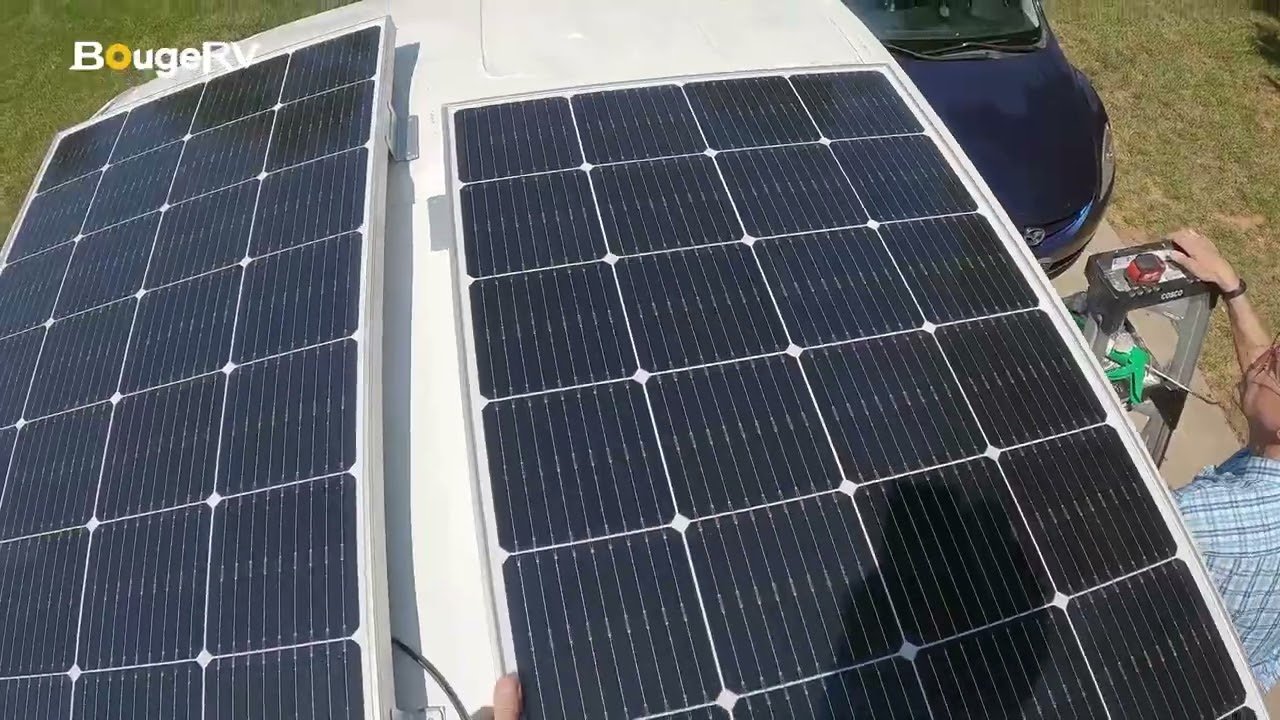
Image source: YouTube / ePowerGuys (YouTube thumbnail (fair-use with source credit))
Step 3: Route the Cables Through the Roof (Visual Steps)
Cable routing is where many DIY installs go wrong. You need a path from the roof down to your battery compartment. The most common method is to use a cable entry gland (also called a roof gland) that seals the hole where wires pass through.
Choose Your Entry Point
Look for a location near the panel that also has easy access to the interior. A common spot is near a fridge vent or a roof vent. You can often drop wires down through the vent chase, avoiding additional drilling.
If you don't have a convenient vent, you'll need to drill a new hole.
Drilling the Hole
- Mark the center of your entry point on the roof.
- Use a hole saw sized to match your cable gland (usually 1/2 inch to 1 inch).
- Drill straight down through the roof. Go slowly to avoid tearing the roof membrane.
- Clean the edges of the hole. Remove any debris.
Cable Gland Installation
- Slide the wires through the gland's rubber grommet.
- Push the gland into the hole from the outside.
- Apply sealant around the base of the gland and over the screw holes.
- Tighten the gland's cover plate to compress the grommet, creating a watertight seal.
Routing Inside
From the interior, fish the wires to your battery compartment. Use a wire hanger or a fish tape. Avoid sharp bends and edges that could chafe the wire insulation.
Secure the wire with cable clips every 12 to 18 inches. Use a grommet or a bushing wherever the wire passes through a metal or wood wall.
Visual Check
Once the cable is routed, check the seal from the inside. Look for any gaps around the gland. If you see daylight, you need more sealant.
A flashlight test from the roof side can also reveal leaks. This is the time to fix it, not after you've finished the rest of the install.
Step 4: Wire the Panels – Series vs Parallel (Diagram Reference)
With the panels mounted and cables routed, it's time to connect them electrically. This step is straightforward if you understand the difference between series and parallel wiring. The diagram below shows the two configurations side by side.
Series Wiring
Connect the positive terminal of one panel to the negative terminal of the next panel. This adds voltage while keeping amperage the same. For example, two 12V 100W panels in series produce 24V at roughly 5.5 amps.
Higher voltage is better for long cable runs because it reduces voltage drop. Series wiring is also more efficient with MPPT charge controllers.
Parallel Wiring
Connect all positive terminals together and all negative terminals together. This keeps voltage the same but adds amperage. Two 12V 100W panels in parallel produce 12V at roughly 11 amps.
Parallel wiring is better for PWM controllers and works well when panels are partially shaded, because one shaded panel doesn't drag down the whole string.
Which Is Right for You?
| Factor | Series | Parallel |
|---|---|---|
| Voltage | Adds (e.g., 12V + 12V = 24V) | Stays same (e.g., 12V) |
| Amperage | Stays same | Adds |
| Best for MPPT controllers | Yes | No (efficiency drops) |
| Best for PWM controllers | No (voltage mismatch) | Yes |
| Handles partial shading | Poor | Good |
| Voltage drop on long runs | Low | Higher |
For most RV setups with an MPPT controller, series wiring is the better choice. If you have a PWM controller or expect heavy shading, go parallel.
Wiring Steps
- Turn off the charge controller and disconnect the battery.
- Connect the panels according to your chosen configuration.
- Use MC4 connectors to make the connections. Ensure they snap firmly.
- Run the wire from the panels to the charge controller.
- Insert a fuse or breaker between the panel and the controller. Size it to 1.25 times the panel's short-circuit current.
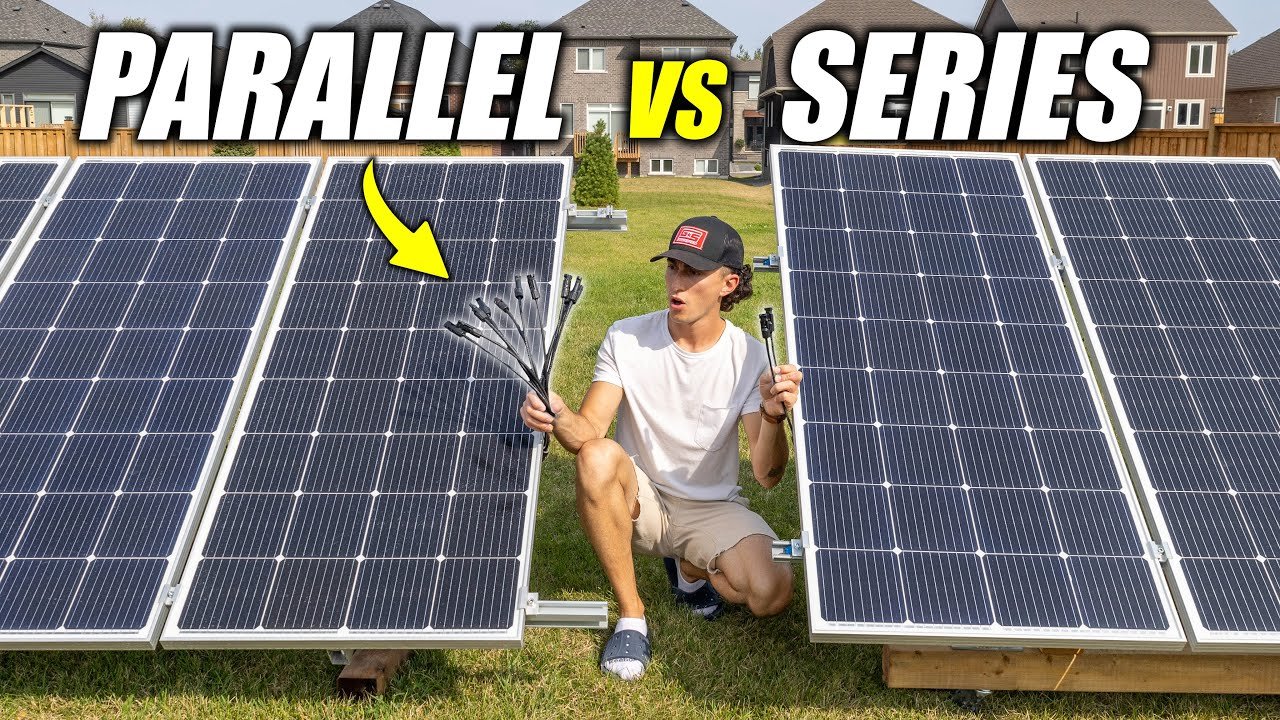
Image source: YouTube / The Solar Lab (YouTube thumbnail (fair-use with source credit))
Step 5: Connect the Charge Controller and Battery (Visual Terminal Guide)
The charge controller is the brain of your system. It regulates the voltage and current coming from the panels to safely charge your battery. Connecting it wrong can damage the controller or the battery, so follow the terminal markings carefully.
Terminal Identification
Most charge controllers have clearly labeled terminals. Look for:
- Solar panel input (positive and negative)
- Battery output (positive and negative)
- Sometimes a load output (for DC appliances)
Connect the battery first, then the solar panels. This ensures the controller detects the battery voltage and sets the correct charging profile. Some controllers require a specific connection order, so check the manual.
Wire Sizing
Use the correct wire gauge for the current and distance. For a typical 200W to 400W setup with a run under 20 feet, 10 AWG wire is sufficient. For longer runs or higher wattage, step up to 8 AWG or 6 AWG.
Undersized wire causes voltage drop and can overheat.
Fusing
Place a fuse or breaker between the controller and the battery. Size it to 1.25 times the controller's rated output current. For example, a 30A controller gets a 40A fuse.
Install the fuse as close to the battery terminal as possible.
Battery Monitor
If you want to know exactly how much energy you're using and generating, install a battery monitor with a shunt. The shunt goes on the negative battery terminal. The monitor display shows voltage, current, power, and estimated state of charge.
It's one of the most useful upgrades for off-grid living.
Visual Check
After connecting everything, check the controller's display. It should show the battery voltage and a "charging" status if the panels are in sunlight. If you see no voltage or an error code, double-check your connections.
The image below shows a typical charge controller with battery terminals wired correctly.
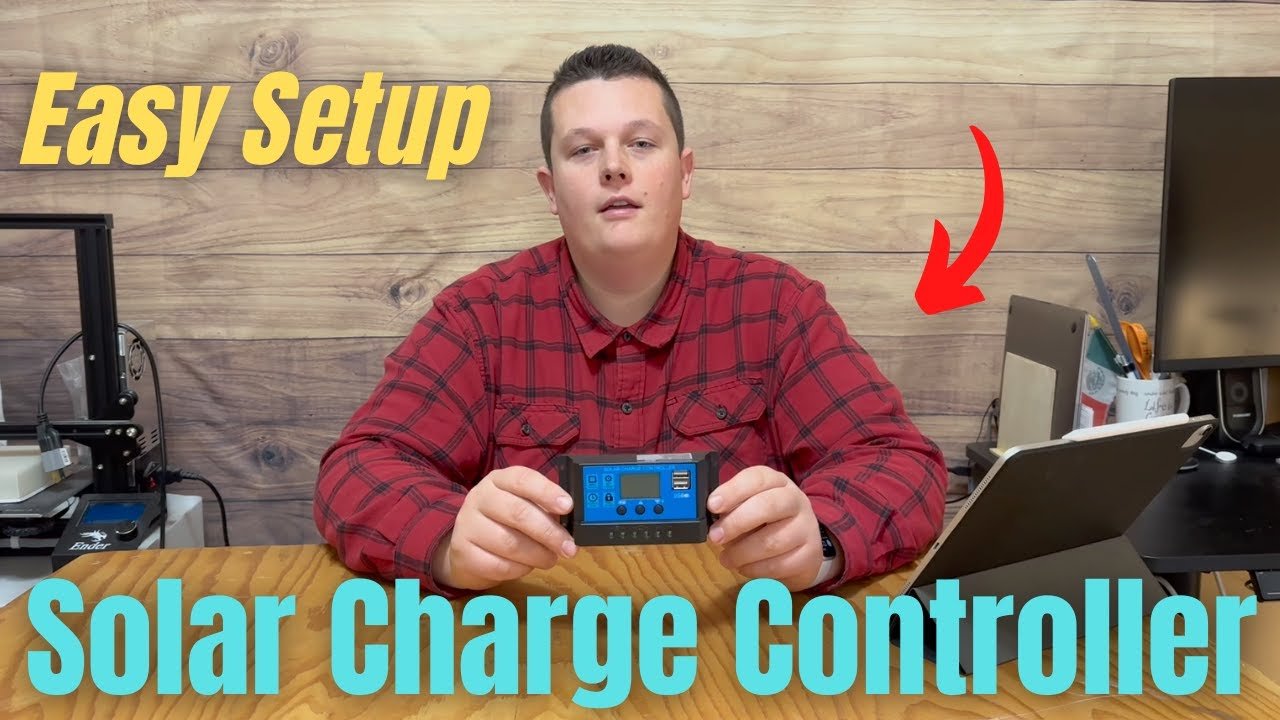
Image source: YouTube / Scott's Solar (YouTube thumbnail (fair-use with source credit))
Step 6: Test the System – What to Look For (Multimeter Readings & App Checks)
Testing is the final step before you seal everything up and call it done. A multimeter is your best tool for this. You can also use a Bluetooth-connected controller or a battery monitor app to see real-time data.
Multimeter Checks
- Measure voltage at the panel output. It should be close to the panel's rated open-circuit voltage (Voc). For a 12V panel, expect around 20V to 22V in full sun.
- Measure voltage at the controller input. It should match the panel voltage.
- Measure voltage at the controller output. It should match the battery voltage (12.5V to 12.8V for a resting lead-acid battery, 13.2V to 13.4V for a resting lithium battery).
- Measure current with a clamp meter if you have one. It should be close to the panel's rated short-circuit current (Isc) in full sun.
App Checks
If your charge controller has Bluetooth, connect to the app. You'll see charging current, battery voltage, and daily energy production. This is a great way to monitor performance over time and spot problems early.
Common Issues
- No voltage: Check connections, polarity, and fuses.
- Low voltage: Check for shading, dirty panels, or voltage drop in the wiring.
- Error codes: Refer to the manual. Common codes include battery overvoltage, reverse polarity, and high temperature.
Final Verification
Let the system run for a full day. Check the battery voltage in the morning and evening. A healthy setup should show a net gain in voltage on a sunny day.
If the battery voltage drops every day, you need more panel wattage or less energy consumption.
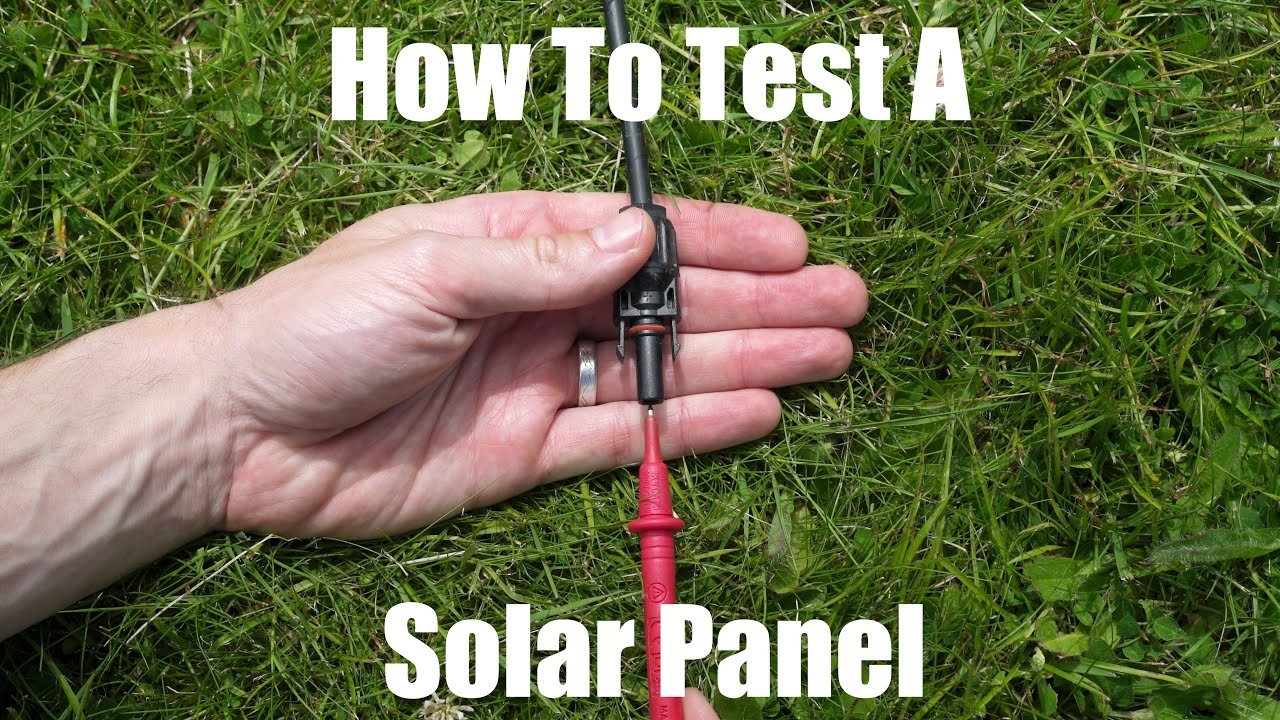
Image source: YouTube / Wood & Wild (YouTube thumbnail (fair-use with source credit))
Step 7: Common Visual Mistakes – Leaks, Shading, and Cable Sagging
Even experienced DIYers make mistakes. The good news is that most of them are easy to spot if you know what to look for. Here are the three most common visual errors.
Leaks
The most obvious sign of a leak is water stains on the ceiling. But you can catch it earlier by checking the sealant around your cable entry gland and brackets. If the sealant is cracked, peeling, or missing, water will find its way in.
Reseal any problem areas immediately.
Shading
Walk around your RV at different times of day. Look at where the shadows fall from the AC unit, vents, and antennas. If a panel is in partial shade, its output drops significantly.
Consider moving the panel or adding a bypass diode to the panel wiring.
Cable Sagging
Cables that hang loose between the roof and the panel can rub against the roof surface and wear through the insulation. Secure cables with adhesive cable clips or zip ties. Keep them tight against the roof, not dangling.
Step 8: Maintenance Checklist – Cleaning, Resealing, and Hardware Checks
Solar panels on an RV need regular maintenance. The roof environment is harsh: UV, rain, wind, and road vibration all take a toll. Here's a simple routine.
Monthly
- Check the sealant around brackets and cable entry. Look for cracks or peeling.
- Clean the panels with water and a soft cloth. Avoid abrasive cleaners that can scratch the glass.
- Check the charge controller display for error codes or unusual readings.
Annually
- Reapply sealant to any areas showing wear.
- Tighten all bracket bolts and screws. Vibration can loosen them.
- Inspect the wiring for chafing or corrosion at the connectors.
- Clean the battery terminals and check the water level (for lead-acid batteries).
Long-Term
- Replace the battery every 3 to 5 years for lead-acid or 5 to 10 years for lithium.
- Upgrade the charge controller if you add more panels.
- Consider replacing panels after 20 years, as efficiency drops gradually.
Safety Warnings – When to Stop and Call a Pro
Solar installation involves electricity, heights, and roof work. It's not dangerous if you're careful, but you need to know your limits.
Electrical Safety
- Disconnect the battery before working on wiring.
- Cover the solar panels with a cloth or cardboard to block sunlight during installation. Sunlight on the panels produces voltage even when disconnected.
- Use properly rated wire and fuses. Undersized components can overheat and cause a fire.
- Never work on wet wiring or in the rain.
Roof Safety
- Use a harness or a spotter when working on a tall RV roof.
- Avoid walking on thin roof areas. Stick to the reinforced sections where the roof trusses are.
- Wear soft-soled shoes to avoid damaging the roof membrane.
When to Call a Pro
- If you're uncomfortable with heights or electrical work.
- If you need to drill through complex roof structures with multiple layers.
- If you're unsure about wire sizing or fuse ratings.
- If your RV is still under warranty and roof modifications may void it.
Frequently Asked Questions
How long does it take to install solar panels on an RV?
A basic installation for two panels takes one full day for mounting and wiring, plus a second day for sealant curing. If you're working alone and it's your first time, budget two full days. The curing time is non-negotiable; rushing it leads to leaks.
Do I need special tools for RV solar installation?
You need a drill, hole saw, multimeter, wire stripper, and sealant gun. A socket wrench set and a level are also helpful. Most of these are standard tools you may already own.
The specialized items are MC4 connectors and the cable entry gland.
Can I install solar panels on a curved RV roof?
Yes, but you need either flexible panels or a mounting system that accommodates the curve. Z-brackets can work on gentle curves if you shim them. For tight curves, flexible panels glued directly to the roof are the simplest solution.
What size solar system do I need for my RV?
A 200W system is sufficient for basic needs like lights, phone charging, and a small fridge. A 400W system supports a larger fridge, laptop use, and occasional DC appliances. Frequent air conditioner use requires 800W or more plus a sizable battery bank.
How do I prevent roof leaks after installing solar panels?
Use high-quality sealant like Dicor Lap Sealant. Apply a generous bead around every screw and bracket. Reapply sealant annually.
Check for cracks after every season. A properly sealed installation should last years without leaks.
Do I need a permit to install solar panels on my RV?
Most states do not require a permit for RV solar installations. However, some RV parks and campgrounds have their own rules. Check your local regulations, especially if you plan to sell your RV later.
Insurance companies may also require proof of professional installation for warranty coverage.