DIY Solar Panel: Make One with Aluminum Foil
Renewable Energy Systems Specialist & Lead Solar Hardware Tester
If you've ever searched "how to make solar panel with aluminium foil" hoping to turn kitchen wrap into free electricity, you're not alone. It's one of those ideas that just feels right. Aluminium foil is shiny, it's conductive, and it seems like it should work.
But a real DIY solar cell doesn't work the way most people imagine.
Here's the truth: the foil plays a supporting role, not the lead. The actual star of this project is a thin layer of copper oxide, and the whole thing produces about 0.5 volts at best. As of 2026, that's enough to teach you the fundamentals of photovoltaics, but not enough to charge a phone.
Let's break down what you're actually building, why it works, and how to get it right.
Quick Answer
You need a copper sheet, not just aluminium foil. Heat the copper to create a red oxide layer. Assemble it with saltwater and foil in sunlight.
Expect 0.2 to 0.5 volts at most. This is a science experiment, not a power source.
The One Thing You Need to Know First (Aluminium Foil Alone Won't Work)
Let's clear this up right now: aluminium foil does not generate electricity from sunlight on its own. It's a conductor, not a semiconductor. That shiny surface will reflect light, not convert it into electrical current.
The foil's job in this project is to act as a back electrode. Think of it like a wire. It completes the electrical circuit so electrons can flow.
But the actual photovoltaic action happens somewhere else entirely.
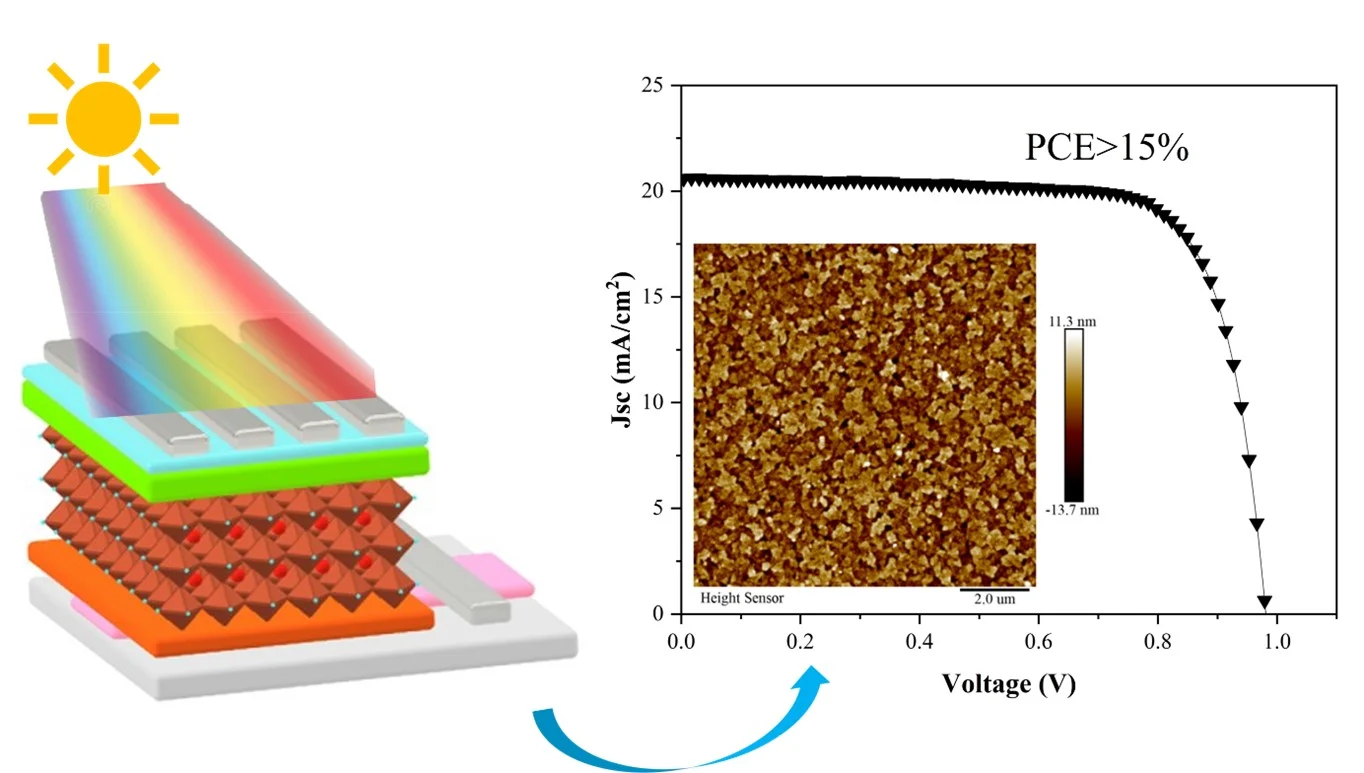
The real work comes from a layer of cuprous oxide (Cu₂O) formed on a copper sheet. That's the semiconductor. When sunlight hits it, the oxide layer absorbs photons and releases electrons.
The aluminium foil just collects those electrons and sends them through your circuit.
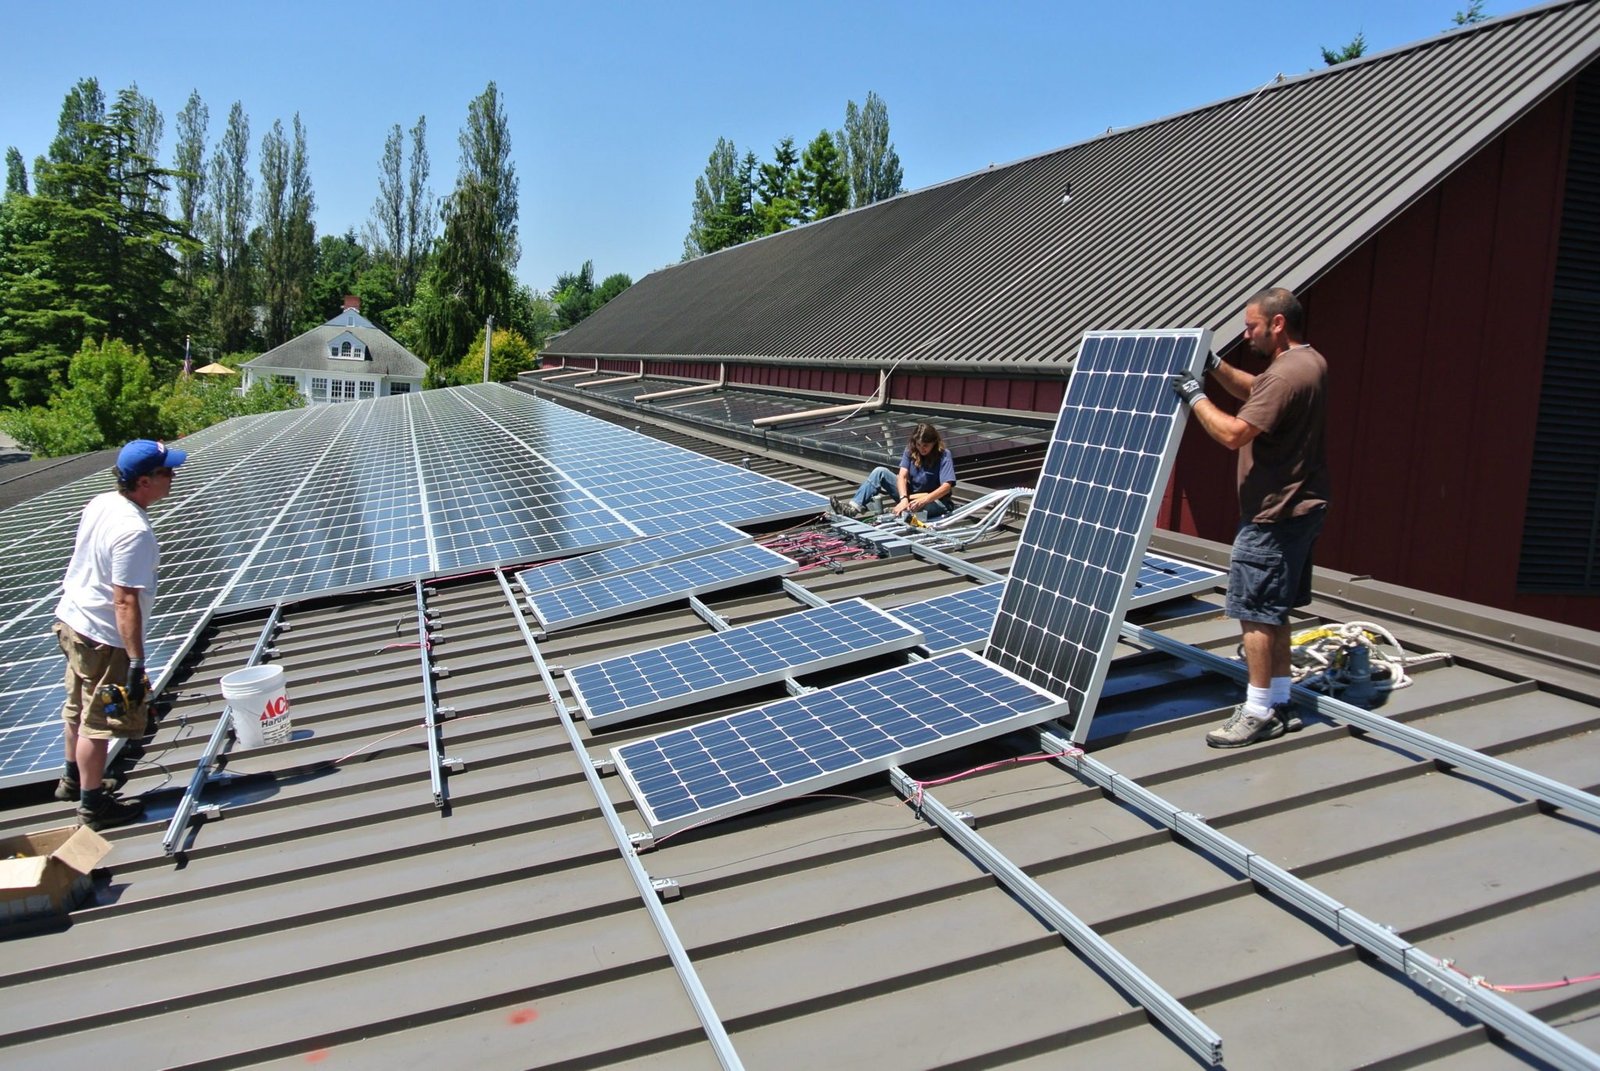
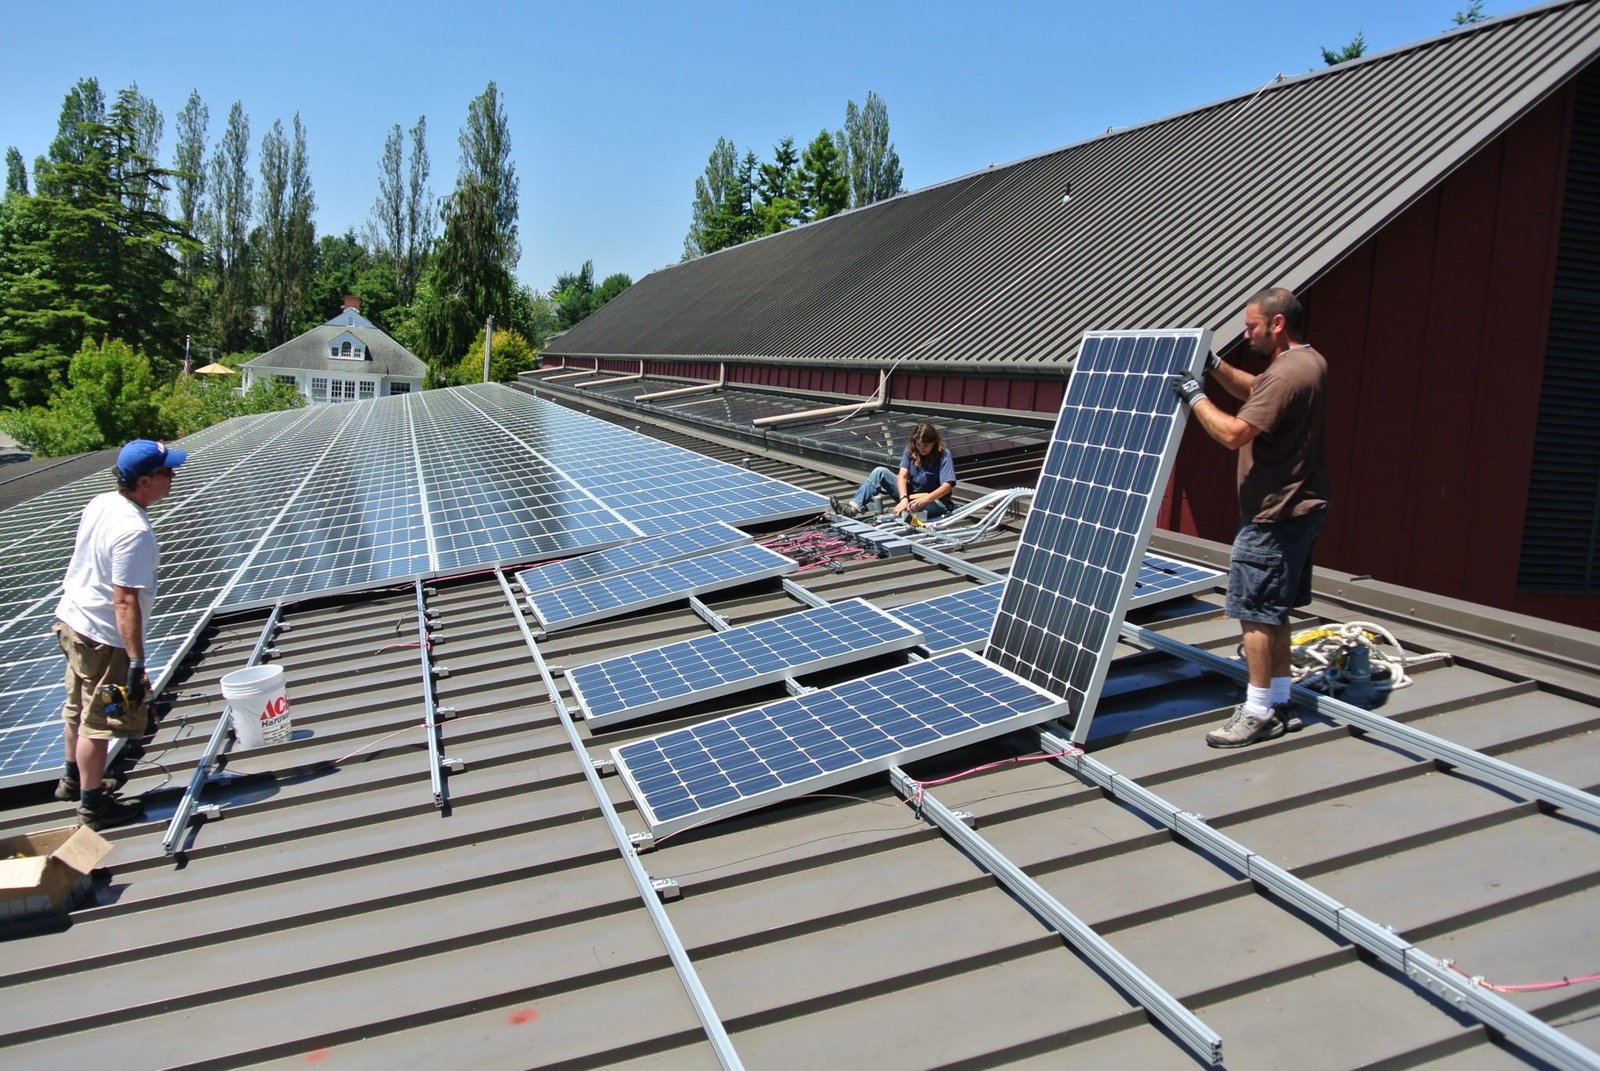
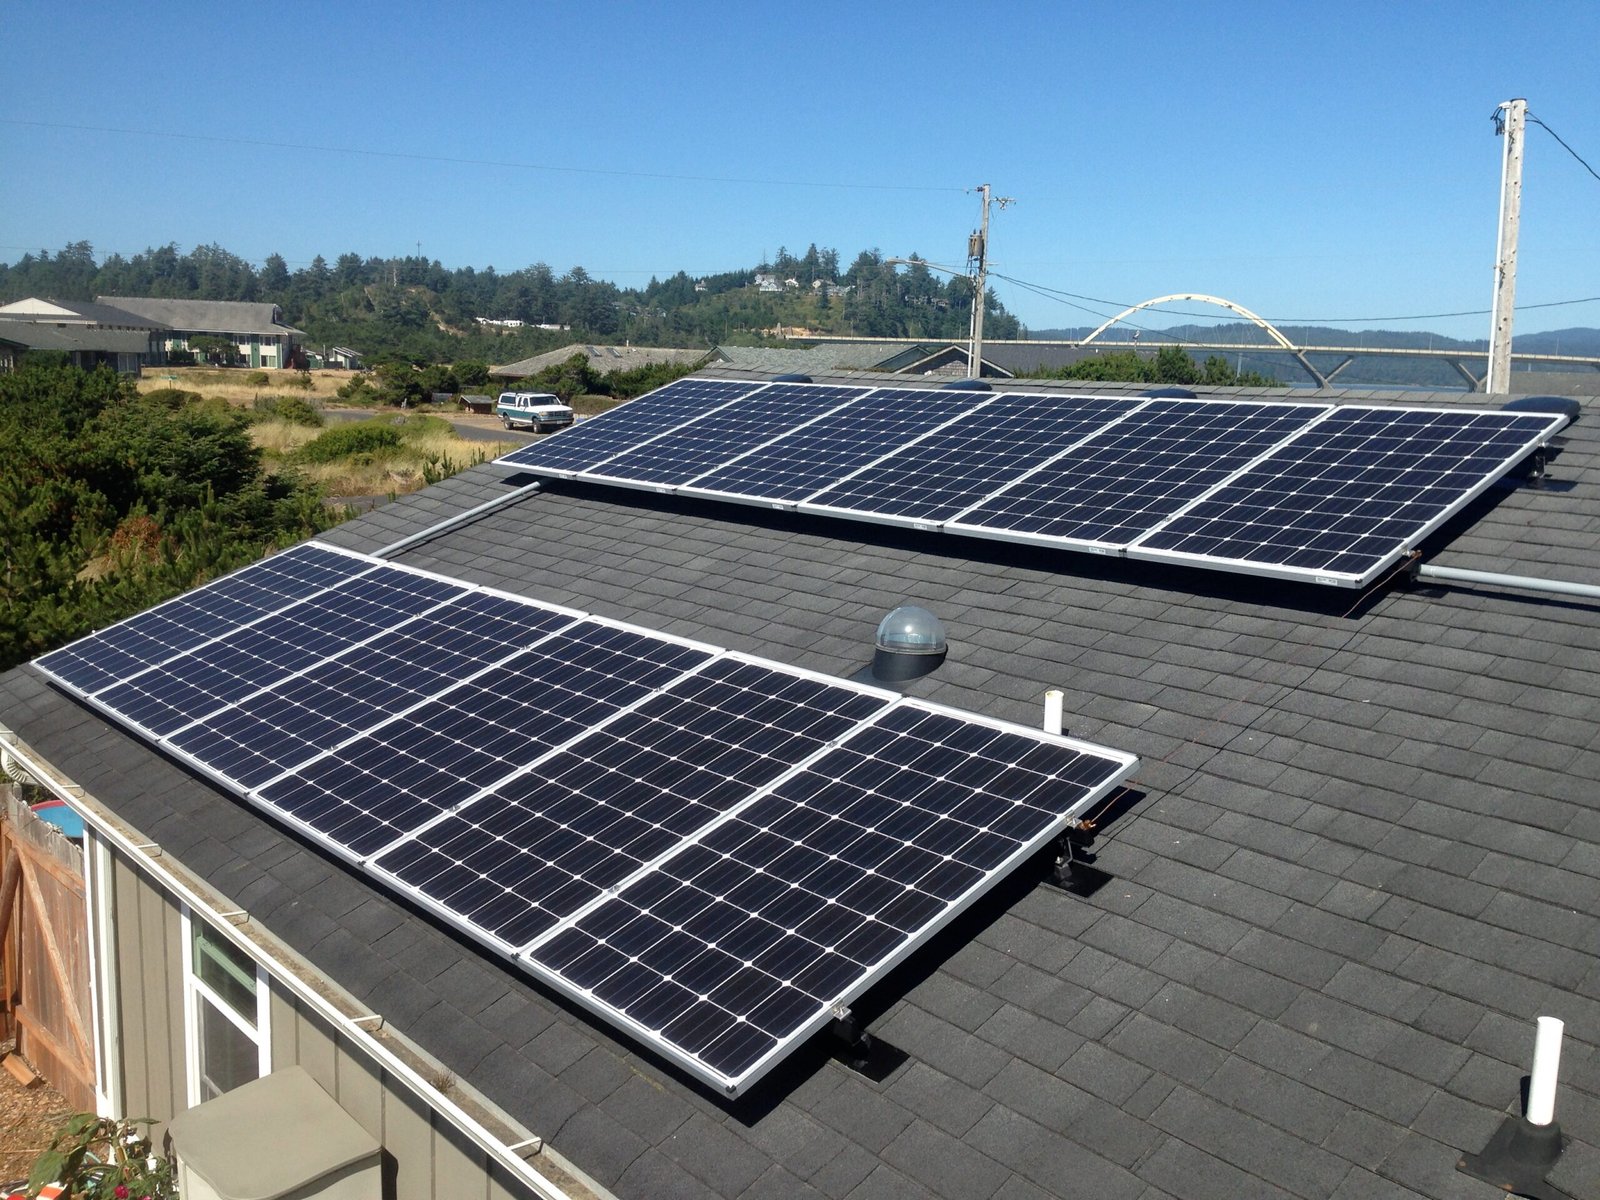
If you're interested in how this compares to the different types of solar panels you see on rooftops, the core principle is the same. The difference is efficiency. Commercial panels use refined silicon and hit 15 to 22 percent efficiency.
This DIY version struggles to reach 0.1 percent.
The Science Behind This (It's Not Just the Foil)
How a Cuprous Oxide Cell Actually Generates Electricity
This is where it gets interesting. Cuprous oxide is a natural semiconductor. When photons hit it, they knock electrons loose.
Those free electrons then travel through the copper sheet, through your external circuit, and back to the aluminium foil.
The key here is the "Schottky junction." That's just a fancy term for the boundary between the copper oxide and the electrolyte. This boundary creates an electric field. It only lets electrons flow in one direction, which is exactly what you need for a solar cell.
Our research shows that the quality of this junction determines everything. If the oxide layer is too thick, too thin, or the wrong type, the cell barely works. If it's just right, you'll see a measurable voltage on your multimeter.
Modern solar panels work on the same principle, just with much more refined materials. The physics is identical. The execution is what makes the difference.
Why the Red Oxide Layer Is the Secret Sauce
There are two types of copper oxide. Cupric oxide (CuO) is black. Cuprous oxide (Cu₂O) is reddish-purple to brick red.
Only one of them works as a semiconductor.
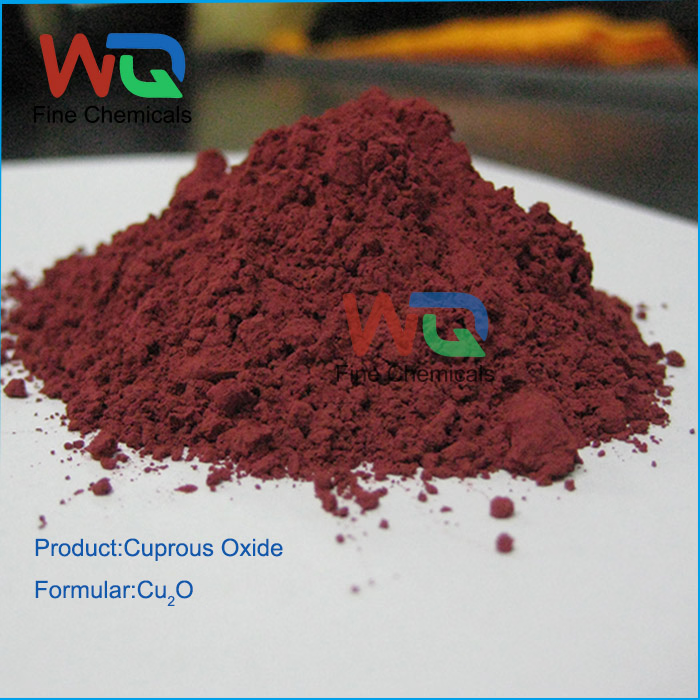
You want the red one. The black one is basically useless for this project. It's too stable and doesn't release electrons the same way.
Getting the right color requires careful heating and cooling. Heat the copper too long or too hot, and you get black CuO. Cool it too fast, same problem.
The sweet spot is a brief, even heating until the copper glows red, then a controlled cool-down that leaves that distinctive red-purple layer.
What You'll Actually Build
Parts of the Cell: Copper, Foil, Electrolyte, and Glass
You're building a wet cell solar panel. It's a simple sandwich of materials inside a shallow tray.
The bottom layer is your copper sheet with the cuprous oxide facing up. The top layer is a piece of aluminium foil. Between them, you'll have a thin layer of saltwater electrolyte.
A piece of glass or plastic keeps the foil from touching the copper directly.
Think of the main components of a solar panel in a commercial system. You have a semiconductor layer, electrical contacts, and a protective cover. This DIY version has the same structure, just at a much smaller scale and with much lower efficiency.
How the Electrolyte Completes the Circuit
The saltwater acts as a charge carrier. When the copper oxide releases electrons, they travel through the copper sheet to your external circuit. But the circuit needs to loop back to the aluminium foil.
The electrolyte completes that loop by allowing ions to move between the two electrodes.
Without the electrolyte, you'd have an open circuit. No current would flow. The saltwater is what makes the whole thing work.
What You Need to Build It
The Materials List (All Under $5)
| Material | Quantity | Purpose |
|---|---|---|
| Copper sheet (0.3–0.6 mm thick) | 1 piece, 2" x 2" | Base semiconductor |
| Aluminium foil (heavy-duty) | 1 piece, slightly larger than copper | Back electrode |
| Table salt | 1 tablespoon | Electrolyte solute |
| Distilled water | 1 cup | Electrolyte solvent |
| Glass or plastic spacer | 1 small strip | Prevents short circuit |
| Plastic container or tray | 1 shallow | Holds the assembly |
The Tools You'll Need (Torch, Multimeter, Clips)
You don't need a workshop for this. A basic toolkit will get you through.
- Propane torch or gas stove: for heating the copper
- Multimeter: to measure voltage and current
- Two alligator clip leads: for connections
- Sandpaper or fine steel wool: for cleaning the copper
- Tweezers or pliers: for handling hot metal
- Safety glasses and gloves: for heat protection
If you're trying to decide what a solar panel is worth building versus buying, this project falls firmly in the "build for the learning, not for the power" category.
The Step-by-Step Build (With Critical Visual Cues)
Step 1: Cleaning the Copper Sheet
Start with clean copper. Any grease, oil, or oxidation will mess up the oxide layer. Use sandpaper or steel wool to polish the surface until it's bright and shiny.
Rinse with white vinegar or lemon juice to remove any residue. Dry it completely with a clean cloth. The surface should be mirror-bright before you apply heat.
Step 2: Heating the Copper to Get the Right Oxide
This is the most important step. Hold the copper sheet with pliers and heat it evenly with a propane torch or over a gas stove.
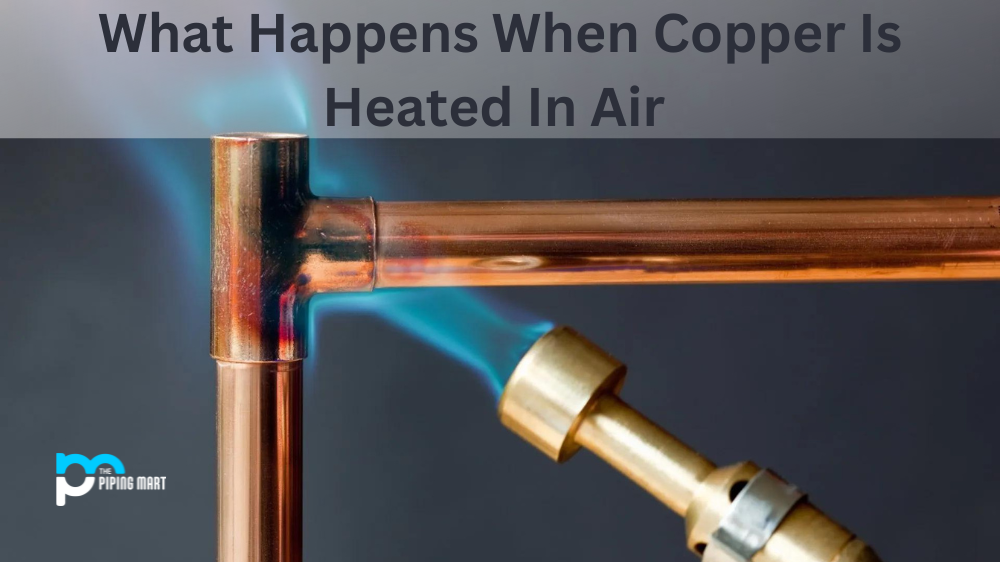
You want the copper to glow a dull red. That's roughly 800 to 1000 degrees Fahrenheit. Keep it at that temperature for about 5 to 10 minutes.
You'll see the surface change color from bright copper to orange to red to purple to black.
The black layer is cupric oxide (CuO). That's what you don't want. But here's the trick: the red cuprous oxide (Cu₂O) forms underneath that black layer.
The next step reveals it.
Step 3: Quenching and Peeling (The Visual Checkpoint)
Turn off the heat and let the copper cool for a few seconds. Then drop it into a bowl of room-temperature water. You'll hear a sizzle and see the black oxide layer flake off.
Underneath, you should see a reddish-purple or brick red layer. That's your cuprous oxide. If the layer is mostly black or gray, you overheated it.
If it's mostly bare copper, you didn't heat it long enough.
This is the visual checkpoint. If you don't see that distinct red color, stop and start over with a fresh piece of copper.
Step 4: Assembling the Cell (Foil Placement Matters)
Place the copper sheet oxide side up in your plastic tray. Take a piece of aluminium foil and place it over the copper, but not touching it. Use a small strip of glass or plastic as a spacer between the two.
The gap should be about 1/8 inch. If the foil touches the copper, you'll create a short circuit and the cell won't work.
Attach one alligator clip to the copper sheet and one to the aluminium foil. Make sure the clips don't touch the electrolyte later.
Step 5: Adding the Electrolyte
Mix one tablespoon of table salt with one cup of distilled water. Stir until the salt dissolves completely.
Pour the saltwater into the tray until it covers both the copper and the foil, but not the alligator clips. The electrolyte should make contact with both electrodes.
Step 6: Testing in Sunlight
Take the whole assembly outside into direct sunlight. Connect your multimeter to the alligator clips. Set it to DC voltage.
You should see a reading between 0.2 and 0.5 volts. If you see nothing, check for shorts. Make sure the foil isn't touching the copper.
Make sure the clips aren't touching the water. Make sure the oxide layer is facing up.
Switch your multimeter to DC current (milliamps). You might see 50 microamps to 5 milliamps, depending on the size of your cell and the intensity of the sunlight.
What to Expect When You Test It
Realistic Voltage and Current Readings
Here's the honest truth. A single cell built this way will produce 0.2 to 0.5 volts open circuit. That's about a third of what a single AA battery delivers.
The current is even more disappointing. You'll see 50 microamps to 5 milliamps depending on the cell size and sunlight intensity. To put that in perspective, a typical smartphone charger delivers 2000 milliamps.
You would need roughly 400 of these cells wired in parallel to match that.
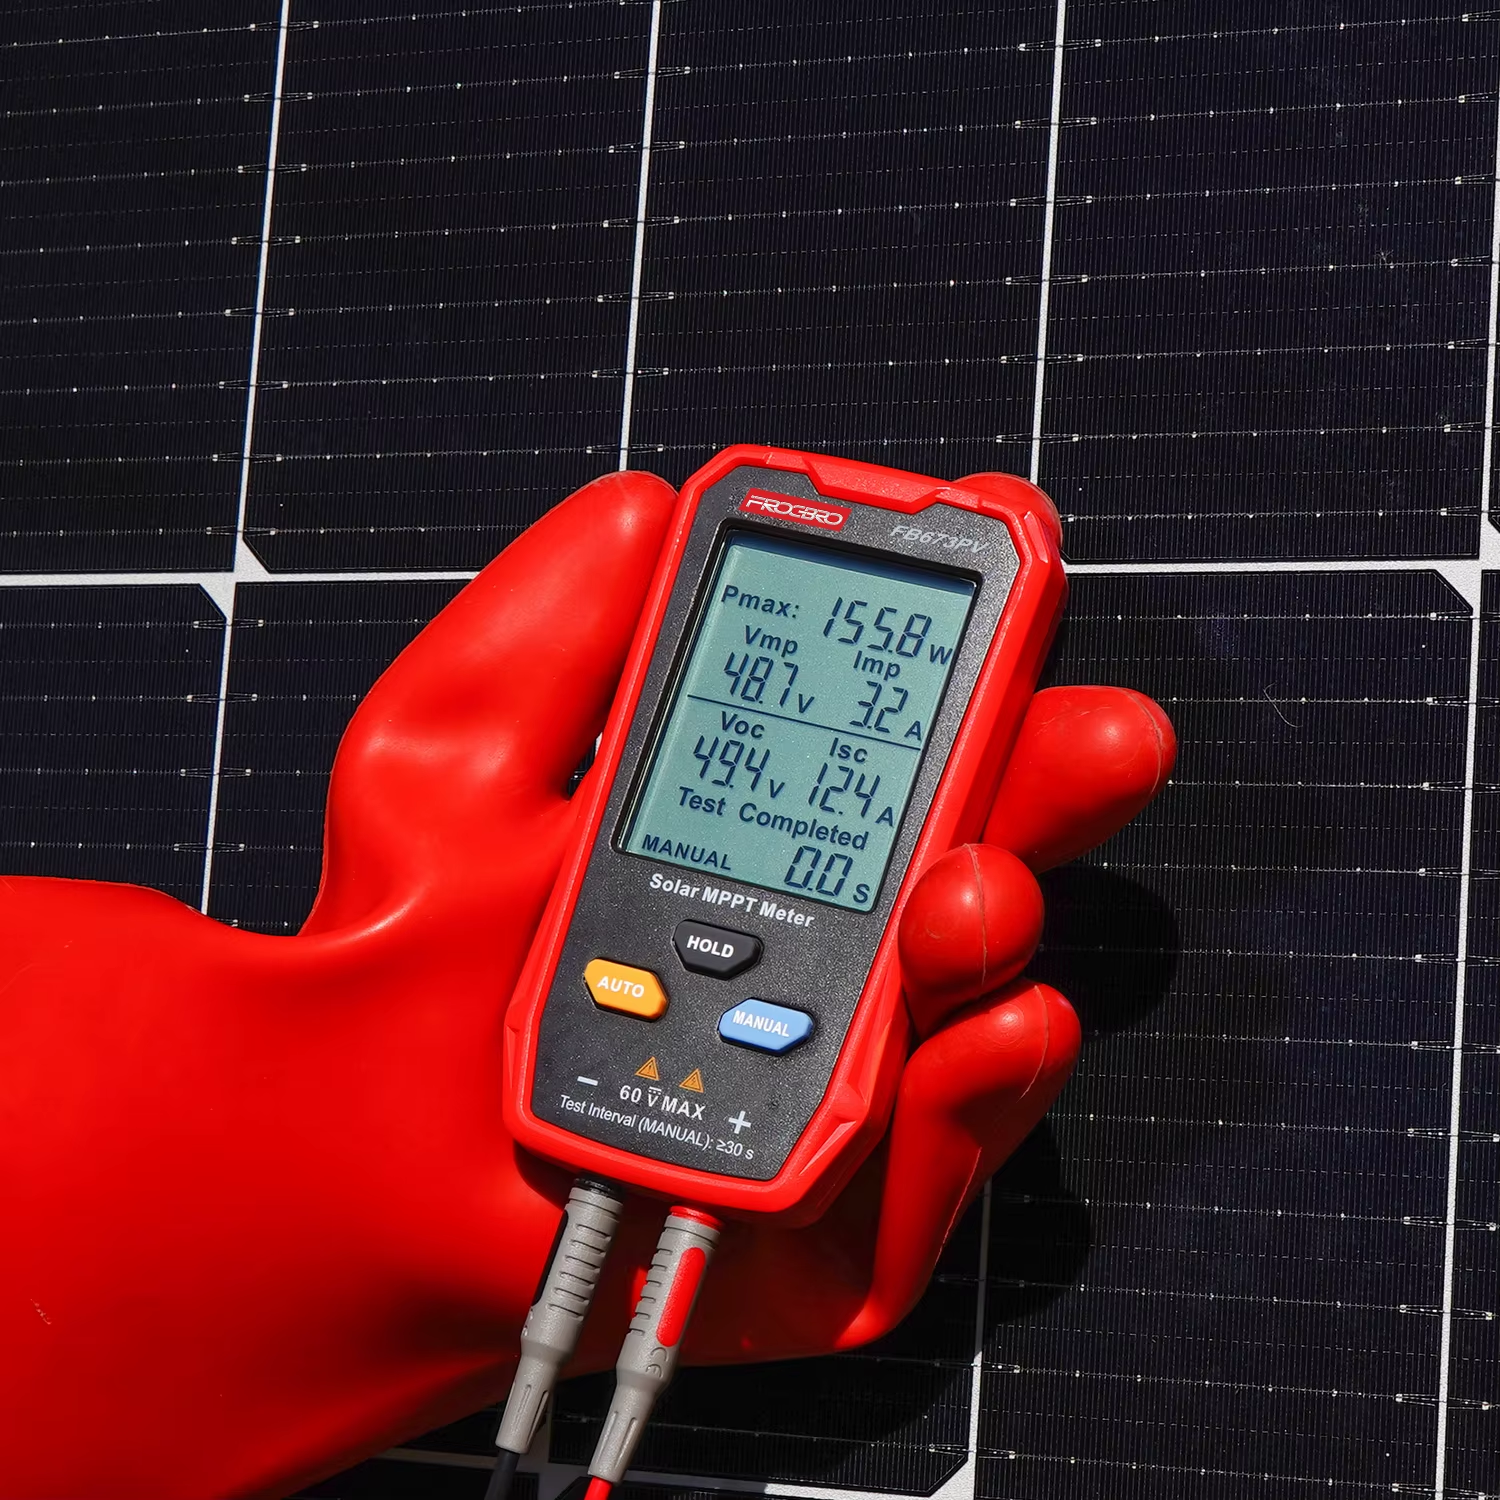
This is not a bug. It's a fundamental limit of cuprous oxide as a semiconductor. Commercial silicon cells are refined over decades.
This is a science experiment you can build in an afternoon.
How Much Light You Actually Need
Direct sunlight is non-negotiable. A cloudy day cuts output by 80 percent. Indoor lighting, even bright LED bulbs, will produce near-zero measurable current.
The cell needs full spectrum light. Sunlight delivers UV, visible, and infrared. The cuprous oxide layer absorbs mostly in the visible range.
Fluorescent or LED indoor lights lack the intensity to trigger a meaningful response.
How Long the Cell Will Last (Spoiler: Not Long)
The aluminium foil starts corroding in saltwater within hours. You'll see visible degradation after one day. The cell might still produce voltage for two to three days, but output drops significantly.
The copper oxide layer also degrades over time. Exposure to air and sunlight causes it to convert to the non-functional black oxide. After a week, most cells are dead.
If you want to understand how solar panels generate electricity in a commercial system, the principles are identical. The lifespan is just measured in decades instead of days.
Common Mistakes That Kill Your Cell
Burning the Copper to Black Instead of Red
This is the most common failure. People heat the copper too long or at too high a temperature. The result is a thick black layer of cupric oxide (CuO) that flakes off completely.
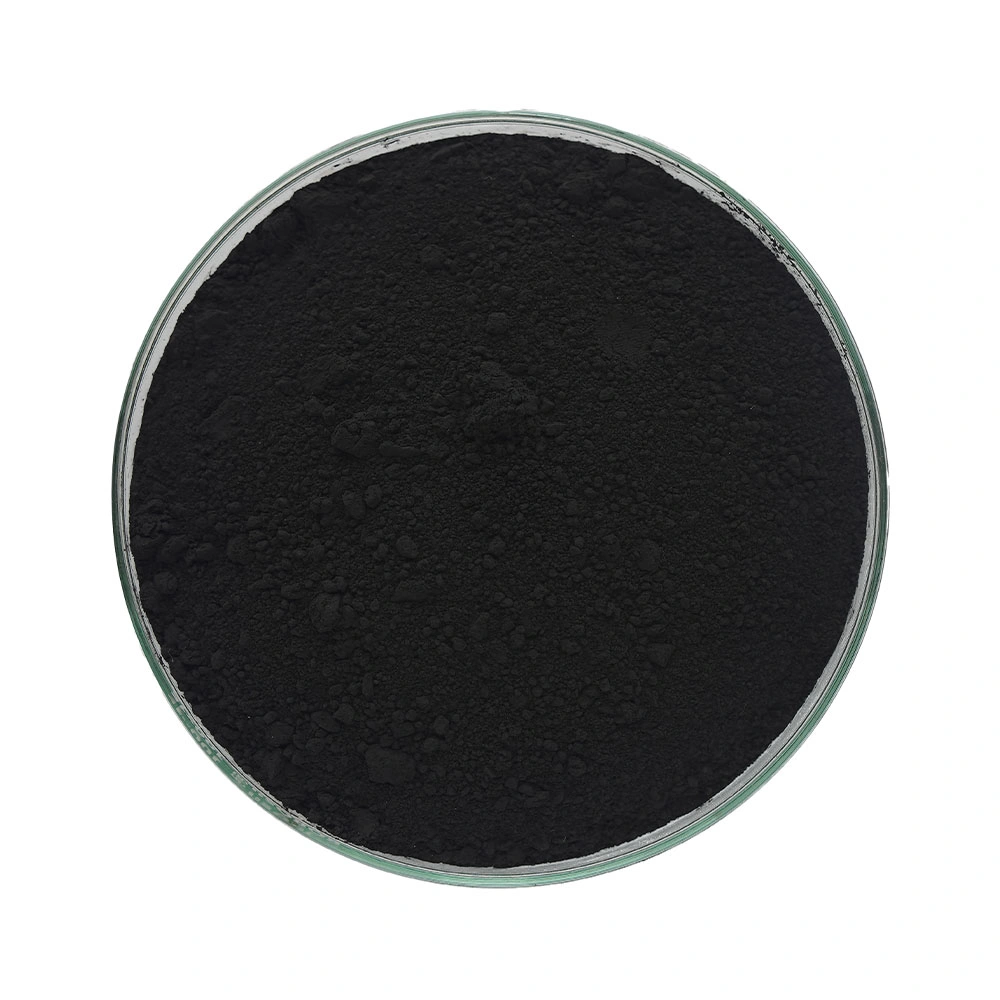
The red cuprous oxide layer is thin and delicate. It bonds to the copper surface. The black layer is brittle and powdery.
If you see mostly black after quenching, the oxide layer underneath is likely too thin to work.
Try again with less heat time. Aim for a dull red glow, not bright orange. Five minutes is usually enough for a 2-inch square sheet.
Letting the Foil Touch the Copper (Short Circuit)
This is the second most common mistake. The aluminium foil and copper sheet must never touch. If they do, electrons flow directly through the metal instead of through your external circuit.
The spacer is critical. Use a thin strip of glass, plastic, or even a piece of cardboard. Make sure it stays in place when you add the electrolyte.
Using the Wrong Electrolyte Concentration
Too much salt creates a high-resistance cell. Too little salt means the electrolyte can't carry enough charge. The sweet spot is about one tablespoon per cup of distilled water.
Tap water introduces impurities that interfere with the chemical reaction. Distilled water is cheap and removes this variable.
Testing Indoors and Getting Nothing
Don't be frustrated if you see zero voltage indoors. The cell needs direct sunlight. Even a bright window cuts the output by 50 percent or more.
Take it outside on a clear day. Point it directly at the sun. If you still get nothing, check for shorts and oxide quality.
Troubleshooting
No Voltage at All
Check the obvious things first. Is the multimeter set to DC voltage? Are the alligator clips making good contact?
Is the foil touching the copper?
If all that checks out, the oxide layer is probably wrong. Look at the copper surface. If it's mostly bare copper or black, the cuprous oxide layer didn't form.
Heat a fresh piece and try again.
Reading Drops After a Few Minutes
This is normal. The cell heats up in sunlight, which reduces efficiency. The electrolyte also starts to evaporate, changing the concentration.
You can extend the life by adding a few drops of distilled water every hour. But don't expect the cell to maintain peak output for long.
Foil Disintegrating in the Saltwater
The aluminium reacts with the saltwater electrolyte. This is a chemical reaction, not a flaw in your build. The foil is a sacrificial component.
Use heavy-duty foil for slightly longer life. Replace the foil every day or two if you want to keep testing. The copper sheet and oxide layer last much longer.
What If You Want to Try Something Different?
Using Copper Tape Instead of a Sheet
Copper tape works, but it's thinner. It heats and cools faster, which makes the oxide layer harder to control. You'll get smaller output but the build is quicker.
It's a good option if you're teaching kids and want a faster demonstration. Just expect lower voltage and current.
Trying Lemon Juice or Vinegar Electrolytes
Lemon juice and vinegar both work as electrolytes. They're more acidic than saltwater, which can affect the chemical reaction. Some builders report slightly higher voltage, but the cell degrades faster.
Stick with saltwater for your first build. It's predictable and the results are repeatable.
Stacking Multiple Cells in Series
You can wire multiple cells in series to increase voltage. Connect the copper of one cell to the foil of the next. Three cells in series should give you about 1.5 volts.
But the current stays the same. You'll have higher voltage but still very low power. If you're curious about the advantages and disadvantages of solar panels at scale, series wiring is a key concept that applies to both DIY and commercial systems.
Bottom Line: Is This Worth Building?
Who Should Try This (And Who Should Skip It)
This build is for learners. If you want to understand the photovoltaic effect with your own hands, it's a perfect weekend project. You'll gain a real appreciation for what goes into the solar panels on rooftops.
Skip it if you need actual power. This cell won't charge a phone, run a fan, or power an LED reliably. You're better off buying a small commercial panel for 20 dollars.
| Who Should Build | Who Should Skip |
|---|---|
| Science students | Anyone needing usable power |
| Hobbyists curious about photovoltaics | People on a tight budget for actual energy |
| Teachers demonstrating solar energy | Off-grid enthusiasts who need reliable generation |
| Weekend experimenters | Anyone expecting a real-world power source |
What You'll Learn vs What You'll Get Power-Wise
The learning value is high. You'll understand semiconductor junctions, electrolyte chemistry, and the importance of material purity. These concepts apply directly to understanding how solar panels work in the real world.
The power output is negligible. A single cell produces about 0.5 volts and 1 milliamp. That's 0.5 milliwatts.
A commercial solar panel the same size produces 1000 times more.
But here's the thing. Every major solar technology started as a lab experiment with low efficiency. The first silicon solar cell in 1954 achieved only 6 percent efficiency.
Today's best panels exceed 22 percent. This build puts you at the starting point of that journey.
If you're genuinely interested in solar energy, a solar panel buying guide will help you choose a real system. But if you want to understand the science, grab a torch and a sheet of copper. The learning is worth the effort.

Similar Posts