The Complete Guide to Installing Solar Panels on a Roof
Renewable Energy Systems Specialist & Lead Solar Hardware Tester
So you want to know how to install solar panels on a roof. It's a question that sounds straightforward, but the real answer depends on a lot more than just watching a few videos. Getting panels up there safely and legally requires understanding electrical codes, structural loads, and roof waterproofing.
In our research, the National Electrical Code (NEC), specifically Article 690, lays out the safety requirements for solar PV systems, including rapid shutdown within 30 seconds of disconnect. That's not something you can just wing. Let's start with the honest answer you actually need.
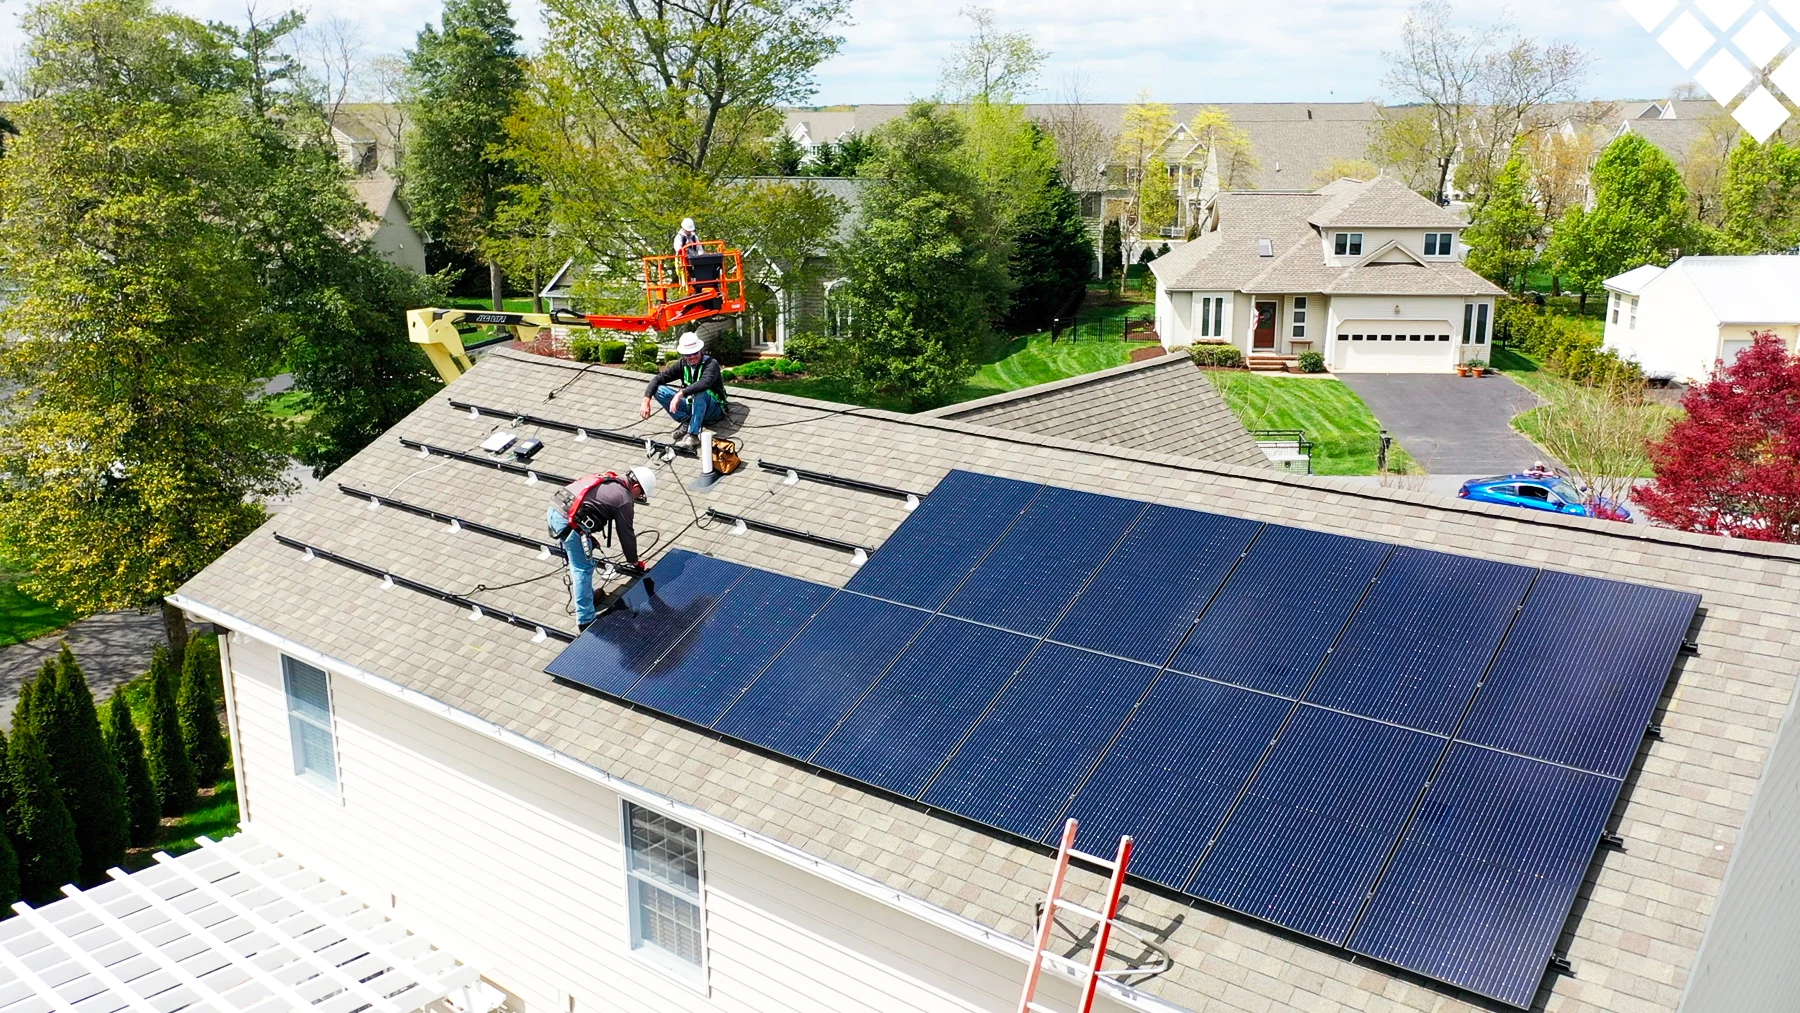
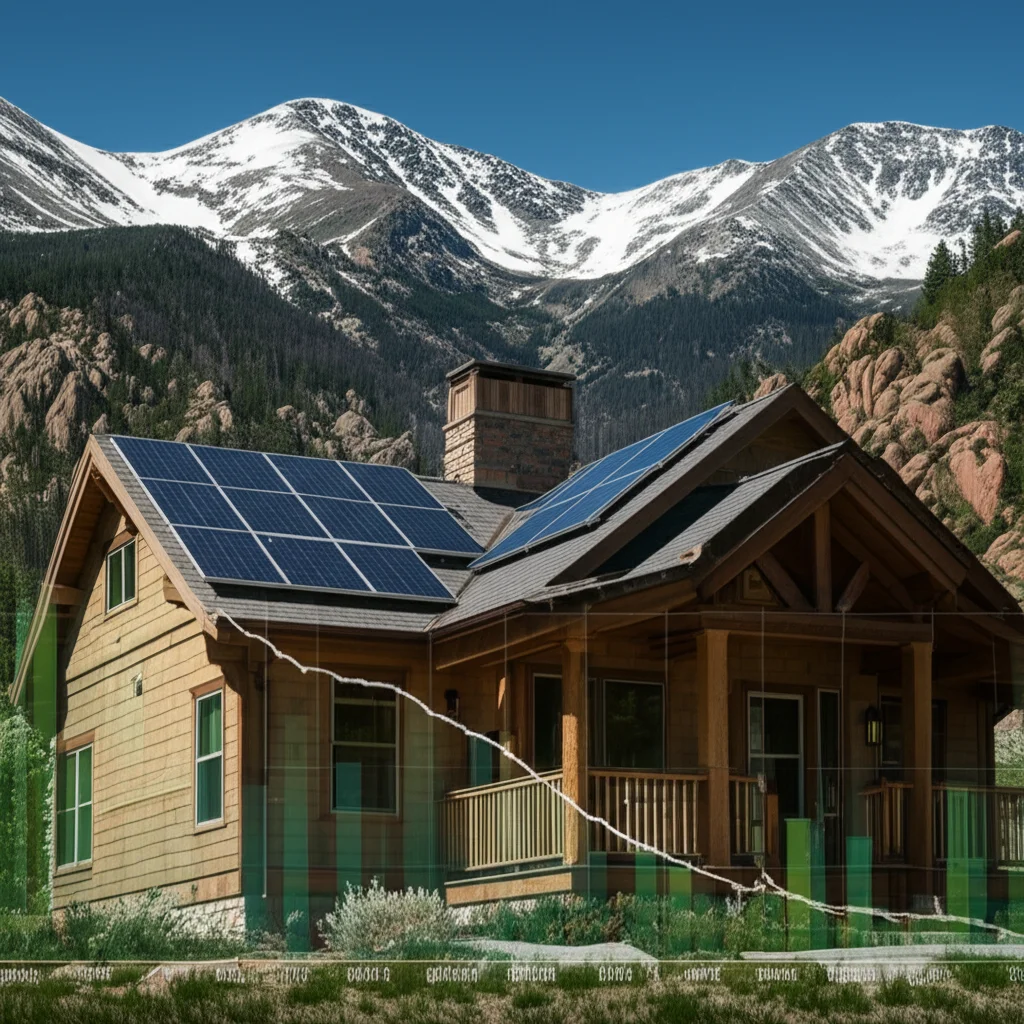
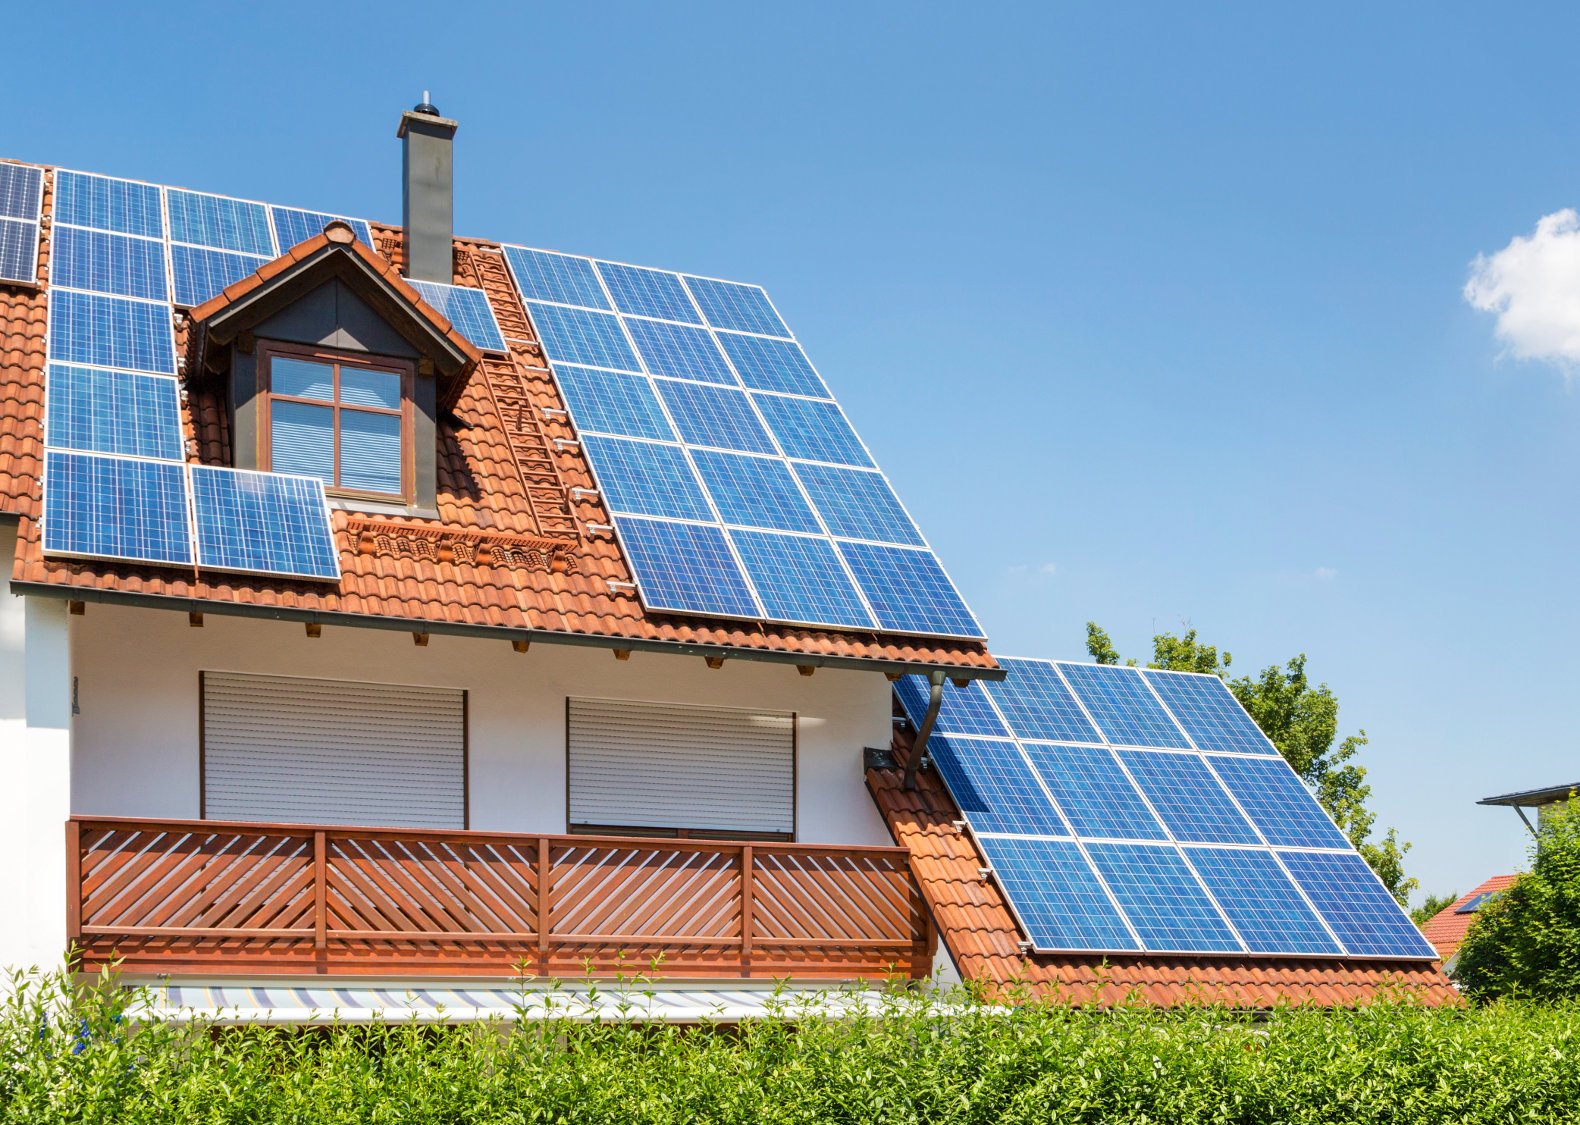
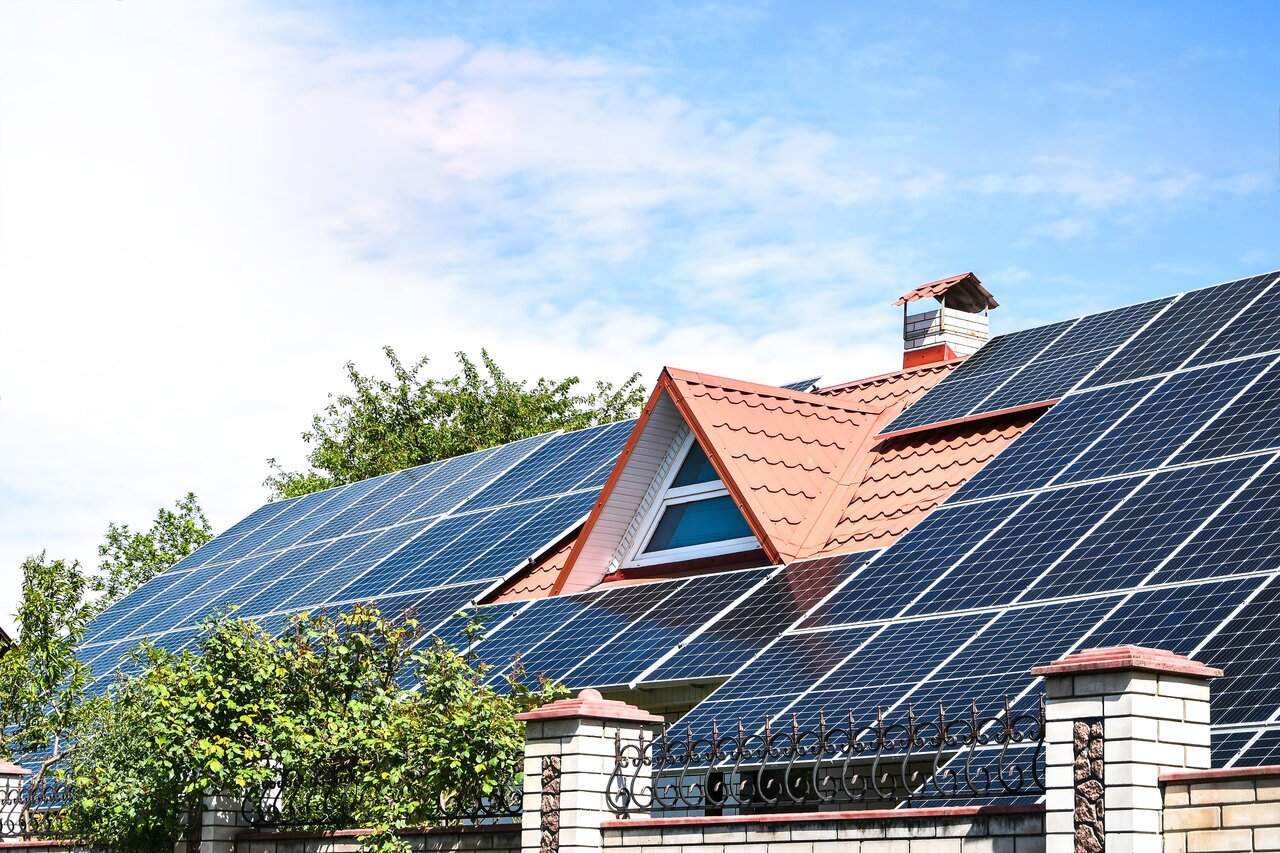
Image source: Bing (Web (fair-use with source credit))
Quick Answer
Installing solar panels on a roof involves mounting racking, attaching panels, and wiring them to an inverter. You must follow local building codes and NEC requirements. Most jurisdictions require a permit and inspection.
Roof work also carries serious fall risks.
Can You Install Solar Panels Yourself? (The Real Answer)
Here's the short version: yes, it's possible, but most people shouldn't. The question isn't really about whether you can physically lift panels onto a roof. It's about whether you should take on the electrical, structural, and safety risks that come with a grid-tied solar system.
If you have experience with residential electrical work, you understand roof loading, and you're comfortable working at height, DIY solar can save you money. Many homeowners have successfully installed their own systems. But the stakes are real.
A mistake in the wiring can cause a fire. A missed roof penetration can lead to thousands in water damage. An improperly grounded system can electrocute someone years later.
If you're a first-time DIYer with no electrical or roofing background, this is not the project to learn on. Start with smaller projects. Get comfortable with basic wiring and roof work first.
The solar install itself is just the final step. Our solar panel buying guide can help you understand what you're getting into before you commit.
That said, there's a middle ground. You can install the racking and panels yourself, then hire a licensed electrician for the final electrical connections. This hybrid approach is common and often makes sense.
You save on labor for the mechanical work while leaving the high-risk electrical work to a professional.
What You're Actually Dealing With: The Core Components
Before you start planning, you need to understand what goes into a residential solar system. Here are the main pieces.
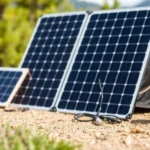
Solar panels. These are the photovoltaic modules that convert sunlight into DC electricity. Most residential panels today are around 400 to 500 watts each. You'll need anywhere from 15 to 25 panels for a typical 5 to 10 kW system.
The different types of solar panels vary in efficiency and cost, so it pays to know the difference.
Racking and mounting hardware. This is the aluminum rail system that attaches to your roof. It holds the panels in place and includes flashing to seal the roof penetrations. The quality of your racking and flashing is what determines whether your roof leaks.
Inverter. This converts the DC power from your panels into AC power your home can use. You have three main options: a single string inverter, microinverters on each panel, or power optimizers paired with a string inverter. Each has tradeoffs around cost, efficiency, and shading tolerance.
Wiring and conduit. MC4 connectors join the panels together. Conduit runs from the array to the inverter and then to your main electrical panel. Wire gauge matters.
Undersized wire can overheat and cause a fire.
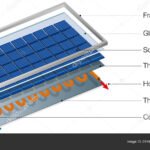
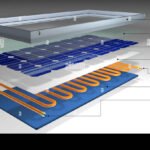
Disconnect switches and grounding. You need a visible AC disconnect near the meter so utility workers can shut off your system. Proper grounding protects against lightning strikes and electrical faults. The main components of a solar panel system all work together, and each one needs to be installed correctly.
Net meter. Your utility company will swap your existing meter for a bidirectional one that can track power flowing both ways.
Before You Touch a Panel: Critical Pre-Install Checks
This is where most DIY plans fall apart. You need to check three things before you buy a single panel.
Is your roof ready?
Look at the age and condition of your roof covering. If your asphalt shingles are more than 10 years old, or if you have any signs of leaks, rot, or damage, replace the roof first. Installing panels on an aging roof means you'll have to remove and reinstall them later at significant cost.
Manufacturer specifications indicate that solar panels last 25 to 30 years. Your roof should match that lifespan.
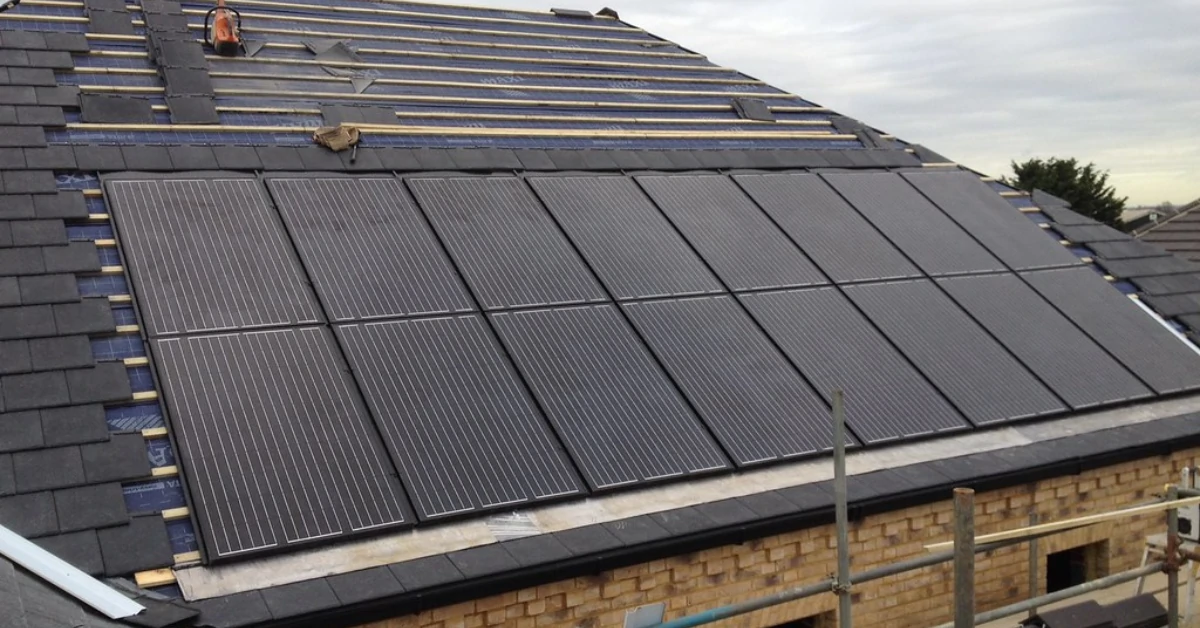
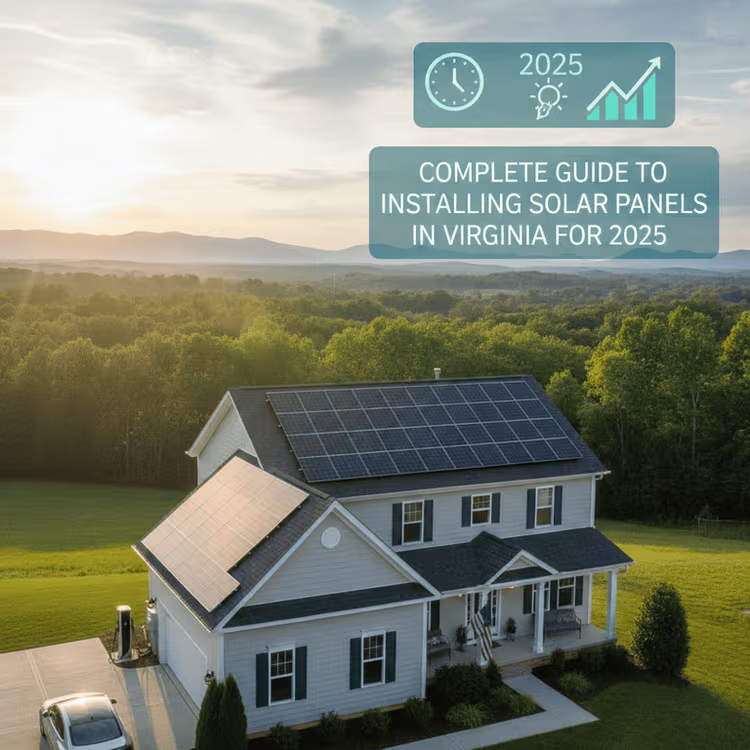
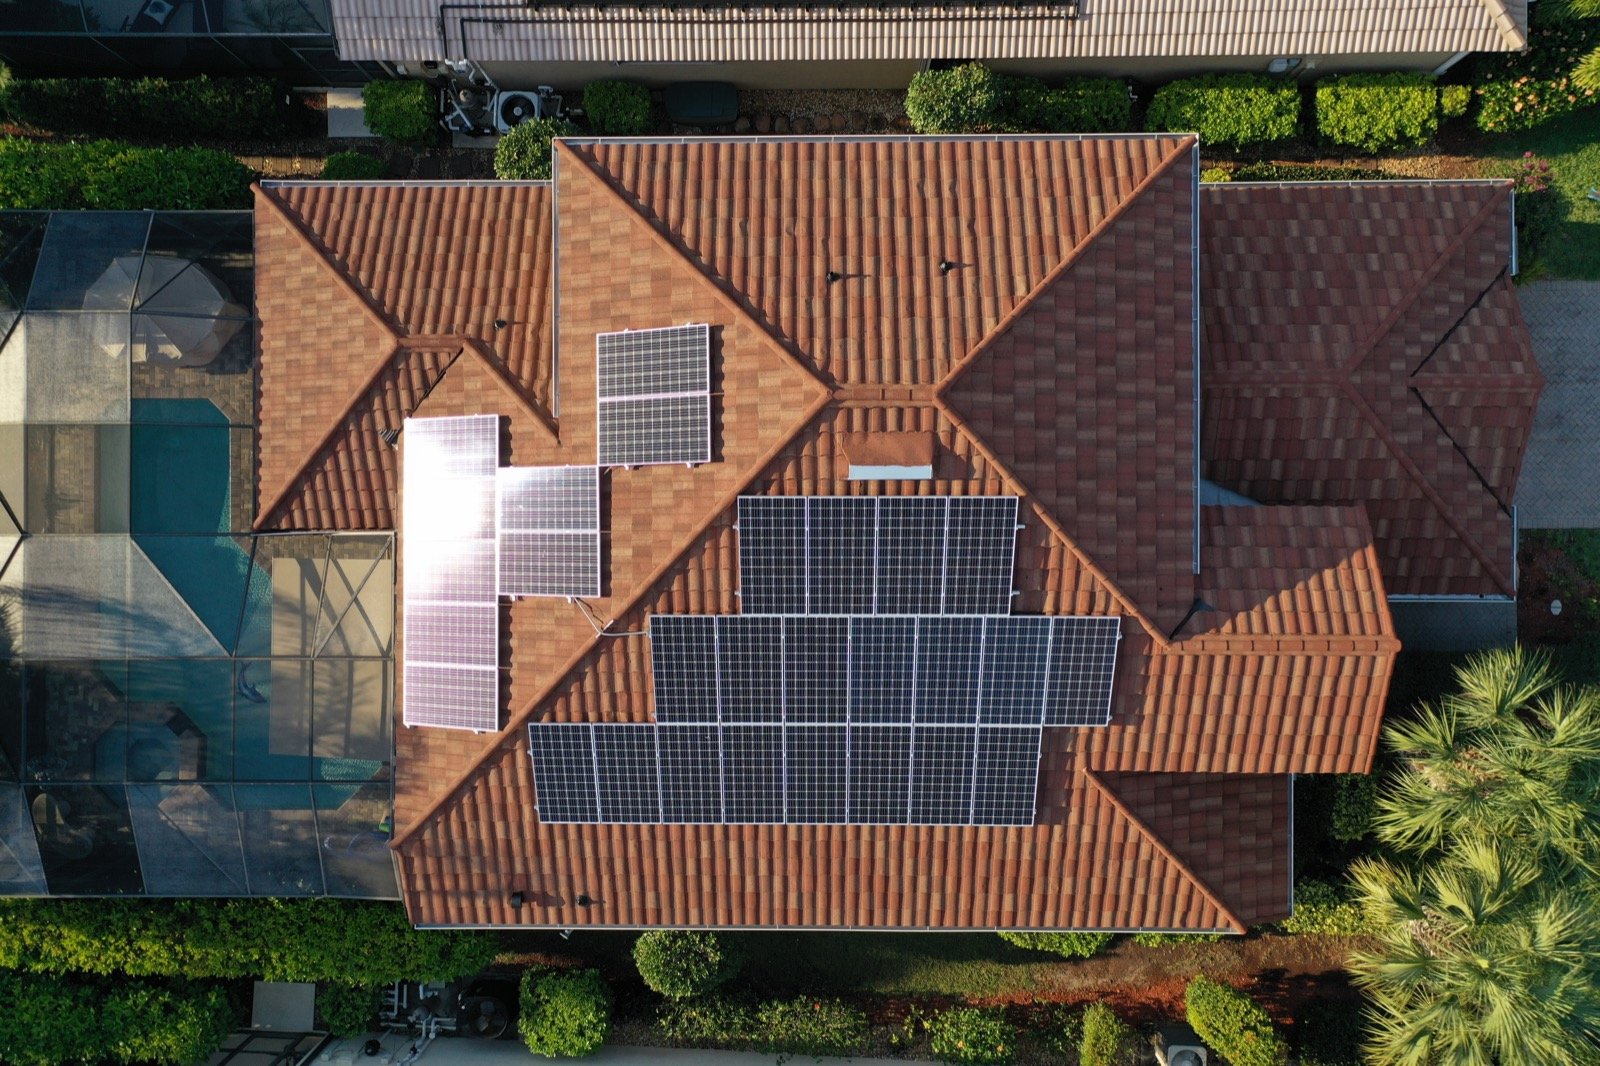
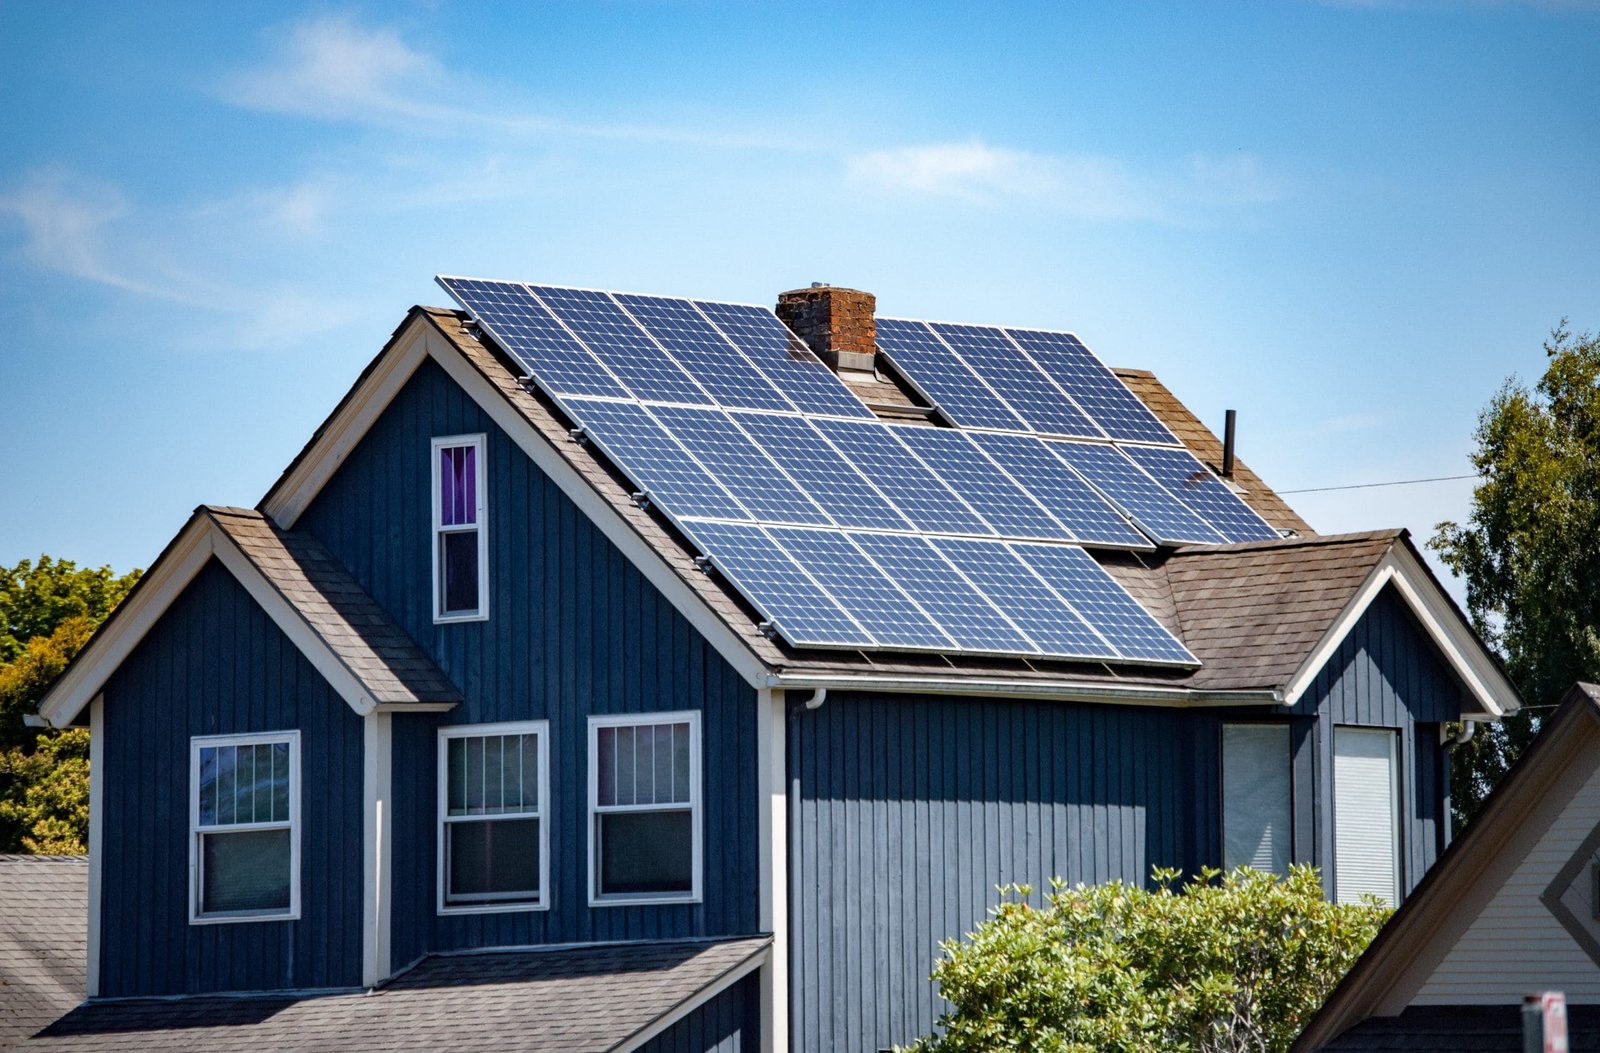
Image source: Bing (Web (fair-use with source credit))
Can your roof handle the weight?
Solar panels and racking add about 2.5 to 4 pounds per square foot to your roof. That might not sound like much, but combined with snow load in colder climates, it can exceed your roof's structural capacity. A structural engineer should evaluate your roof if you're in a high snow load zone or if your roof is older.
This is not optional.
Do you have good sun exposure?
South-facing roofs are ideal in the Northern Hemisphere. East and west also work but produce less. Shade from trees, chimneys, or neighboring buildings can dramatically reduce your system's output.
Even partial shade on a single panel can cripple an entire string if you're using a string inverter. Understanding how solar panels generate electricity helps you see why shading matters so much.
Have you checked with your utility and HOA?
Your utility company needs to approve your interconnection before you turn the system on. Some require additional equipment like a disconnect switch or specific meter types. If you're in an HOA, check for restrictions on visible panel placement.
Per OSHA guidelines, any roof work above six feet requires fall protection, and that's a legal requirement, not a suggestion.
The Step-by-Step Installation Process (What's Involved)
Here's a high-level view of the typical installation process. Each step has its own risks and requirements.
Step 1: Safety setup. Install roof anchors and tie off with a safety harness. Never work on a roof without fall protection. Set up your ladder correctly on stable ground.
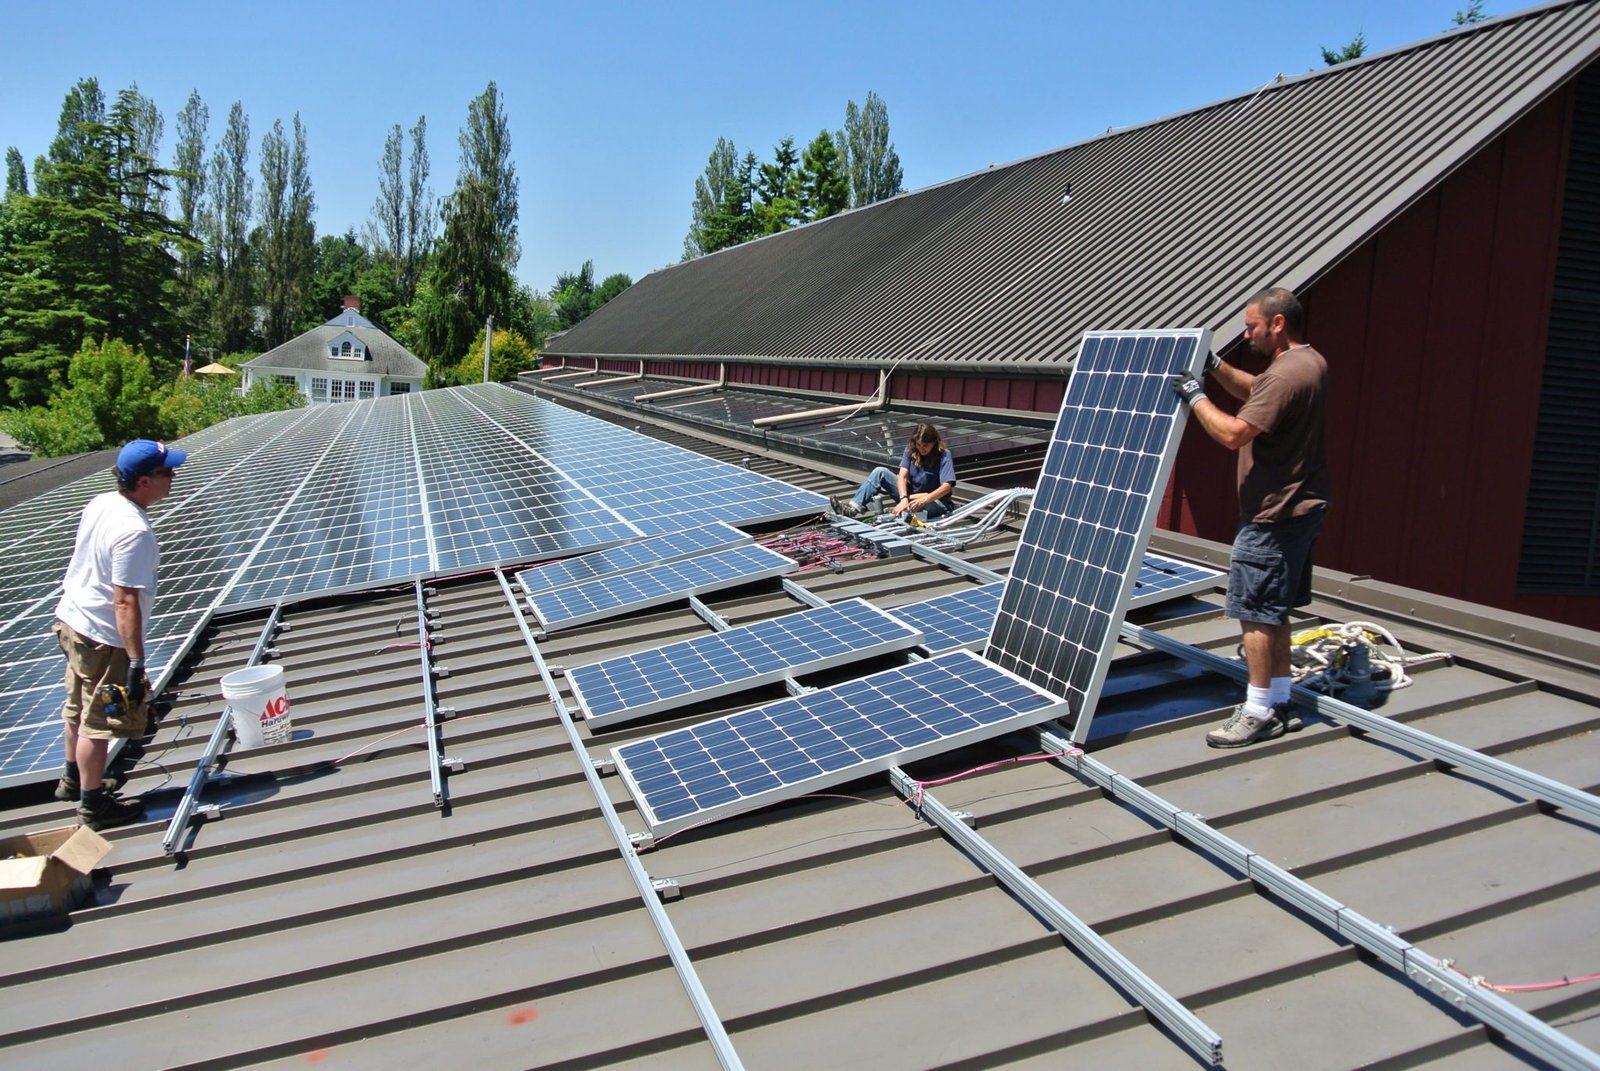
Step 2: Install the racking. Locate the roof rafters using a stud finder. Drill pilot holes, then attach the flashing and mounts. Use appropriate sealant around every penetration.
Install the aluminum rails that will hold the panels.
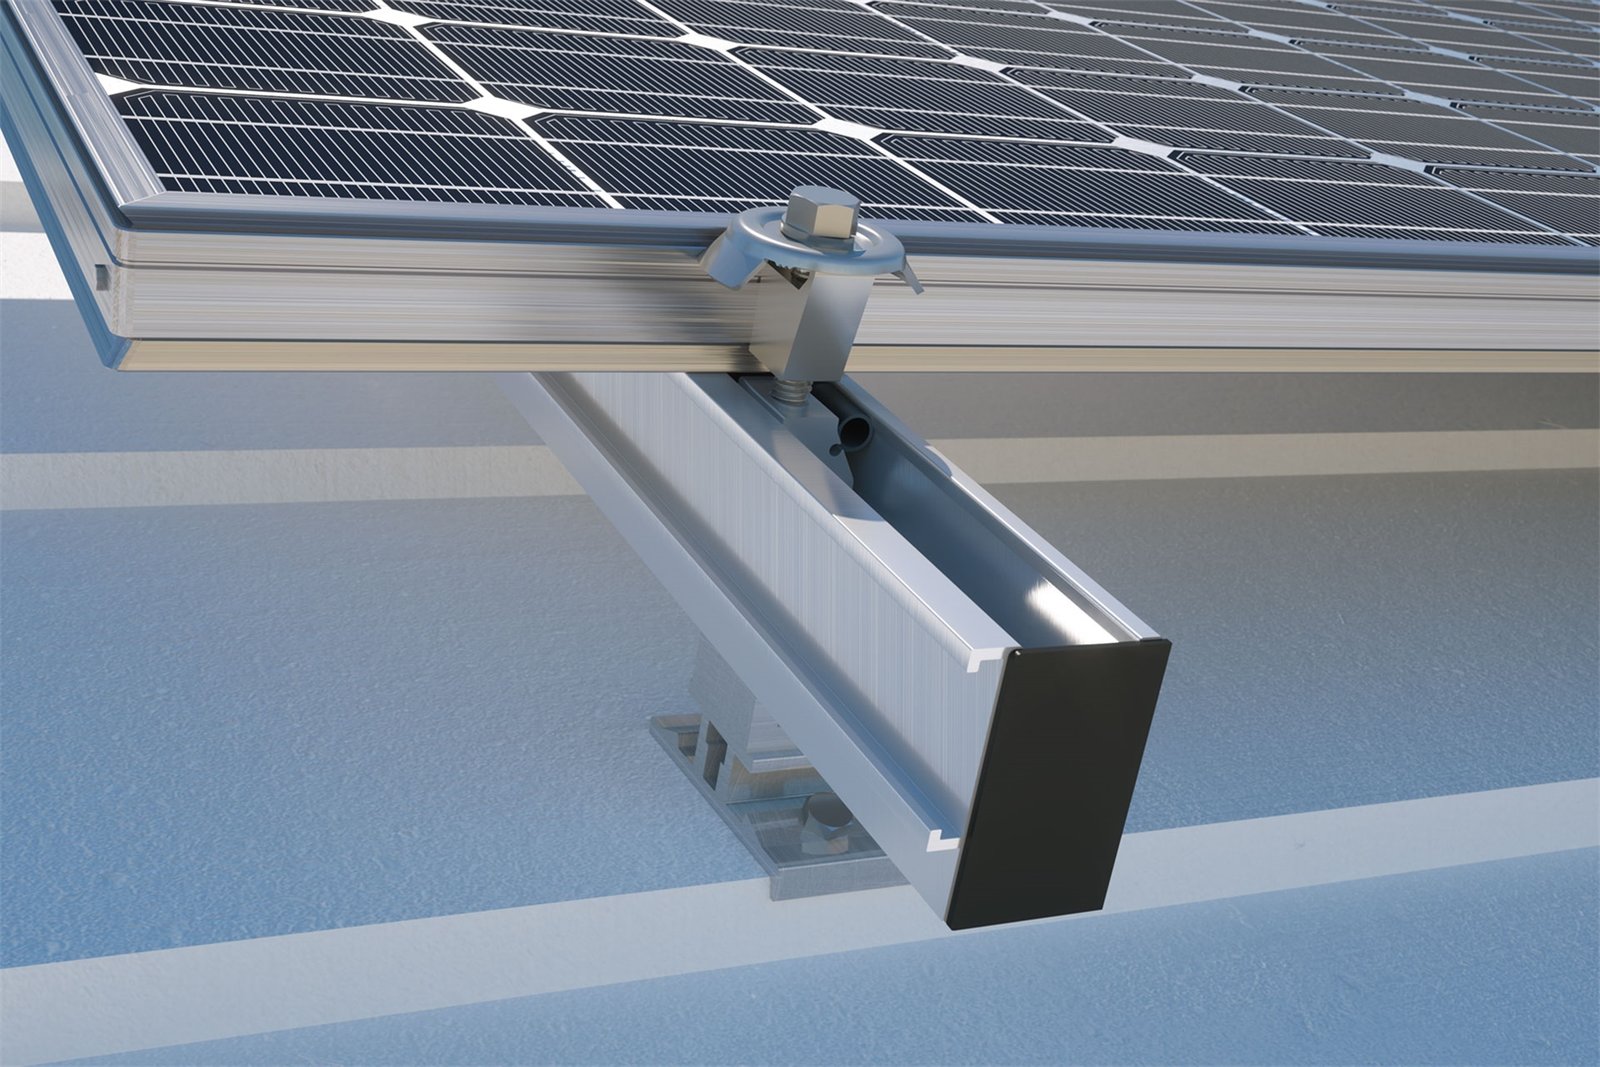
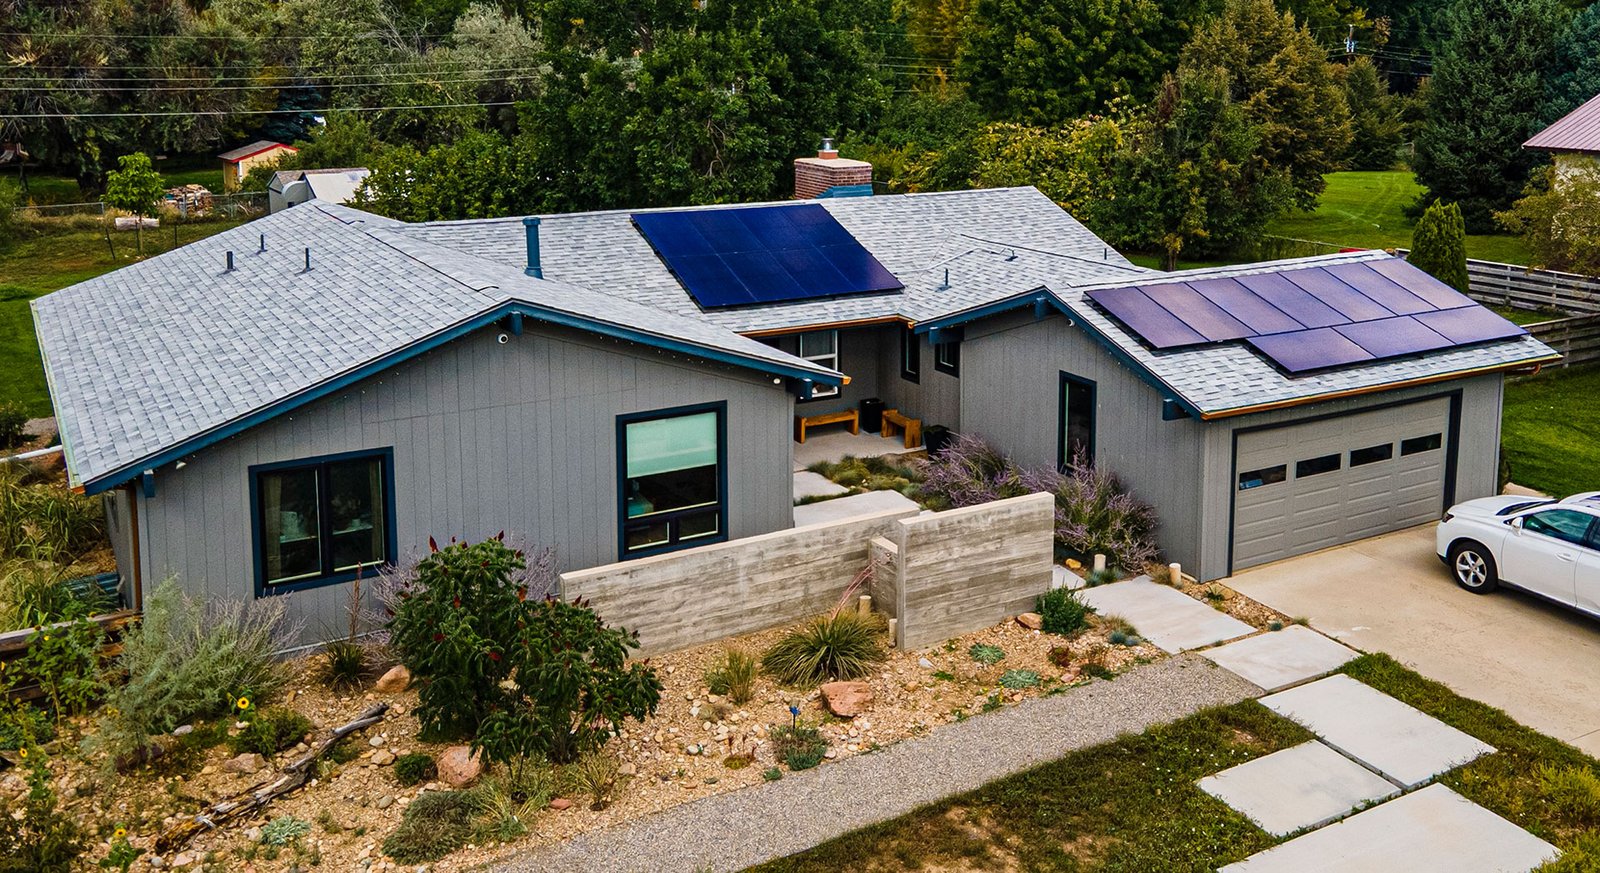
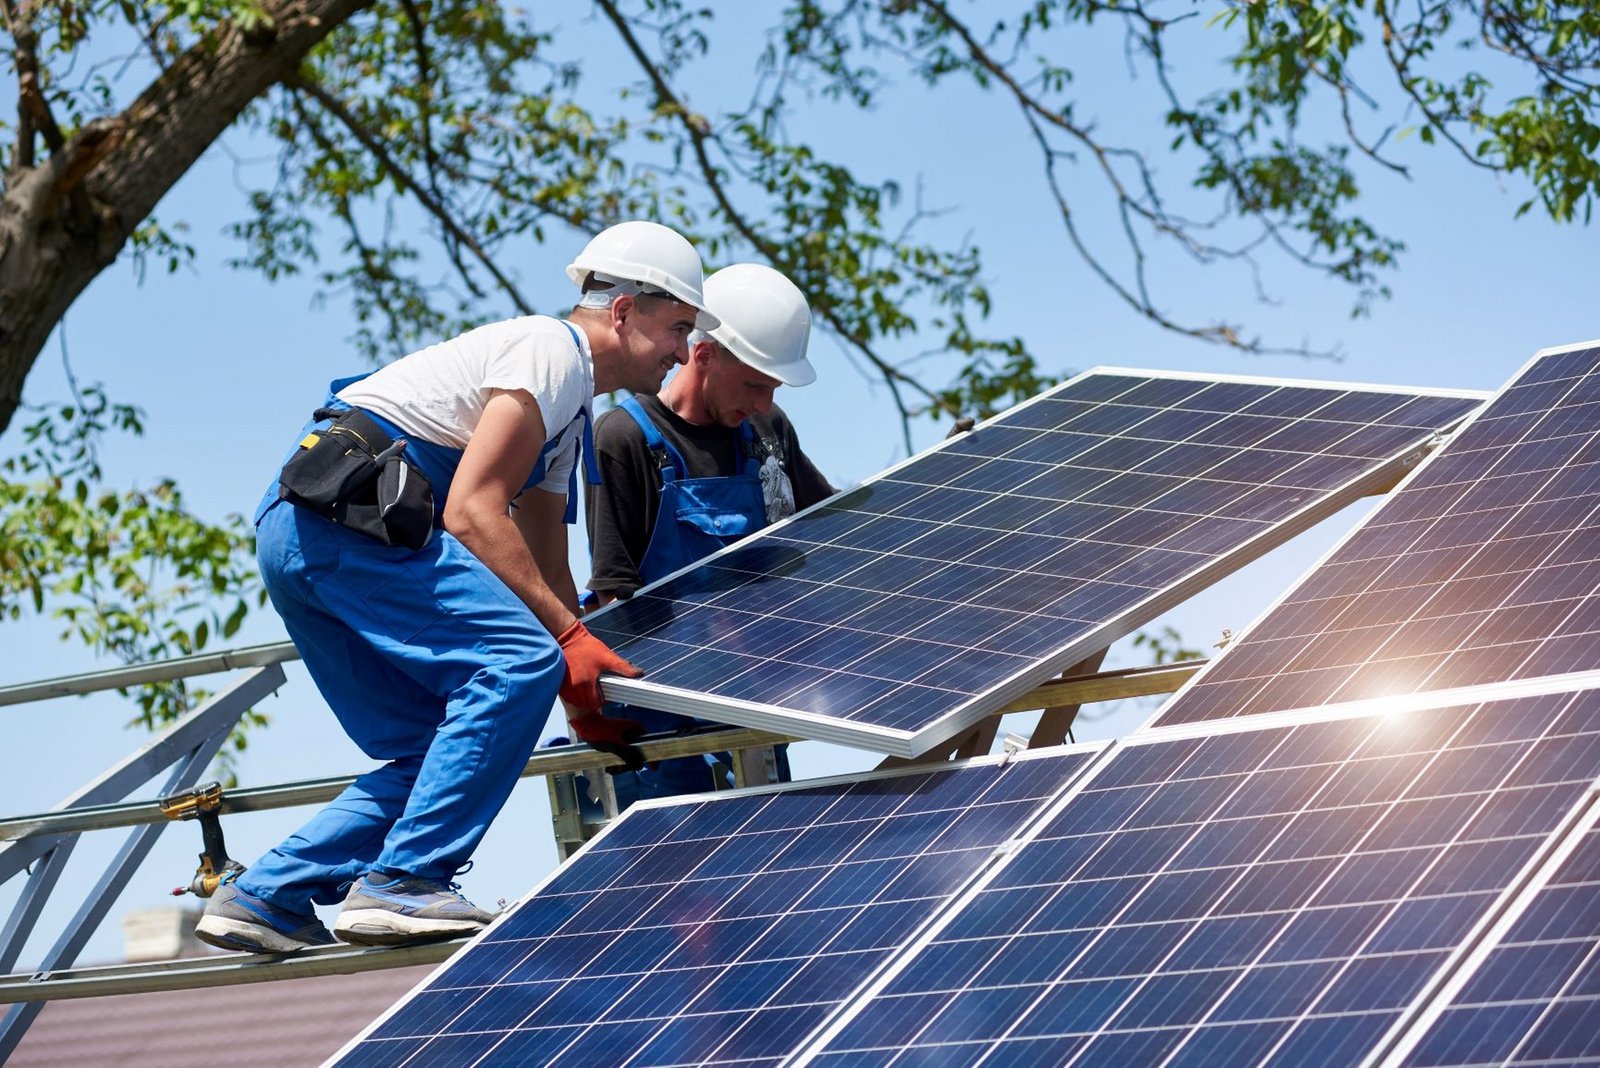
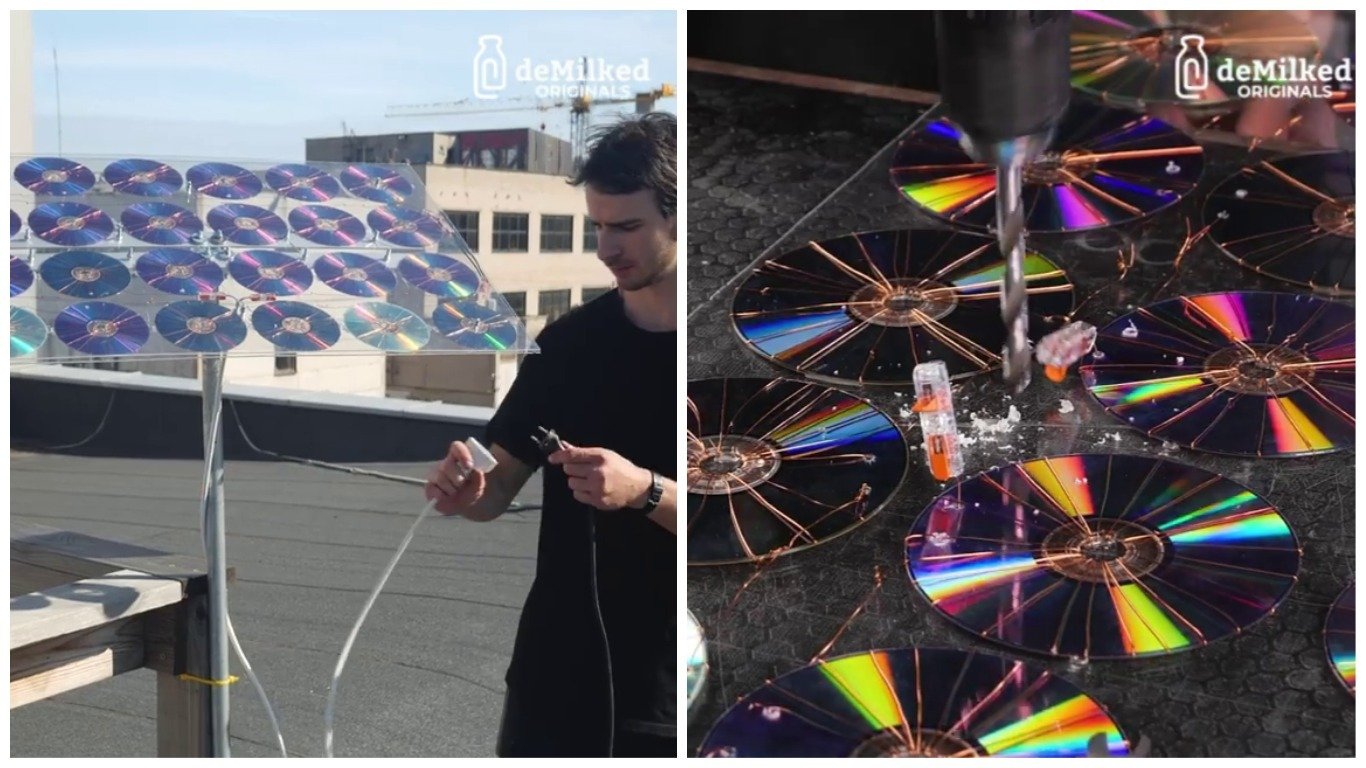
Image source: Bing (Web (fair-use with source credit))
Step 3: Mount the panels. Lift the panels onto the roof and attach them to the rails using mid-clamps and end-clamps. Connect the MC4 connectors between panels as you go. This creates the DC string.
Step 4: Run the wiring. Route the DC cables from the array down to the inverter location. Use conduit where required by code. Keep wire runs as short as possible to minimize voltage drop.
Step 5: Install the inverter and connect to the panel. Mount the inverter near your main electrical panel. Run the AC output through a dedicated breaker. This step requires a licensed electrician in most jurisdictions.
Step 6: Ground the system. Connect grounding wire from the racking, panels, and inverter to your home's grounding system. This is critical for safety.
Step 7: Schedule inspection. Your local building department will inspect the system before you can turn it on. The utility company will also inspect and install the net meter.
Step 8: Commission the system. Once everything passes inspection, flip the breakers on and verify the system is producing power. Set up monitoring to track your production.
The Safety and Legal Stuff You Absolutely Cannot Skip
This is the part that trips up most DIYers. The physical work of installing panels is straightforward. The safety and legal requirements are not.
Fall protection is non-negotiable. OSHA requires fall protection for any work at six feet or higher. That means a full-body harness, a roof anchor rated for 5,000 pounds, and a lanyard. You can rent harnesses at equipment yards.
Do not skip this. A slip on a sloped roof can paralyze or kill you.
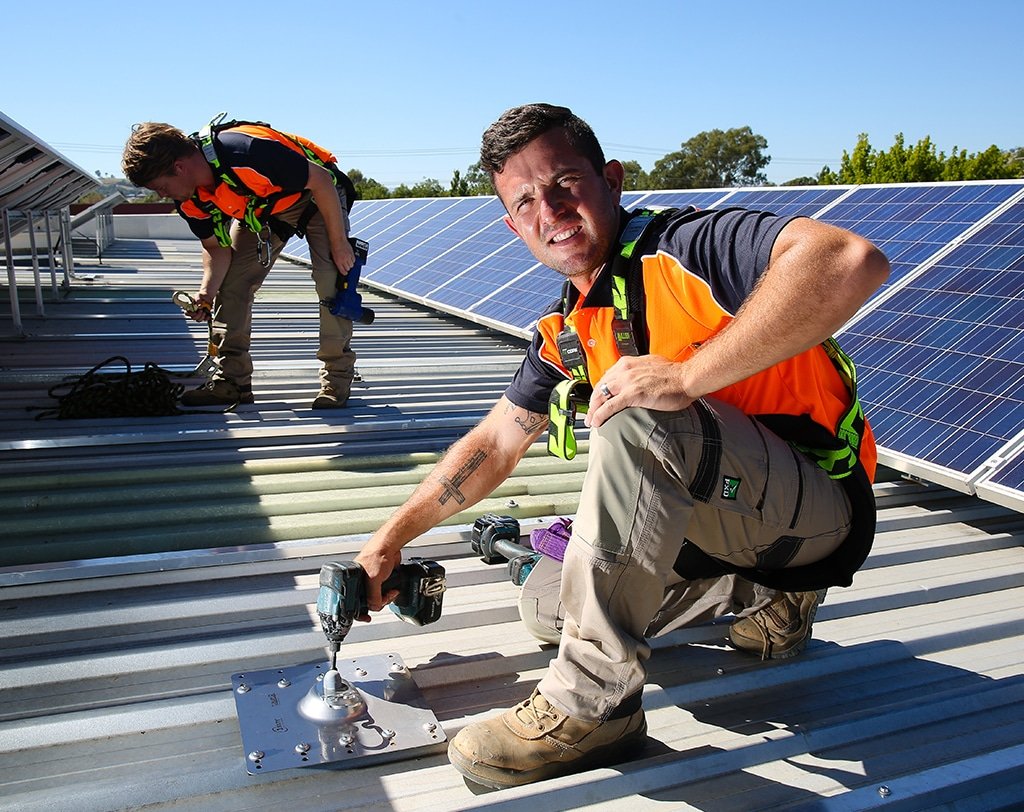
Image source: Bing (Web (fair-use with source credit))
Electrical safety is even more serious. Solar panels produce DC voltage whenever light hits them. Even at night, they can hold a dangerous charge. The NEC 2020 code requires rapid shutdown so the system drops to under 80 volts within 30 seconds of disconnect.
This protects firefighters and anyone working on the roof later.
Permits are required in nearly every jurisdiction. You need a building permit and an electrical permit. The inspector will check your work against the NEC and local codes. If you skip the permit, your insurance company may deny a claim if something goes wrong.
Your utility company also won't turn on the system without an approved inspection.
Liability matters. If you drop a panel onto a neighbor's car or a pedestrian, you're responsible. Homeowner's insurance policies vary on whether they cover DIY solar work. Call your agent before you start.
Common Mistakes That Lead to Leaks, Fires, or Failed Inspections
These are the errors we see most often in DIY solar installations. They're easy to avoid if you know about them upfront.
Mistake 1: Poor roof penetration sealing. The number one cause of leaks is improper flashing. A bead of silicone caulk is not enough. You need a metal flashing that slides under the shingle above and over the mount.
Rubber boots crack in UV light within a few years. Use a proper flashing kit designed for solar racking.
Mistake 2: Underestimating wire sizing. Undersized wire creates resistance, which creates heat, which can cause a fire. The NEC requires a specific wire gauge based on the current and distance of your run. Use a voltage drop calculator or consult an electrician. 10 AWG is the minimum for most residential runs, but longer runs may need 6 AWG.
Mistake 3: Ignoring fire code setbacks. Your local fire department needs access to walk on the roof around the panels. The International Fire Code typically requires a 3-foot clear pathway along the ridge and 18 inches on the sides. If you cover the entire roof, you'll fail inspection.
Mistake 4: Mixing panel types or orientations. Panels in the same string must have the same voltage and current rating. If you mix different panel types, the string performance drops to the lowest common denominator. Shading one panel can cripple the entire string.
Mistake 5: Overloading the roof. Adding panels without verifying the structural capacity is a gamble. Snow loads can exceed 40 pounds per square foot in northern states. Combined with panel weight, you can exceed the roof's rated capacity.
An engineer's stamp is cheap compared to a roof collapse.
Mistake 6: Improper grounding. A missing or loose ground connection can make the entire metal racking system live. You need to bond the racking, panels, and inverter together with continuous copper wire back to the main ground rod.
The 4-Part Decision Guide: Should You DIY or Hire a Pro?
This is the most important question you'll answer. The right choice depends on your skills, your roof, and your local regulations.
When It Makes Sense to DIY
DIY solar is a good fit if you have experience with residential electrical work, you're comfortable on a roof, and your local building department allows homeowner permits. You'll save on labor, which can be 30 to 50 percent of the total cost. A typical 5 kW system might cost $8,000 to $12,000 in materials.
Professional installation would add another $4,000 to $6,000.
If you can handle the racking, the wiring, and the permit process, DIY can save thousands. Just be honest about your skills. The advantages and disadvantages of solar panels include the cost savings of DIY, but also the risks.
When You Must Call a Licensed Professional
You should hire a pro if any of these apply. Your roof is steep (over 7:12 pitch). You have a complex roof with multiple planes, skylights, or dormers.
Your local jurisdiction requires a licensed electrician for the final connection. You have an older roof that needs structural evaluation. You're not comfortable with heights or electrical work.
Professional installers also handle the permit process, the utility interconnection, and the warranty. If something goes wrong, you have recourse.
The Hybrid Approach: Do the Racking, Hire the Electrician
This is the sweet spot for many DIYers. You handle the physical installation of the racking and panels. You hire a licensed electrician for the inverter connection, the main panel work, and the final inspection.
This splits the work at the most logical point.
You save money on the labor for the mechanical work. The electrician handles the high-risk electrical connections and the permit sign-off. Make sure the electrician is willing to work with a homeowner who installs the racking.
Not all of them are.

Image source: Bing (Web (fair-use with source credit))
What Most People End Up Doing (And Why)
Based on aggregate reviews and industry data, most homeowners who start with a full DIY plan end up calling a professional for at least part of the job. The most common bottleneck is the electrical work. The second is the permit process.
If you're on the fence, start with the hybrid approach. Install the racking yourself. Then hire an electrician for the rest.
You'll learn a lot about your system, and you'll save money without taking on the highest risks.
Your Final Checklist Before You Buy a Single Panel
Before you order anything, go through this checklist. It will save you time, money, and frustration.
- Roof condition. Is your roof less than 10 years old? If not, replace it first.
- Structural capacity. Have you verified the roof can handle the weight? If you're unsure, get an engineer.
- Sun exposure. Do you have unobstructed sun for at least 5 hours per day, year-round? Use a solar pathfinder or a phone app.
- Utility approval. Does your utility allow net metering? What equipment do they require?
- Permit requirements. Does your city or county allow homeowner permits? What is the inspection process?
- HOA restrictions. Are there any rules about panel placement, color, or visibility?
- Safety equipment. Do you have a harness, roof anchors, and a proper ladder?
- Tools and materials. Do you have the racking, flashing, wiring, conduit, and disconnect switches? Make a full list.
- Electrician lined up. If you're using the hybrid approach, have you found a licensed electrician willing to work with you?
- Budget. Have you accounted for all materials, permit fees, and the electrician's fee? A 5 kW system typically costs $8,000 to $15,000 total.
Frequently Asked Questions
How long does a solar panel installation take?
A professional crew can install a residential system in one to three days. A DIY installation typically takes two to four weekends depending on your experience level and the complexity of your roof.
Do I need a permit to install solar panels?
Yes, in nearly every jurisdiction. You need a building permit and an electrical permit. The inspector will check your work against the NEC and local codes.
Skipping the permit can lead to fines and insurance issues.
Can I install solar panels on a flat roof?
Yes, but you need a different mounting system. Flat roofs typically use ballasted mounts that don't penetrate the roof membrane. You also need tilt brackets to angle the panels toward the sun.
What happens if my roof leaks after installation?
A properly installed flashing system should prevent leaks. If you used the correct flashing and sealant, the leak is likely from a different source. If you skipped the flashing, you'll need to remove the panel and redo the penetration.
How much weight do solar panels add to my roof?
Solar panels and racking add about 2.5 to 4 pounds per square foot. In snow load zones, the combined weight can exceed your roof's rated capacity. Check with a structural engineer if you're in a high snow area.
Can I add more panels later?
Yes, but it depends on your inverter capacity and your utility's interconnection agreement. If you have a string inverter, you may need to upgrade it. Microinverters make expansion easier.
Plan for future expansion in your initial design.

Similar Posts