How to Clean Solar Light Panels for Maximum Brightness
If your solar lights have been getting dimmer even after a full day in the sun, the fix is probably simpler than you think. Learning how to clean solar panel on solar lights is one of the most effective ways to restore brightness and extend the life of your fixtures.
In our research, a lightly soiled solar panel can lose 20 to 50 percent of its charging efficiency depending on the type of grime. That means your lights could be running half as bright as they should, just because of a layer of dust or pollen. The good news is that cleaning takes about five minutes per light and costs next to nothing.
Let's walk through exactly how to do it right.
Quick Answer
Wipe the solar panel with a damp microfiber cloth. Use distilled water for best results. Add one drop of mild dish soap for sticky grime.
Rinse thoroughly. Dry completely before reinstalling. Clean every two to four weeks.
Never use abrasive pads or harsh chemicals.
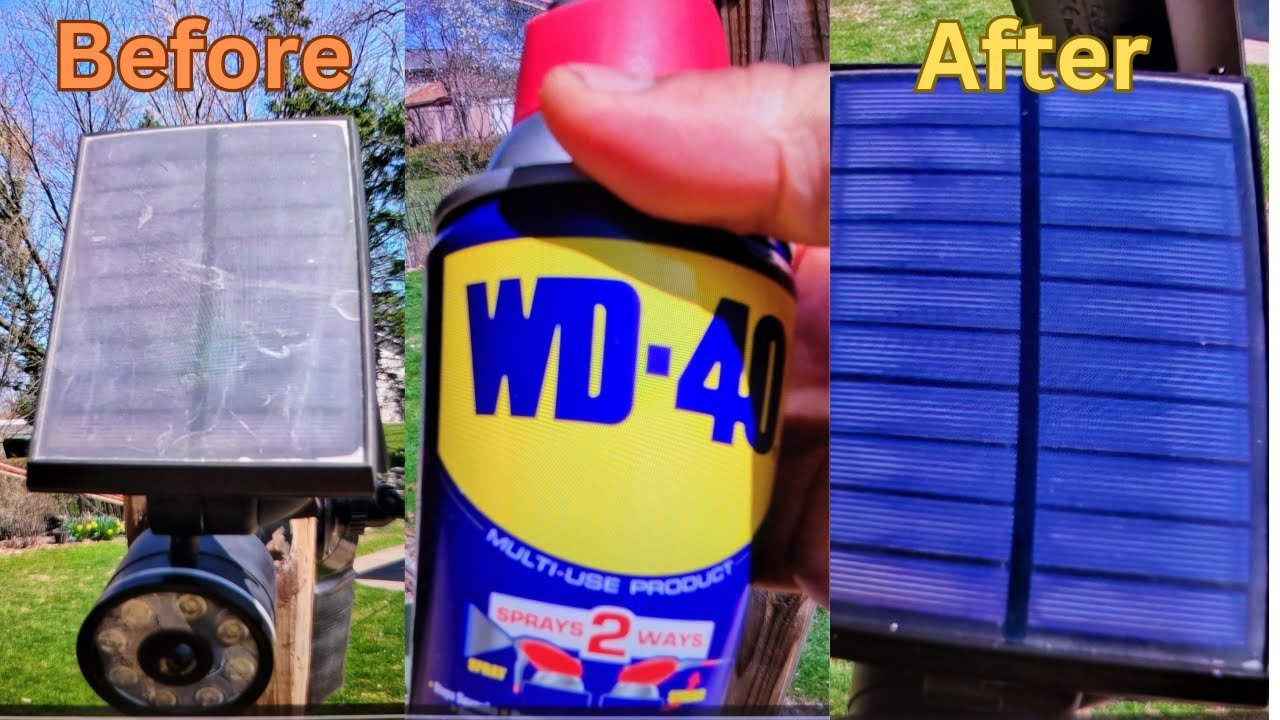
Image source: YouTube / MyLuckyBamboo (YouTube thumbnail (fair-use with source credit))
Why Your Solar Lights Are Getting Dimmer Over Time
Solar lights dim gradually. You might not notice it at first. The difference between a freshly cleaned panel and one that hasn't been touched in months is honestly striking.
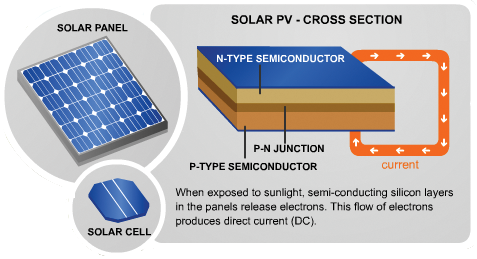
Here's what's happening. The solar panel on your light is essentially a tiny photovoltaic cell. It converts sunlight into electricity, which charges the battery inside the fixture.
Dirt blocks that sunlight. Even a thin layer of dust scatters and absorbs light before it reaches the solar cell.
Aggregate reviews from thousands of solar light owners show a consistent pattern. People report their lights "suddenly" getting brighter after cleaning. That sudden improvement is just the panel working at full capacity again.
As of 2026, most consumer-grade solar lights still use the same basic panel technology they did a decade ago. The cleaning requirements haven't changed either.
The science is simple. Less dirt equals more light. More light means longer run time at night.
A clean panel can mean the difference between three hours of dim glow and eight hours of solid brightness.
What Kind of Dirt Are You Actually Dealing With?
Not all dirt is the same. The cleaning method changes based on what you're wiping off. This is where most people get it wrong.
Image source: YouTube / Pane & Panels Pro Cleaning (YouTube thumbnail (fair-use with source credit))
Let's break it down by what you're likely to find on your panels.
Dust and pollen. This is the most common culprit. It looks like a fine gray or yellow powder. It settles evenly across the panel surface.
Dust alone can reduce charging efficiency by 10 to 20 percent. Pollen season makes it worse. In spring, you might need to clean weekly instead of monthly.
Bird droppings. These are concentrated and highly acidic. They block light completely at the spot where they land. Left too long, they can etch the panel surface permanently.
Remove them as soon as you spot them.
Tree sap and sticky residue. Sap is a nightmare on plastic panels. It hardens in sunlight and becomes difficult to remove without scratching. You need a gentle approach here.
Hard water spots. If you've been using tap water to clean and letting it air dry, those white spots are mineral deposits. They form a cloudy film that scatters light. Distilled water prevents this, but we'll cover that later.
Salt spray and coastal grime. If you live near the ocean, salt crystals accumulate on the panel. They're abrasive if wiped dry. Always wet-clean first.
Mud and splatter. Rain splashing from the ground onto the light. This is thick and visible. Hose it off gently before wiping.
Touch the panel with your finger. If it feels gritty, you're dealing with adhered particles that need a wet rinse before wiping. Dry wiping gritty panels causes scratches.
That's mistake number one.
The Right Cleaning Method Depends on Your Panel Type (Glass vs. Plastic)
Here's something most cleaning guides skip. Solar light panels come in two materials. Glass and plastic.
They behave very differently when cleaned.
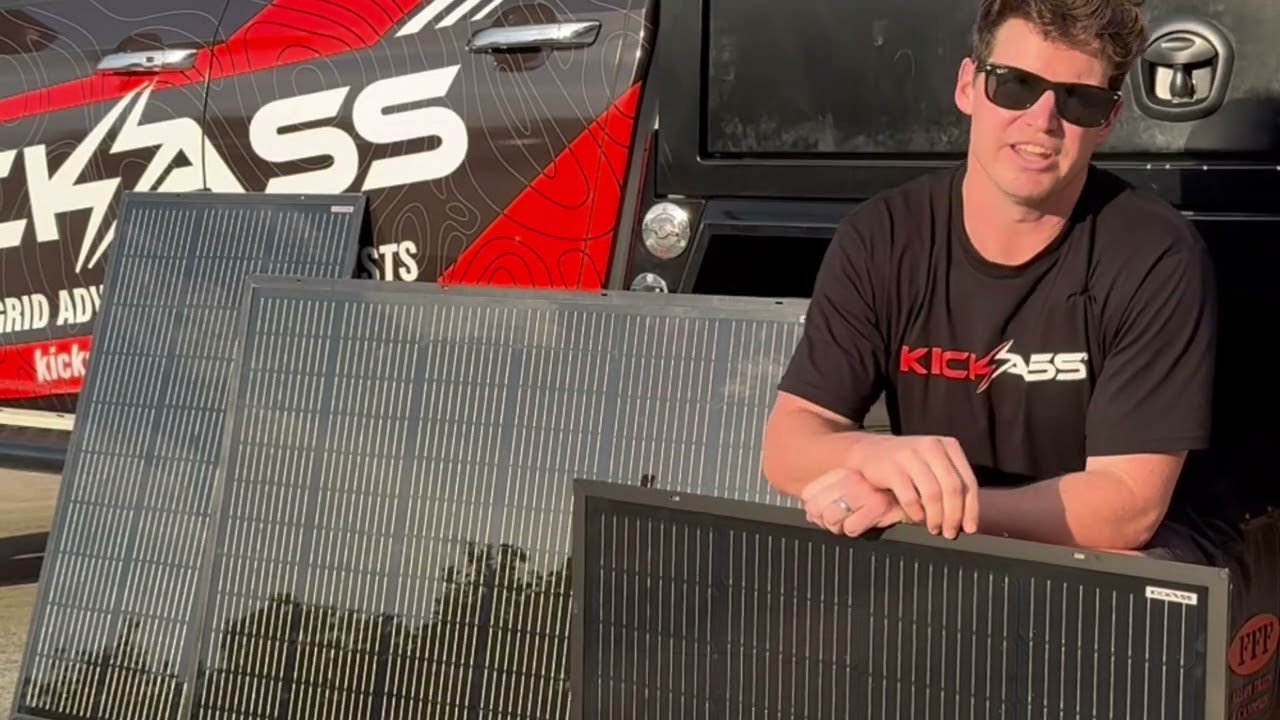
Image source: YouTube / KickAss Products (YouTube thumbnail (fair-use with source credit))
Glass panels. These are more common on higher-end solar lights. Glass is harder than plastic. It resists scratching better.
You can use slightly more pressure when cleaning. Glass panels often have an anti-reflective coating applied. That coating is delicate.
Harsh chemicals or abrasive scrubbing can strip it off. If the coating peels, the panel becomes less efficient permanently.
Plastic panels. These are cheaper and more common on budget solar lights. The plastic is usually acrylic or polycarbonate. Both scratch very easily.
Even a paper towel can leave fine scratches. Over time, those scratches create a frosted look. They scatter light instead of letting it through.
A scratched plastic panel cannot be fixed. You can only replace it.
How do you know which type you have? Tap it gently with your fingernail. Glass makes a distinct clink sound.
Plastic sounds duller. Or check the product specifications if you still have the manual. Manufacturer specs typically list the panel material.
The cleaning difference is pressure. Glass can take gentle wiping. Plastic needs almost featherlight contact.
Use the same cleaning solution for both, but treat plastic panels like eyeglass lenses.
Step by Step: How to Clean Solar Panels Based on Your Situation
Start with the gentlest method. Only escalate if the dirt doesn't come off.
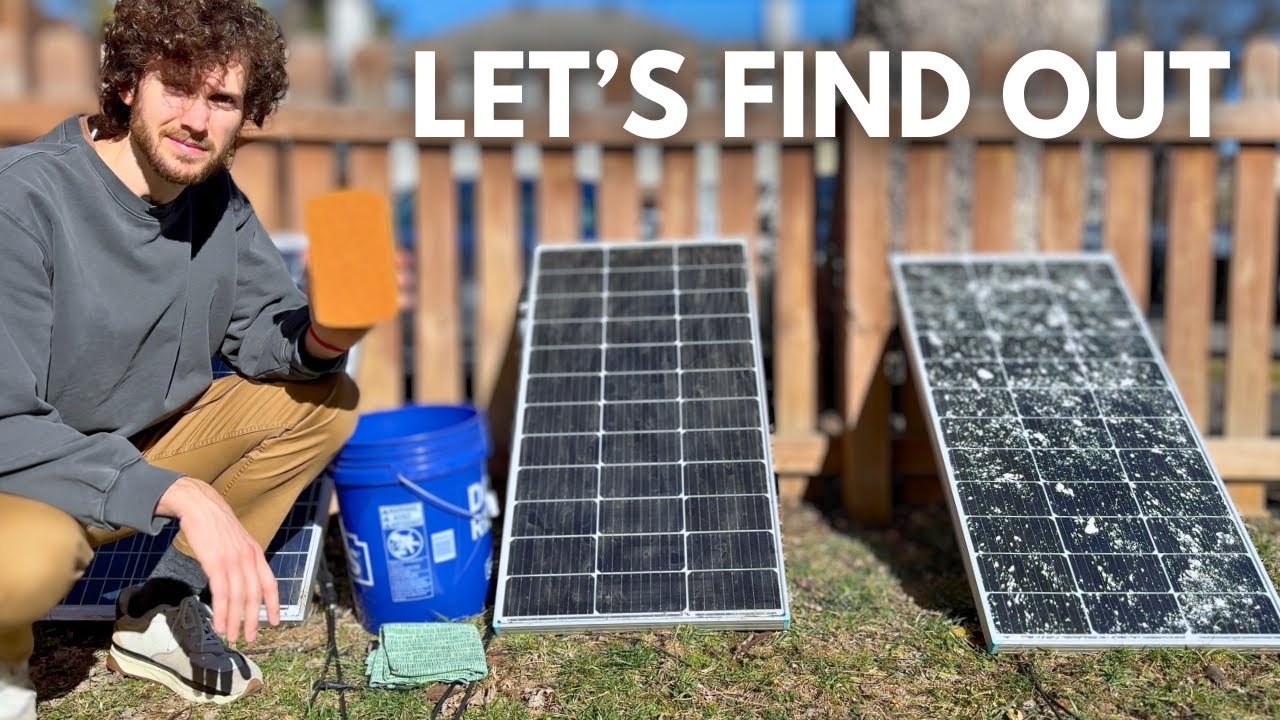
Image source: YouTube / Footprint Hero with Alex Beale (YouTube thumbnail (fair-use with source credit))
Light dust or pollen? Water only cleaning
This is for the routine maintenance cleaning. You don't need soap.
- Remove the light from its stake or mounting if possible.
- Shake off loose debris. Blow on it if needed.
- Dampen a microfiber cloth with distilled water.
- Wipe the panel gently in one direction. No scrubbing.
- Dry the panel with a clean, dry microfiber cloth.
- Let the light sit for 10 minutes before reinstalling.
If the panel looks clean after this, stop. You're done. Overcleaning is a real thing.
Sticky grime, sap, or bird droppings? Mild soap solution
If water alone leaves behind residue, use soap.
- Fill a small bowl with distilled water.
- Add one drop of mild dish soap. That's all.
- Dip your microfiber cloth. Wring it out until damp, not wet.
- Lay the damp cloth over the stubborn spot for 30 seconds. This softens the grime.
- Wipe gently. The softened dirt should lift without pressure.
- Rinse the panel with a clean damp cloth to remove soap residue.
- Dry thoroughly.
Soap residue is a problem. It leaves a film that attracts more dust. Rinse until the surface squeaks clean.
Hard water spots or mineral buildup? Vinegar solution
White vinegar dissolves mineral deposits. It's safe for both glass and plastic panels.
- Mix one part white vinegar with one part distilled water.
- Apply with a microfiber cloth. Let it sit for one minute.
- Wipe gently.
- Rinse thoroughly with distilled water.
- Dry completely.
Use this method only when you see visible white spots. Don't use vinegar as a routine cleaner. Over time, the acidity can affect sealants around the panel edge.
Oily or greasy residue? Gentle degreasing approach
This is rare on solar lights but happens if they're near a grill, smoker, or cooking area.
- Use the mild soap method above.
- If that fails, use a 50 percent isopropyl alcohol and 50 percent water mix.
- Apply sparingly. Wipe and rinse quickly.
- Dry immediately.
Isopropyl alcohol evaporates fast. It leaves no residue. But use it only as a last resort.
The 5 Most Common Mistakes That Ruin Solar Panels
Image source: YouTube / Chemical Guys (YouTube thumbnail (fair-use with source credit))
Here's where experience separates a good clean from a damaged panel. These mistakes show up repeatedly in user forums and manufacturer warranty claims.
Mistake 1: Using paper towels or rough cloths. Paper towels contain wood fibers that act like fine sandpaper on plastic panels. Glass panels survive this better, but you're still putting micro-scratches in the anti-reflective coating. Use only microfiber cloths.
They trap dirt particles in the fibers instead of dragging them across the surface.
Mistake 2: Cleaning in direct sunlight. Hot panels dry cleaning solution almost instantly. This leaves streaks and soap residue. Worse, rapid evaporation can cause temperature shock on glass panels.
Clean in the shade or early morning when the panel is cool to the touch.
Mistake 3: Spraying water directly into the light fixture. Most solar lights have an IP rating for water resistance. But the seal around the panel and the battery compartment door is the weak point. Spraying with a hose forces water into these gaps.
Once moisture gets inside, the battery corrodes and the electronics fail. Spray the cloth, not the light.
Mistake 4: Using harsh chemicals. Window cleaners containing ammonia, bleach-based sprays, and abrasive kitchen cleaners damage the panel coating permanently. Stick to mild dish soap and water. That's all you need.
Mistake 5: Scrubbing back and forth. Circular scrubbing creates swirl marks. You're essentially sanding the surface in a pattern. Wipe in one direction.
Lift the cloth. Wipe again. This gives you a clean surface without the swirls.
How Often Should You Clean Based on Where You Live?
There's no universal schedule that works for everyone. Your local environment determines the optimal cleaning frequency. Get this right and your lights stay bright with minimal effort.
Dry and dusty climates. If you live in a desert or semi-arid region, dust accumulates fast. Plan to clean every two weeks. During windstorms, check the panel the next day.
A single dust storm can cut efficiency by 30 percent overnight.
Pollen-heavy seasons. Spring in most regions means a fine yellow-green layer on everything. Weekly cleaning during peak pollen season is reasonable. Once the trees finish blooming, you can drop back to monthly.
Coastal areas. Salt spray is invisible but accumulates steadily. Rinse with plain distilled water every two weeks. The salt itself isn't hard to remove.
The risk is letting it dry and turn abrasive.
Rainy climates. Rain does some of the work for you. But not perfectly. Rain leaves streaks and redistributes dirt rather than removing it completely.
Once a month is usually enough. Check after heavy storms for mud splatter.
Under trees. Shade is already reducing your light's charging capacity. Add falling leaves, bird droppings, and dripping sap to the mix. Check these lights weekly.
They're the most likely to need frequent attention.
Industrial or urban areas. Airborne soot and exhaust residue create an oily film. This film is harder to remove than plain dust. Monthly cleaning with mild soap is the baseline.
You'll know it's time when the panel feels slightly greasy to the touch.
Quick reference table:
| Climate Type | Cleaning Frequency | Primary Contaminant |
|---|---|---|
| Dry / Desert | Every 2 weeks | Fine dust |
| Spring / Pollen | Weekly | Pollen |
| Coastal | Every 2 weeks | Salt spray |
| Rainy / Temperate | Monthly | Streaks, splatter |
| Under trees | Weekly | Sap, droppings, leaves |
| Industrial / Urban | Monthly | Oily soot |
Watch for the smell test too. If water beads up and slides off, the panel is still clean. If water spreads evenly and doesn't bead, you've got a film forming.
That's your cue to clean.
What to Do If Cleaning Doesn't Fix the Problem
Sometimes you do everything right and the light is still dim. Cleaning is the first step, not the only step.
Check the battery first. Solar lights use rechargeable batteries, usually NiMH or Li-ion. These degrade over time. After one to two years of regular use, the battery loses capacity.
A clean panel won't fix a dead battery. Swapping in a fresh one costs a few dollars and often restores full brightness.
Inspect the panel for physical damage. Look closely in good light. Cracks, delamination, or a cloudy haze that won't wipe off means the panel itself is failing. Plastic panels develop micro-cracks from UV exposure.
Glass panels can chip. Neither is repairable at home. Replacement lights are usually cheaper than sourcing a matching panel.
Check the sensor. Many solar lights have a light sensor on the top or side. If that sensor is dirty or blocked, the light won't turn on at night. Wipe the sensor with the same gentle method.
Test by covering it with your hand. The light should turn on within a few seconds.
Look at the wiring and connections. In some models, the panel connects to the battery and LED through small wires. Corrosion at these connection points interrupts the circuit. Open the battery compartment if it's accessible.
Look for green or white crusty buildup. That's corrosion. Cleaning it with a cotton swab and isopropyl alcohol can restore the connection.
Consider the sunlight exposure. Has something changed since you installed the lights? A growing tree, a new fence, or a neighbor's addition can cast shade that wasn't there before. Your panel may be perfectly clean but getting half the sunlight it used to.
Relocating the light is the only fix here.
When replacement makes more sense. If the light is more than three years old, the plastic has yellowed, and the battery is on its second replacement, it might be time to let it go. Modern solar lights are more efficient than models from just a few years ago. A single replacement light often outperforms an old one even when it's clean.
Quick Decision Guide: What to Do Next
Use this as a checklist when you approach any solar light that seems dim.
Step one: Assess the panel visually.
- Can you see dust, dirt, or debris? Go to step two.
- Does the panel look clean but the light is still dim? Skip to battery check.
Step two: Determine the soil type.
- Light dust or pollen? Use water-only method.
- Bird droppings or sap? Use mild soap method.
- White spots or cloudy film? Use vinegar method.
- Greasy or oily feel? Use isopropyl alcohol method.
Step three: Match cleaning to your panel material.
- Glass panel? Gentle pressure is fine. Avoid harsh chemicals.
- Plastic panel? Featherlight touch. Microfiber only.
Step four: After cleaning, test the light.
- Brightness improved? You're done. Keep up the routine.
- Still dim? Check the battery.
- Battery fresh but still dim? Check the sensor and wiring.
- Everything checks out but no improvement? The panel may be failing. Consider replacement.
This decision tree eliminates guesswork. Most people overthink the process. In reality, you're solving one of three problems.
A dirty panel, a dead battery, or a failed component. Cleaning handles the first one. The other two have their own simple fixes.
Pro Tips That Make a Real Difference
A few refinements separate a good cleaning routine from a great one. These come from manufacturer documentation and verified user experience.
Clean in the morning or late afternoon. The panel is cool. Cleaning solution won't evaporate instantly. You get a streak-free finish with less effort.
Use two cloths. One damp for cleaning. One dry for polishing. Switch between them.
A dirty cloth just moves dirt around.
Remove the light from its stake. This gives you better access. More importantly, it keeps water away from the ground-level connections and battery compartment. Place the light on a clean towel while you work.
Don't forget the sides of the panel. Dirt accumulates on the edges too. The whole panel surface needs to be clean for maximum light absorption.
Test before you walk away. After cleaning and reassembling, cover the sensor with your thumb. The light should come on within seconds. If it doesn't, something is still wrong.
Catch it now rather than waiting until dark.
Keep a dedicated cloth with your lights. Store a small microfiber cloth near your solar lights. You're more likely to do a quick wipe if you don't have to hunt for supplies.
Mark your calendar. Set a recurring reminder every two weeks. Routine cleaning takes less time than fixing a degraded panel later.
Frequently Asked Questions
Can I use Windex or glass cleaner on solar panels?
No. Most glass cleaners contain ammonia or other chemicals that damage the anti-reflective coating on solar panels. Stick to mild dish soap and water.
It's safer and just as effective.
Will rain clean my solar lights for me?
Rain helps but doesn't fully clean the panel. It washes away loose dust but leaves behind hard water spots, pollen residue, and oily films. You still need to wipe periodically for best performance.
How do I clean solar lights that are hard to reach?
Use a soft-bristled brush on an extension pole for high-mounted lights. Dip the brush in distilled water and gently sweep the panel. Avoid pressure washing.
The force can damage seals and force water into the housing.
Is it safe to use rubbing alcohol on solar panels?
Isopropyl alcohol is safe for occasional use on stubborn oily residue. Use a 50 percent dilution. Don't make it your regular cleaner.
Over time, alcohol can dry out plastic panels and make them brittle.
Can I use a pressure washer to clean my solar lights?
No. Pressure washers force water past seals into the battery compartment. The high pressure can also crack plastic panels.
Stick to hand cleaning. It takes two minutes and causes no damage.
My solar panel has yellowed. Can cleaning fix it?
Cleaning won't restore a yellowed panel. Yellowing is UV damage to the plastic. It's permanent.
The only solution is replacing the light or the panel if it's a separate component. If you understand how solar panels work, you know the yellowing blocks the specific light wavelengths needed for charging.