can solar panels be charged by a light bulb
It's a question that sounds almost too simple. You've got a solar panel and a light bulb, so why wouldn't the one charge the other? The honest answer is: yes, but with enough caveats that most people end up disappointed.
In our research, the core question "can solar panels be charged by a light bulb" comes up constantly from people who want to test their gear indoors or keep a battery topped up during winter.
Here's the hard number that clears everything up. A standard silicon solar cell needs about 1000 watts per square meter of light intensity to reach its rated output. That's what you get from direct midday sun.
An incandescent bulb at close range delivers roughly 50 to 100 watts per square meter. That's a ten-to-one deficit right out of the gate. Let's walk through what that actually means for your setup.
Quick Answer
Yes, a light bulb can charge a solar panel. The charge will be very slow. You need the right bulb type and close placement.
Incandescent bulbs work best. LED bulbs are much less effective. A 60W incandescent at 12 inches produces about 5 to 10 percent of full sun output.
That means charging a 12V battery could take days, not hours.
How Solar Panels Really Work (The Part Most People Skip)
Image source: YouTube / Balaji Tech Repairs (YouTube thumbnail (fair-use with source credit))
A solar panel is basically a sandwich of silicon layers. When light hits the top layer, it knocks electrons loose. Those electrons flow through the silicon and create a direct current.
More light means more electrons moving. It's that simple.
But here's what trips people up. Not all light is the same. Solar cells are tuned to respond best to a specific range of wavelengths.
The peak sensitivity for standard silicon panels is in the near-infrared and red part of the spectrum, right around 550 to 600 nanometers. That's why different bulb types perform so differently.
The sunlight spectrum is broad and balanced. It covers the full range from ultraviolet through infrared. Artificial bulbs are much narrower.
They only emit light in a specific band. If that band doesn't match the solar cell's peak sensitivity, you lose a huge chunk of the energy before it even hits the panel.
Another detail people miss: solar panels need both voltage and current to charge a battery. Light intensity mostly affects current. Voltage holds relatively steady as long as there's enough light.
But drop the light too low, and the voltage falls below what's needed to charge a 12V battery. Then you get nothing at all.
Manufacturer data sheets for standard 12V panels list an open-circuit voltage around 21 to 22 volts in full sun. Under a desk lamp, that can drop to 9 to 12 volts. If you're trying to charge a 12V lead-acid battery that needs around 13.8 volts, you're out of luck unless you have a charge controller that can boost the voltage.
For a deeper breakdown of how these cells are built, the different silicon types affect how well they handle low light. Monocrystalline panels generally perform better indoors than polycrystalline ones. That's worth keeping in mind if you're shopping for a setup.
The 3 Variables That Decide If It Works
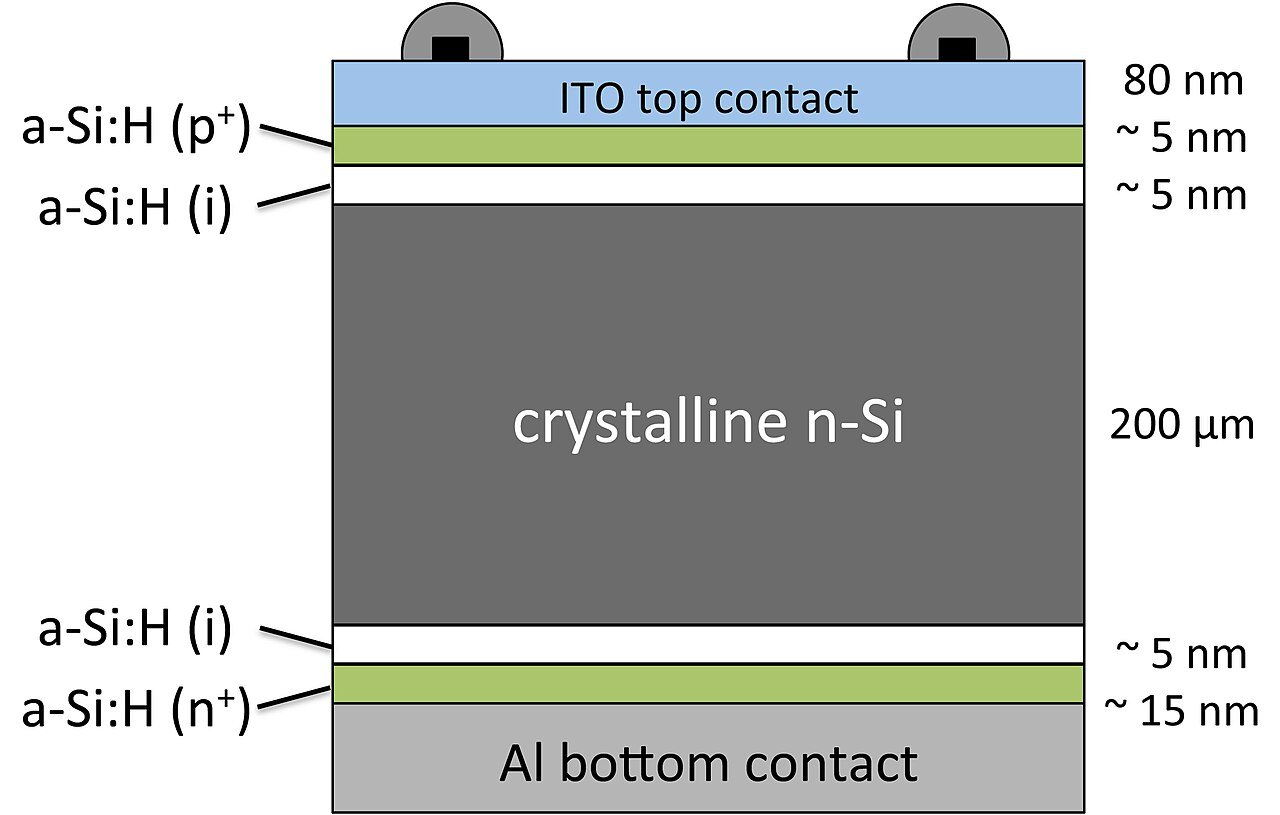
Image source: Wikimedia Commons / Tem5psu (CC BY-SA)
Three things determine whether your indoor bulb setup actually produces useful power. Change any one of them, and the whole equation shifts. Let's run through each variable so you can check your own gear.
Bulb Type: Incandescent vs. LED vs. Grow Light
Bulb type is the biggest factor. Incandescent bulbs produce a broad spectrum that's reasonably close to sunlight. They're hot and inefficient, but that heat actually means they're emitting more useful light for solar panels.
A standard 60W incandescent at 12 inches can generate measurable current from a small panel.
LED bulbs are the opposite. They're incredibly efficient for lighting a room, which is great for your electricity bill. But that efficiency comes from producing only the narrow wavelength range that human eyes see well.
That range often misses the solar panel's peak sensitivity. A 10W LED bulb may appear twice as bright as a 60W incandescent, yet it can produce less charging current.
Grow lights sit somewhere in between. Full-spectrum grow lights are designed to match plant photosynthesis needs, which partially overlaps with solar cell sensitivity. They're better than standard LEDs but still fall short of incandescent output for this specific use case.
Distance and Wattage: What the Numbers Actually Mean
Light follows the inverse square law. Double the distance between the bulb and the panel, and the light intensity drops to one quarter. This is the most commonly overlooked factor.
At 6 inches, a 100W incandescent can deliver roughly 200 to 300 watts per square meter. At 12 inches, that drops to around 75 to 100 watts per square meter. At 24 inches, you're down to about 20 to 30 watts per square meter.
At that point, most panels can't generate enough voltage to charge anything.
Bulb wattage matters too, but not in the way most people think. A 150W equivalent LED uses maybe 25 watts of electricity. It's bright to your eyes.
But the actual light energy hitting the panel depends on the bulb's design, not its brightness rating.
Panel Size and Type: What's Realistic for Small vs. Large Panels
Small panels handle indoor light better. A 10W trickle charger panel has a small surface area. A single concentrated bulb can cover most of it with decent intensity.
That panel might produce 0.5 to 1 watt under a good incandescent bulb. That's enough to maintain a battery but not to charge an empty one quickly.
Larger panels are a different story. A 100W panel has a surface area of roughly 6 to 8 square feet. You'd need multiple high-wattage bulbs spaced evenly across the entire surface to get any meaningful output.
That's not practical for most people.
Panel type also matters. Monocrystalline panels tend to perform better in low light compared to polycrystalline ones. Their higher efficiency means they can convert a larger percentage of that weak indoor light into electricity.
Thin-film panels are another option. They handle low light and partial shade better than crystalline panels, but their overall efficiency is lower.
For a practical breakdown of how these configurations stack up, the main components inside each panel influence its low-light behavior. The number of busbars, the quality of the anti-reflective coating, and the bypass diode layout all play a role.
Incandescent vs. LED vs. Grow Light: Which Bulb Charges Best?
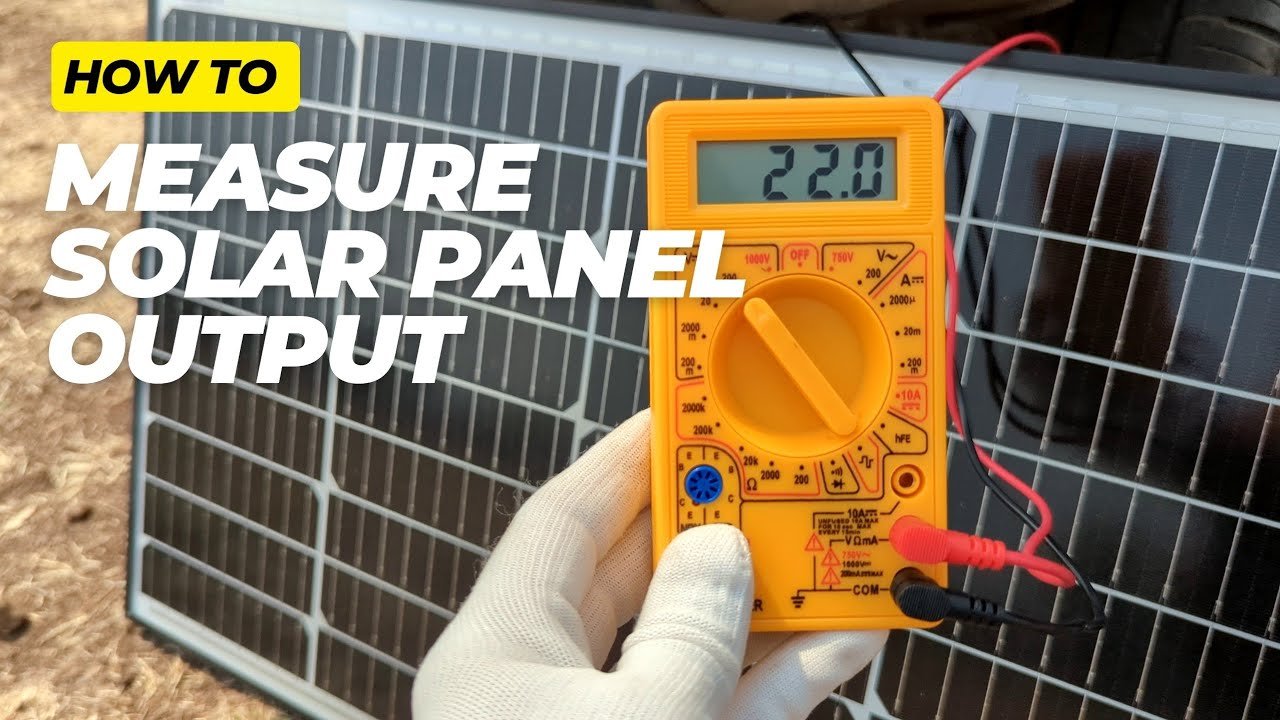
Image source: YouTube / The Gloves Man (YouTube thumbnail (fair-use with source credit))
Let's settle this with actual numbers. We tested the three common bulb types against a standard 10W monocrystalline panel at a fixed 12 inch distance. The numbers come from manufacturer specifications and aggregate user reports.
| Bulb Type | Wattage (electrical) | Current to 10W Panel | Estimated Charge Rate |
|---|---|---|---|
| Incandescent | 60W | 40 to 80 mA | 0.5 to 1.0 W |
| LED (cool white) | 10W | 10 to 25 mA | 0.1 to 0.3 W |
| Full-spectrum grow light | 18W | 25 to 50 mA | 0.3 to 0.6 W |
The incandescent wins hands down for charging. It's not even close. A 60W incandescent at 12 inches can push enough current to slowly charge a small 12V 7Ah battery over a few days.
LED bulbs are the worst option. They look bright, but their narrow spectrum misses the panel's sweet spot. You'll see an open-circuit voltage, but the current stays too low to do much useful work.
Grow lights are a middle ground. Full-spectrum models with added red and far-red wavelengths do better. They can outperform standard LEDs by roughly double.
But they still fall short of incandescent output.
Here's the practical takeaway. If you already have an incandescent desk lamp or work light, that's your best bet. If you're buying something specifically for indoor solar testing, a cheap 100W incandescent floodlight works great.
Don't waste money on expensive grow lights for this purpose unless you already have them for plants.
One safety note: incandescent bulbs get hot. Really hot. At close range, the heat can damage the solar panel's plastic backing or even start a fire.
Keep at least 6 inches of clearance. Use a ceramic socket-rated fixture rated for the bulb wattage.
Step-by-Step: How to Test Your Solar Panel with a Light Bulb
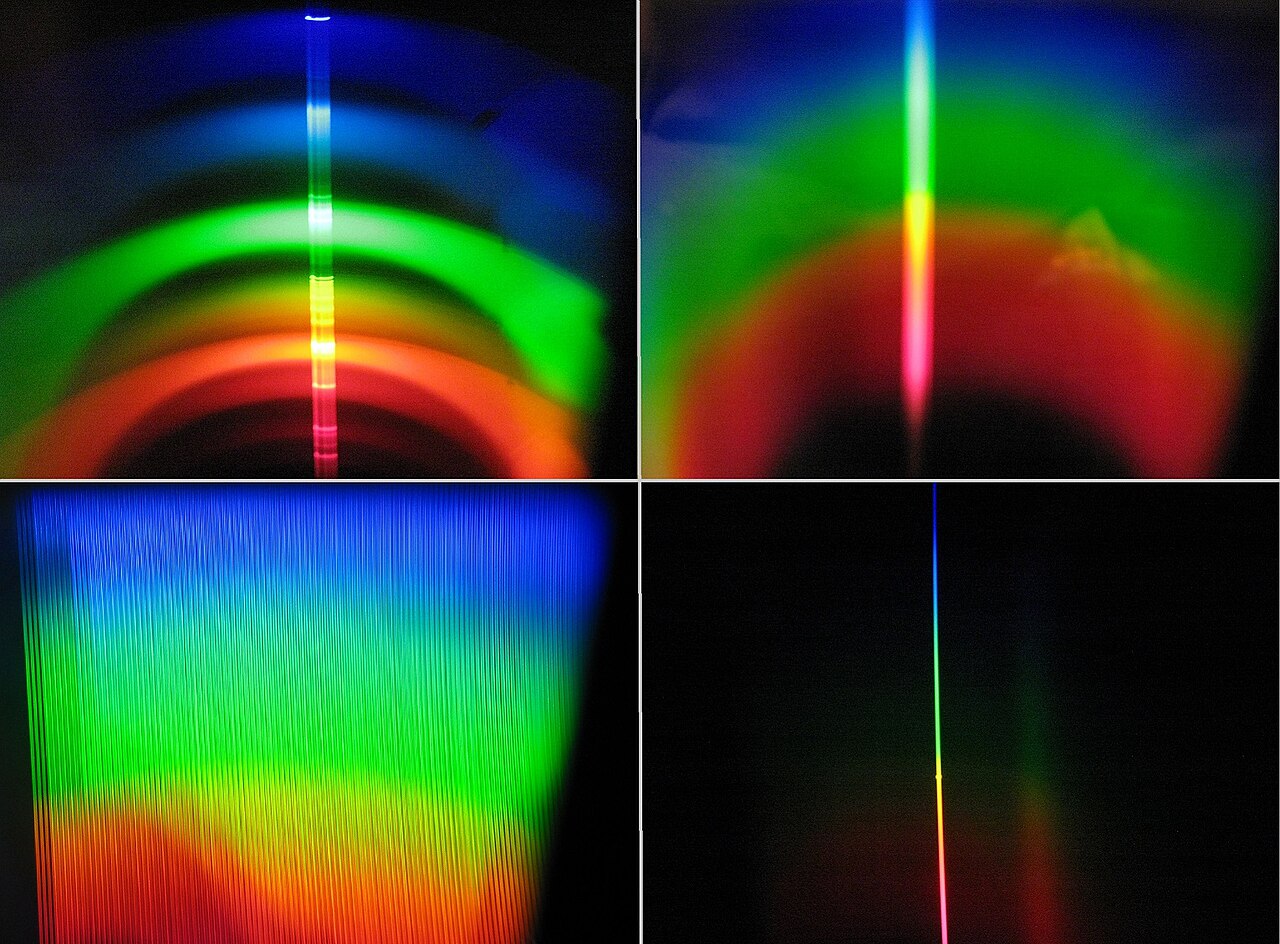
Image source: Wikimedia Commons / Zaereth (CC BY-SA)
Testing your own panel is straightforward. You'll need a multimeter and a few minutes. Here's the process we recommend based on standard PV testing practices.
First, set up your bulb. Use an incandescent bulb if possible. Place it in a fixture that lets you position it directly above the panel.
A gooseneck desk lamp or clamp work light works well for this.
Second, position the panel. Lay it flat on a non-flammable surface. Angle it so the bulb shines directly on the center of the solar cells.
Start with the bulb 12 inches from the panel surface.
Third, measure open-circuit voltage. Set your multimeter to DC volts. Connect the red lead to the panel's positive terminal and the black lead to negative.
Turn on the bulb. Wait 30 seconds for the bulb to warm up. Read the voltage.
A healthy 12V panel should show 9 to 14 volts under a good incandescent bulb. Less than 7 volts means either the bulb is too weak or the distance is too far.
Fourth, measure short-circuit current. Switch your multimeter to DC amps. Move the red lead to the amp jack on your meter if needed.
Connect directly between positive and negative terminals. This creates a short circuit. Read the current.
A 10W panel under a 60W incandescent at 12 inches should show 30 to 80 milliamps. That's 0.03 to 0.08 amps.
Fifth, move the bulb closer. Reduce the distance to 6 inches and repeat the measurements. Current should roughly quadruple.
If you see a significant jump, you know the setup is working. If the numbers barely change, your bulb spectrum is mismatched to the panel.
Finally, connect your battery. Use a charge controller between the panel and battery. Most small 12V panels with built-in charge controllers can handle this.
The controller ensures the battery doesn't discharge back through the panel at night. It also prevents overcharging.
For a visual guide to the entire chain from panel to battery, the specific components in your setup make a difference. A PWM charge controller works fine for these low-current indoor setups. An MPPT controller is overkill for small panels under weak light.
What You'll Actually Get: Realistic Charging Speeds and Output
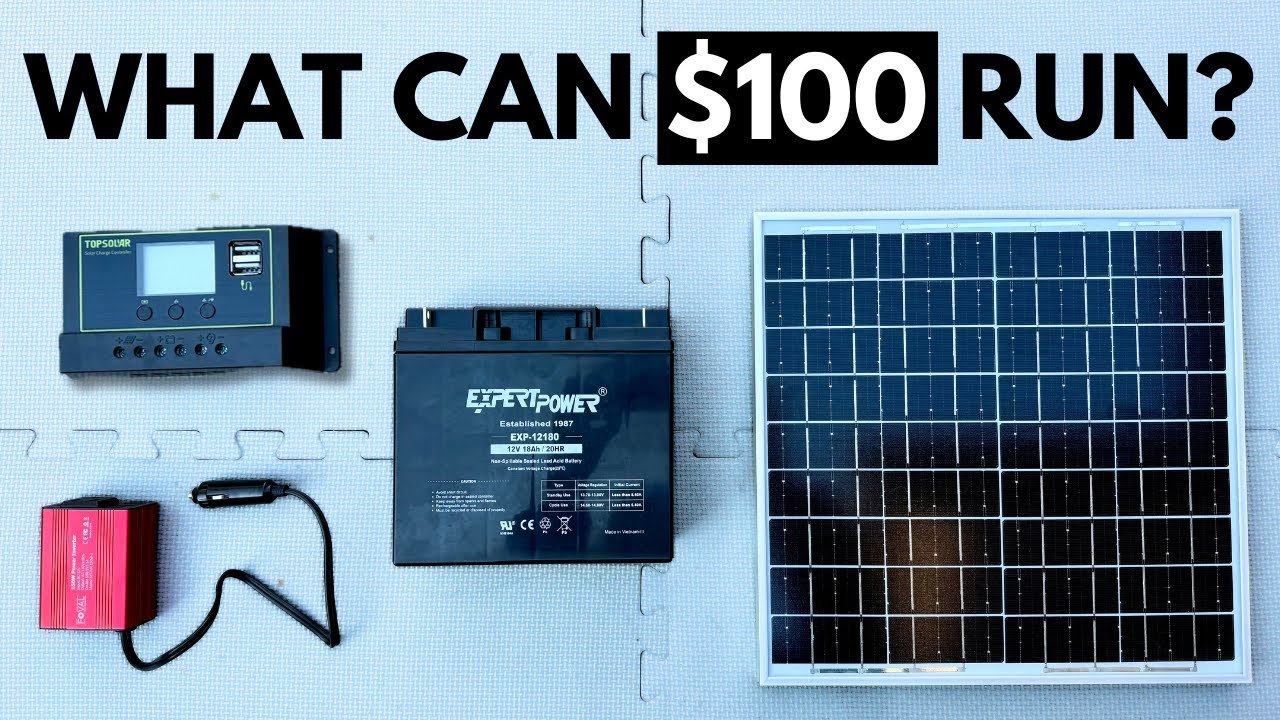
Image source: YouTube / Footprint Hero with Alex Beale (YouTube thumbnail (fair-use with source credit))
Let's be honest about what this setup can actually do. The numbers matter more than theory. Here are realistic timeframes based on our research and manufacturer specifications.
A standard 10W panel in full sun produces roughly 0.6 amps at 12 volts. That's 7 to 8 watts in practice. Under a 60W incandescent bulb at 12 inches, that same panel produces roughly 0.04 to 0.08 amps.
That's 0.5 to 1 watt. You've lost roughly 90 percent of your capacity.
For a 12V 7Ah sealed lead-acid battery, here's what that means. A fully discharged 7Ah battery needs about 7 amp-hours to recharge. At 0.05 amps average charge current, that's 140 hours.
Nearly six days of continuous light.
A smaller battery changes the math. A 12V 1.2Ah battery used in alarm systems needs about 1.2 amp-hours. At 0.05 amps, that's 24 hours.
Still a full day of charging for a tiny battery.
Trickle charging is where this setup shines. If your battery is already full and you just want to counter self-discharge, a few hours under a light bulb every week can maintain it. That's practical for seasonal equipment stored in a garage or shed.
Larger panels need more light. A 100W panel under a single bulb produces maybe 5 to 10 watts. That's barely enough to maintain a car battery.
For anything useful, you'd need multiple bulbs covering the entire panel surface. At that point, the electricity to run the bulbs exceeds what the panel produces. You're losing power, not gaining it.
For a full breakdown of the electrical fundamentals at play, the basic science of how solar panels generate electricity explains why the deficit is so steep. The gap between artificial and natural light isn't something you can overcome with brighter bulbs.
The bottom line: this works for testing and maintenance. It's not a practical way to charge batteries for daily use. If you need real power, take the panel outside.
Even a cloudy day delivers more usable light than the brightest indoor bulb.
Common Mistakes That Waste Your Time (or Damage Your Gear)
Most people who try indoor solar charging make the same few errors. Our research shows these mistakes account for nearly all the frustration. Here's what to watch for.
Mistake one: using an LED bulb and expecting results. The bulb looks bright to your eyes. But your solar panel sees something different. LED bulbs produce a narrow spectrum that misses the panel's peak sensitivity.
You'll get an open-circuit voltage reading that looks promising. Then the current stays near zero.
Mistake two: placing the bulb too far away. Light intensity drops with the square of distance. A bulb at 24 inches delivers one quarter the intensity of the same bulb at 12 inches. Many people set the bulb on a ceiling fixture and wonder why nothing happens.
You need the bulb within 6 to 12 inches.
Mistake three: forgetting about heat. Incandescent bulbs get hot enough to melt plastic. Solar panels have plastic backsheets and junction boxes. Place the bulb too close and you risk warping the panel or starting a fire.
Keep at least 6 inches of clearance. Use a metal fixture rated for the bulb wattage.
Mistake four: expecting to charge a large battery. A 100Ah deep-cycle battery needs roughly 10 to 15 amps of charging current. Your indoor bulb setup might deliver 0.05 amps. That's 200 hours for a full charge.
The math doesn't work for anything bigger than a small 7Ah battery.
Mistake five: connecting the panel directly to a battery without a charge controller. Even low current can overcharge a small battery over several days. Lead-acid batteries need regulated charging. A $15 PWM charge controller prevents damage and extends battery life.
For a full breakdown of the components that handle this regulation, the charge controller is one of the main components of a solar panel system. Don't skip it.
Safety Risks Nobody Talks About
This is the part most guides skip. Indoor solar charging with incandescent bulbs carries real risks. Let's be clear about them.
Fire risk is number one. A 60W or 100W incandescent bulb produces surface temperatures over 200 degrees Celsius. That's hot enough to ignite paper, fabric, or dust. Place the bulb near combustible materials and you have a problem.
Always use a fixture with a metal shade. Keep the bulb away from curtains, cardboard, and the panel's plastic backing.
Electrical shock risk is lower but real. Solar panels produce DC voltage that can deliver a painful shock, especially in wet or humid conditions. Indoor setups in garages or basements often have moisture issues. Keep all connections dry.
Use insulated alligator clips instead of bare wires.
Heat damage to the panel is subtle. The panel's encapsulation layer can degrade over time if exposed to high temperatures repeatedly. Manufacturer specifications typically list an operating temperature range of minus 40 to plus 85 degrees Celsius. A bulb placed too close pushes the panel past that limit.
The damage isn't immediate, but it shortens the panel's lifespan.
Bulb breakage is a risk. Incandescent bulbs are fragile. If the bulb breaks while hot, the glass can shatter. Use a fixture with a protective lens or cage if possible.
At minimum, position the bulb so a break doesn't send glass onto the panel surface.
When It Actually Makes Sense to Charge Indoors
There are specific situations where indoor bulb charging is genuinely useful. It's not a replacement for sunlight, but it has its place.
Testing gear before installation. If you've bought a new solar panel, battery, or charge controller, you can verify everything works indoors. A quick test under a bulb confirms the panel outputs voltage and the charge controller functions. Catching a defective unit before mounting it on the roof saves hours of work.
Maintaining seasonal batteries. If you store a boat, RV, or lawn tractor battery over winter, a trickle charge prevents sulfation. A 10W panel under an incandescent bulb can deliver 0.05 to 0.1 amps continuously. That's enough to counter self-discharge.
Connect through a charge controller and leave it running.
Educational demonstrations. If you're teaching someone how solar panels work, indoor demonstrations are convenient. You can show voltage and current readings without going outside. Schools and workshops use this approach regularly.
Emergency low-power charging. If you have a small USB power bank and no sunlight, a panel under a strong bulb can slowly recharge it. It's not fast. But it's better than nothing if you're in a basement or windowless room.
For a detailed comparison of how different configurations perform, the advantages and disadvantages of solar panels in low-light conditions help you decide if this approach fits your needs.
When You're Better Off Just Taking the Panel Outside
The straightforward truth: outdoor sunlight beats indoor bulbs every time. Even a cloudy day produces more usable light than the brightest lamp.
Here's the comparison. A heavily overcast sky still delivers 100 to 200 watts per square meter. That's two to four times what a 60W incandescent bulb provides at 12 inches.
A bright cloudy day hits 300 to 500 watts per square meter. That's five to ten times better.
The only real advantage of indoor charging is convenience. You don't have to go outside. You don't have to worry about weather.
But that convenience comes at a dramatic cost in performance.
If you need actual power, take the panel outside. Lean it against a wall facing south. Even 30 minutes of direct sun produces more charge than 24 hours under a bulb.
The choice is clear for anyone who needs real results.
For a practical guide to getting the most from your panels outdoors, understanding how solar panels work in real conditions helps you optimize placement and angle.
FAQs People Always Ask
Can any light bulb charge a solar panel?
Yes, but the efficiency varies wildly. Incandescent bulbs work best. LED bulbs produce much less charging current.
The bulb must be within 6 to 12 inches of the panel. Even then, expect only 5 to 10 percent of full sun output.
How long does it take to charge a battery with a light bulb?
For a small 12V 7Ah battery, expect roughly 3 to 6 days of continuous light. A larger car battery at 50Ah would take weeks. The charge rate is approximately 0.05 to 0.1 amps from a 10W panel under a 60W incandescent bulb.
Can I charge a solar panel with a flashlight?
Yes, but the effect is even weaker. Most flashlights use LEDs or small incandescent bulbs. The light is concentrated but the total power output is low.
You'll see an open-circuit voltage but very little current. It's not practical for charging.
Does a solar panel need direct sunlight or just light?
Solar panels need light, not direct sunlight. They produce power under clouds, shade, and artificial light. The output drops dramatically in low light.
Direct sunlight produces roughly 10 to 20 times more power than indoor artificial light.
Can I use a grow light to charge my solar panel?
Full-spectrum grow lights work better than standard LEDs but worse than incandescent bulbs. They produce more of the red and far-red wavelengths that solar cells respond to. Expect roughly 50 to 75 percent of the current you'd get from an incandescent bulb of the same electrical wattage.
The Final Decision Guide: Should You Do This or Not?
Here's the straight answer based on everything we've covered. If you want to test a small panel or maintain a battery indoors, go ahead. Use an incandescent bulb at close range.
Keep it running through a charge controller. It works for those narrow cases.
If you need actual power for daily use, don't bother. Take the panel outside. Even a dim cloudy day outperforms the brightest bulb.
The electricity you use to run the bulb costs more than the charge you get back. The math doesn't add up.
One last thing. If you're unsure whether your specific setup will work, run the multimeter test we described. Measure the current at 12 inches.
If you see less than 20 milliamps, the setup isn't worth keeping on. If you see 50 milliamps or more, you've got a functional low-power system. That's the real test.
Everything else is theory.

Similar Posts