How to Clean Solar Light Panels for Maximum Brightness
You’ve probably noticed that your solar lights aren’t shining as bright as they used to. You replace the batteries, and still, dim. The real fix is simpler than you think: you need to know how to clean solar light panel correctly, because dirt is the number one reason they lose power.
It’s not just about wiping dust off. Different panels (glass vs. plastic) and different types of grime (dry dust, sticky sap, hard water spots) need different cleaners. Use the wrong one, and you can scratch the panel or cloud it permanently.
In our research, manufacturer specs clearly state that gentle, material‑specific cleaning is the only way to restore full output without causing damage. As of 2026, most small solar lights still use either a glass or polycarbonate lens, and each has a best‑practice method. Let’s walk through exactly what works.

Image source: Wikimedia Commons / NASA/JPL-Caltech/R. Hurt (SSC/Caltech)
Problem: Why Your Solar Lights Are Getting Dimmer (Even If the Batteries Are New)
You replace the rechargeable batteries, maybe even upgrade to higher‑capacity ones. The light still barely glows past midnight. Frustrating, right?
The real problem is almost always the panel itself.
Dust, pollen, tree sap, bird droppings, and hard water spots build up over weeks. They block sunlight from reaching the solar cells. The cells can’t generate enough electricity to fully charge the batteries, so the light runs out of power early.
This happens faster than most people expect, even a thin layer of grime can cut charging efficiency by 30% or more.
The solution is simple: give the panel a proper clean. But it has to be the right clean. Aggressive scrubbing or the wrong chemical can do more harm than good.
That’s why we need to start with the quick answer, and then dive into the specifics that make the difference.
Quick Answer: The One Clean That Works for Every Panel Material
First, dry brush loose debris. Then dampen a microfiber cloth with mild dish soap and distilled water. Wipe gently.
Rinse with a second damp cloth. Dry thoroughly. That’s the safest baseline.
If the panel is glass and has sticky residue, you can add a little white vinegar. If it’s plastic, skip the vinegar. Never use paper towels, abrasive sponges, or harsh chemicals.
Always clean in the shade, not direct sun.
This method works for any small solar light, garden stakes, lanterns, security lights. Now let’s look at the one factor that changes everything: your panel material.
First, Check Your Panel Material — Glass vs. Plastic Changes Everything
Before you reach for any cleaner, you need to know what you’re working with. Cleaning a glass panel is forgiving. Cleaning a plastic panel is not.
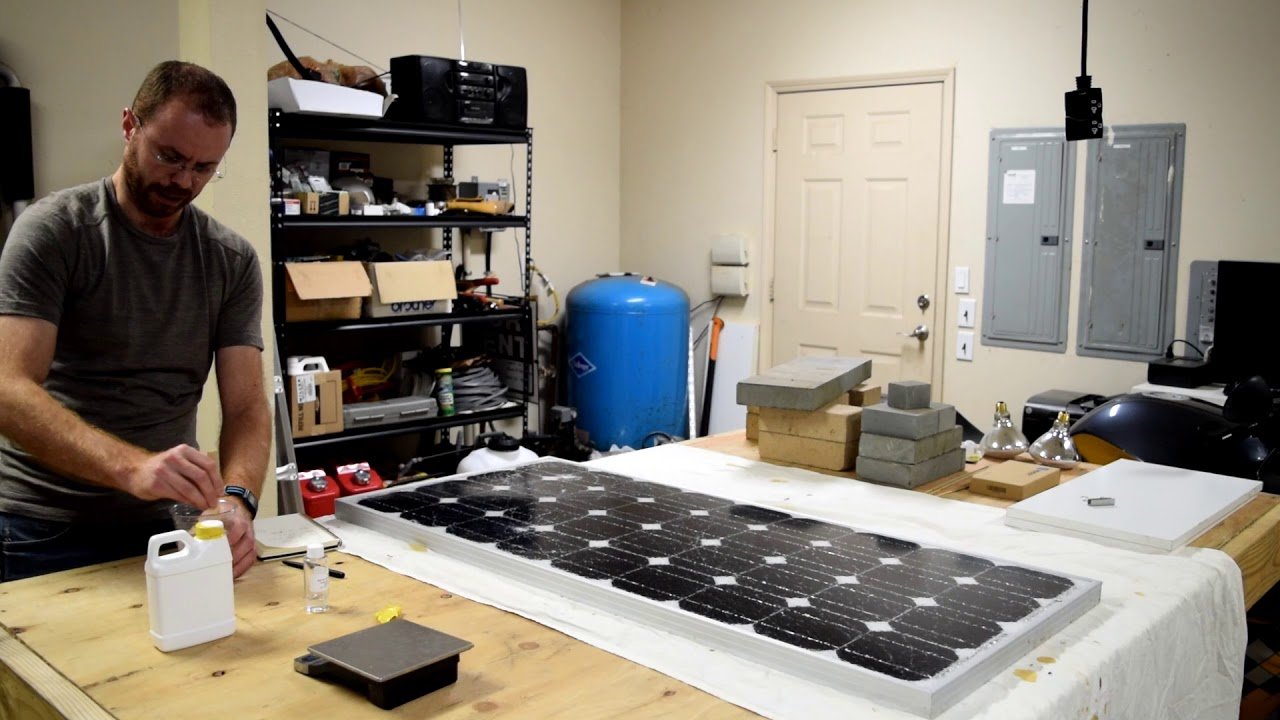
Image source: YouTube / Erik (YouTube thumbnail (fair-use with source credit))
How to Tell If It’s Glass or Plastic
Look closely at the surface. Glass feels cold and hard. Tap it gently with your fingernail, glass makes a sharp ting, plastic sounds dull.
Plastic panels often have a slight give when you press them. Glass is less common on cheap lights but more durable.
If you can’t tell, check the product manual or the manufacturer’s website for the material. The different types of solar panels can give you more context on how they’re built. But for cleaning, all you need is glass vs. plastic.
Why This Matters for Your Cleaning Choice
Vinegar and alcohol are fine on glass. They help dissolve sticky sap and kill algae. But on plastic, those same cleaners can cause clouding, micro‑cracks, or damage to the UV‑protective coating.
Plastic panels are softer. They scratch easily. Even a paper towel can leave fine scratches that reduce light transmission permanently.
So the rule is: glass = more aggressive options okay; plastic = stick to gentle soap and water only. This one rule will save you from ruining a perfectly serviceable light.
The 3 Types of Dirt That Cover Your Panel (and How to ID Each One)
Not all dirt is the same, and the method you use should match what’s actually on the panel. Here are the three most common culprits.
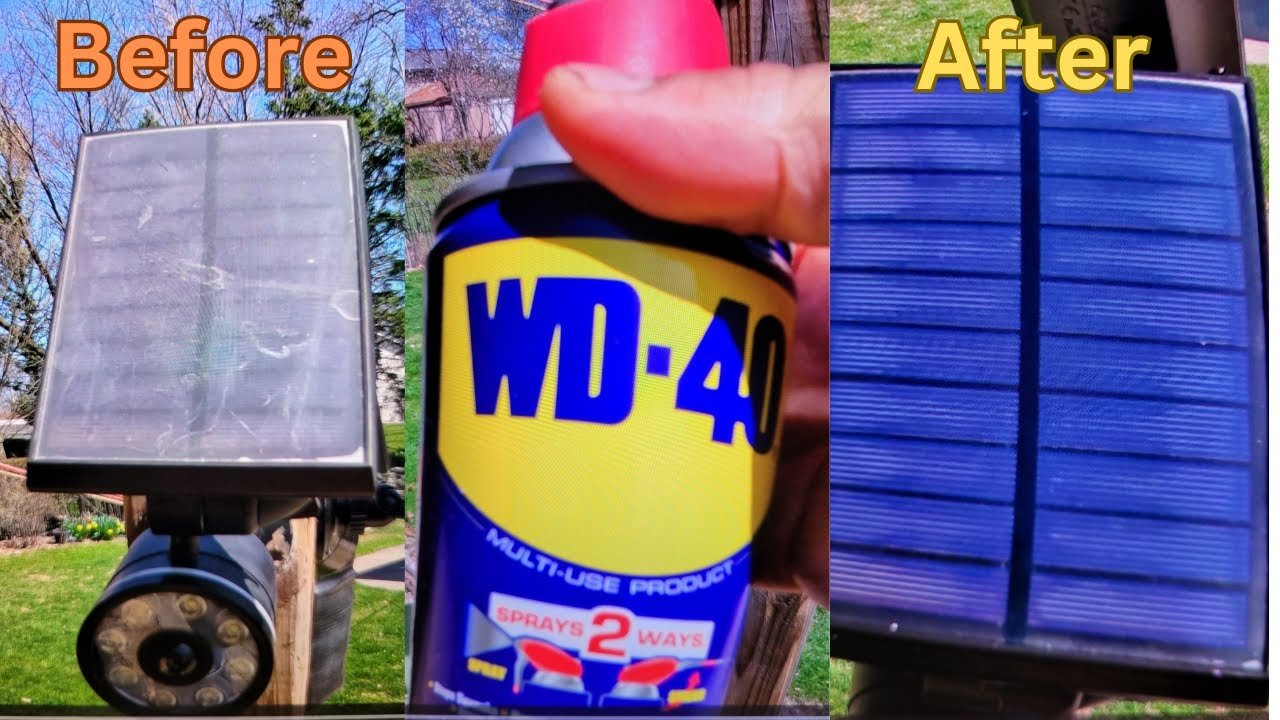
Image source: YouTube / MyLuckyBamboo (YouTube thumbnail (fair-use with source credit))
Dry Dust & Pollen
This is the most common. It looks like a fine powder. It wipes off easily with a dry cloth.
If you only have this, you’re done in 30 seconds. Just dry brush and maybe a quick damp wipe.
Sticky Residue (Tree Sap, Bird Droppings)
These are tougher. Bird droppings dry into a white, crusty film. Tree sap feels tacky.
Both block light effectively. They need a liquid cleaner to soften them. For glass panels, a vinegar‑water mix works well.
For plastic, use a drop of dish soap in warm water and let it soak for a minute before wiping.
Hard Water Spots & Algae
Hard water leaves white, chalky mineral deposits. Algae grows as green or black patches, often in humid climates. These require a little more elbow grease.
Again, soap and water on plastic. On glass, you can use a very dilute vinegar solution to dissolve the minerals. Just rinse thoroughly afterward.
Step-By-Step: How to Clean a Solar Light Panel
Now let’s put it all together. Follow these steps in order. Adjust based on your panel material and dirt type.
Image source: YouTube / MyLuckyBamboo (YouTube thumbnail (fair-use with source credit))
What You’ll Need
| Tool / Material | Purpose |
|---|---|
| Soft microfiber cloth | Main wiping (no lint) |
| Soft‑bristle brush (or old toothbrush) | Dry brushing and sensor cleaning |
| Spray bottle | For cleaning solution |
| Distilled water | Avoids mineral spots (optional) |
| Mild dish soap | Base cleaner for all panels |
| White vinegar | Only for glass panels |
| Isopropyl alcohol (70%) | Sticky residue on glass only |
| Cotton swabs | Sensor and tight corners |
Step 1: Remove the Light Head (If Possible)
If your solar light has a removable top or the panel is separate, take it off. This gives you full access. Work over a soft surface to avoid scratches.
Step 2: Dry Brush First
Use the soft brush to remove loose dust, pollen, and bugs. This prevents grit from scratching the panel when you wipe wet.
Step 3: Pick Your Cleaner Based on Panel Material and Dirt Type
This is the decision point. Refer to the table below:
| Panel Material | Dirt Type | Recommended Cleaner |
|---|---|---|
| Glass | Any | Mild soap + water, or vinegar + water (1:4) |
| Glass | Sticky sap/birds | Isopropyl alcohol on a cotton swab (spot‑treat) |
| Plastic | Dry dust only | Mild soap + water (or just dry brush) |
| Plastic | Sticky residue | Mild soap + water, let soak, gentle wipe |
| Plastic | Hard water spots | Mild soap + water only (avoid vinegar) |
| Any | Algae | Mild soap + water; on glass you can add a little vinegar |
Step 4: Wet Cleaning — The Right Way to Wipe
Dampen your microfiber cloth with the cleaner. Do not soak it. Wipe the panel in a gentle circular motion.
Use light pressure. Don’t scrub hard, the dirt should come off with the cleaner, not brute force.
Step 5: Tackle Stubborn Spots
If a spot remains, soak a cotton swab with your cleaner (alcohol for glass, soapy water for plastic) and gently work it. Rinse with a clean damp cloth.
Step 6: Rinse and Dry
Use a second cloth dampened with distilled water to remove any soap residue. Then dry with a clean microfiber cloth or let the panel air dry in the shade. Never leave soap film, it attracts more dirt.
Step 7: Clean the Light Sensor, Too
The small sensor (usually a round dot next to the panel) controls when the light turns on. A dirty sensor can cause the light to stay on all day or not turn on at night. Wipe it with a dry cotton swab.
If it’s sticky, use a tiny bit of alcohol (on glass sensors only). For plastic sensors, just dry wipe.
That’s the full process. Next, we’ll go into a quick decision guide for when you’re not sure which branch to take, followed by common mistakes to avoid. But for the vast majority of solar lights, these seven steps will get them glowing again.
Now let’s move on to the Decision Guide section.
Decision Guide: Which Cleaning Method to Use When
You’ve checked your panel material and identified the dirt. Now you need a clear yes‑or‑no path. Use the table below to jump to the right method.
| Situation | Panel Material | Dirt Type | Recommended Cleaner | Extra Notes |
|---|---|---|---|---|
| Branch 1 | Glass | Any dry or sticky | Vinegar+water (1:4) or mild soap+water | Alcohol only for tough sticky spots |
| Branch 2 | Plastic | Dry dust only | Dry brush, then mild soap+water | No vinegar, no alcohol |
| Branch 3 | Plastic | Sticky residue | Mild soap+water; let soak 1 minute | Gently work with soft toothbrush if needed |
| Branch 4 | Any panel | Hard water spots | Soap+water; glass can add vinegar | Rinse with distilled water to avoid new spots |
Branch 1: Glass Panel, Any Dirt
You’re in the easiest lane. Glass can handle mild acids and alcohol. Mix one part white vinegar with four parts water in a spray bottle.
Mist the cloth, not the panel. Wipe gently. For bird droppings or tree sap, use a cotton swab dipped in 70% isopropyl alcohol.
Rinse with a damp cloth and dry. That’s it.
Branch 2: Plastic Panel, Dry Dust Only
Keep it simple. Dry brush first with a soft brush or microfiber cloth. Then dampen the cloth with a drop of mild dish soap in warm water.
Wipe gently. Rinse with a second damp cloth. Dry.
No chemicals needed. Your panel will stay clear for months.
Branch 3: Plastic Panel, Sticky Residue
Sticky stuff is annoying, but you can’t use vinegar or alcohol on plastic. Instead, make a warm soapy solution. Soak a cloth and lay it over the sticky spot for about a minute.
The moisture softens the residue. Wipe with a soft toothbrush or cloth. Repeat if needed.
Patience works better than harsh chemicals here.
Branch 4: Any Panel, Hard Water Spots
Hard water leaves white mineral deposits. On glass, a vinegar‑water spray works well. Let it sit for 30 seconds, then wipe.
On plastic, use only soap and water and scrub gently with a soft toothbrush. To prevent future spots, rinse with distilled water and dry immediately. Tap water leaves its own minerals behind.
Mistakes That Ruin Solar Light Panels
Let’s talk about what not to do. These mistakes are common, and they can permanently damage a panel that would otherwise work fine.
Using paper towels or abrasive sponges. Paper towels are rough at a microscopic level. They scratch plastic and can haze glass. Always use microfiber or a soft cotton cloth.
The same goes for scrub pads, even the “non‑scratch” ones can leave fine lines.
Vinegar on plastic panels. We’ve said it before, but it’s worth repeating. Vinegar is acidic. It clouds polycarbonate and acrylic.
Once a plastic panel turns hazy, you can’t restore clarity. The light is effectively dead.
Soaking the whole light. Don’t submerge the light head in water. Water can seep past seals and damage the battery, charge controller, or LED. Even “waterproof” lights have limits.
Clean only the panel and sensor. Keep the rest dry.
Cleaning in direct sunlight. The sun heats the panel and makes cleaning solution evaporate too fast. It leaves streaks and soap film. Always work in the shade or early morning.
If you have to clean in sun, wet the panel with plain water first to cool it.
Forgetting to check the batteries after cleaning. A clean panel still won’t charge dead batteries. After cleaning, test the light. If it’s still dim, the batteries may be worn out.
NiMH batteries typically last one to two years. Replace them with fresh ones.
Expert Tips for Brighter Lights, Longer Life
These are small tweaks that make a real difference over time.
Clean the sensor every time. The light sensor is separate from the solar panel. It’s usually a small round or rectangular dot on the front. A dirty sensor can keep the light on during the day or off at night.
Use a dry cotton swab to clean it. If it’s sticky, use a bit of isopropyl alcohol (on glass sensors only).
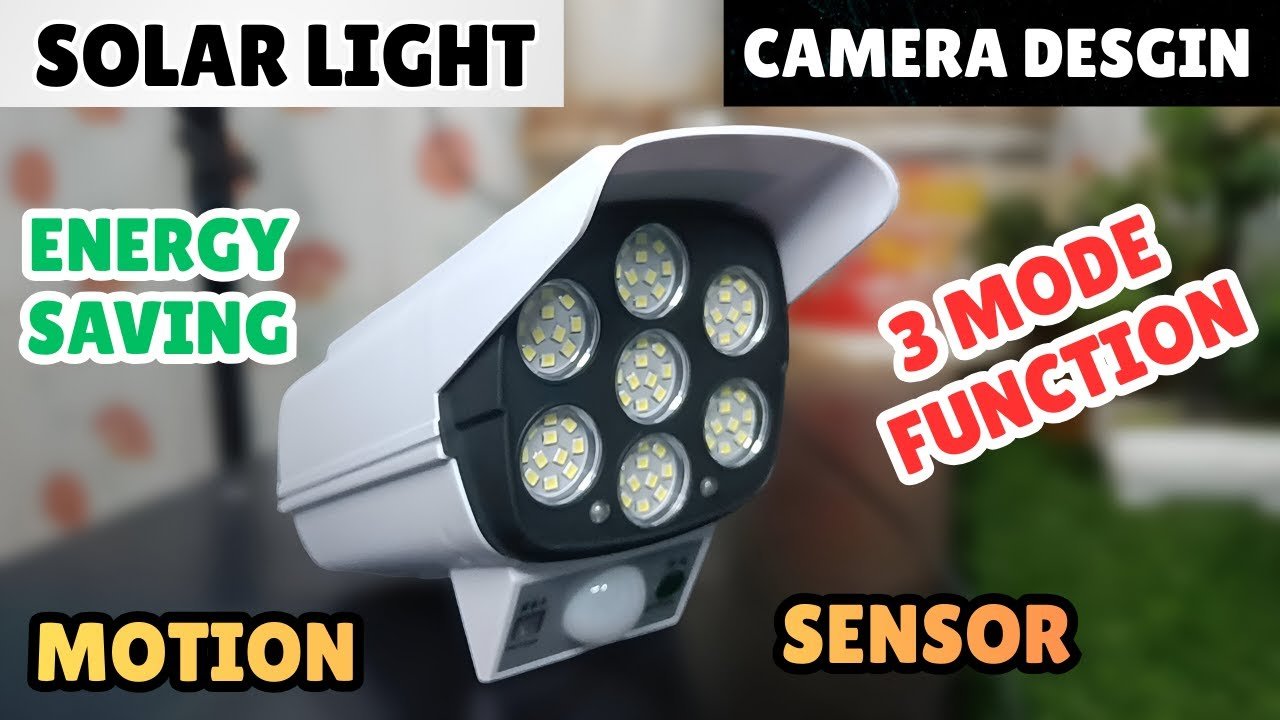
Image source: YouTube / Product Tech (YouTube thumbnail (fair-use with source credit))
Use distilled water for the final rinse. Tap water contains minerals that leave spots. Over time, those spots build up and reduce light transmission. A final rinse with distilled water prevents that.
Apply a thin layer of car wax (glass panels only). A small amount of automotive wax on a clean glass panel can repel water and dust. It makes future cleaning easier. Don’t use wax on plastic, it can yellow or smear.
Angle the panel for maximum sun. If your light is adjustable, tilt the panel so it faces the sun directly for the longest part of the day. Even a few degrees of angle change can improve charging by 10, 15%.
Keep the area around the light clear. Overhanging leaves, tall grass, or cobwebs can cast shade on the panel. Trim back any obstructions at least once a season.
When Cleaning Won’t Help (and You Should Replace the Light)
Cleaning fixes most dim‑light problems. But not all. Here’s when it’s time to buy a new light.
The panel is physically cracked or shattered. A cracked glass panel can’t be repaired. Water gets in, the cells corrode, and the light fails. Replace it.
The plastic panel is permanently cloudy or yellowed. UV exposure causes plastic to degrade over time. Once it turns yellow, no amount of cleaning will restore transparency. You can sometimes find replacement panels online, but for most cheap lights, it’s easier to replace the whole unit.
The light stops working even with fresh batteries and a clean panel. The charge controller circuitry may have failed. Small solar lights are not designed to be repaired at the component level. If the LED doesn’t light up at all, the internal board is likely dead.
The rechargeable batteries no longer hold a charge. NiMH batteries eventually wear out. If the light works for only 30 minutes after a full day of sun, try new batteries first. If that doesn’t help, the problem is the panel or the charge controller.
When you do replace a light, it’s worth looking at models with removable batteries and glass panels. They last longer and are easier to maintain. The same principles that apply to larger solar installations also apply to small garden lights.
Understanding the main components of a solar panel can help you choose a better replacement.
How Often Should You Clean Solar Light Panels? (A Location‑Based Schedule)
Frequency depends on your environment. Use this schedule as a starting point and adjust based on what you see.
| Location / Climate | Recommended Cleaning Frequency | Notes |
|---|---|---|
| Desert / arid (dusty) | Every 2–3 weeks | Dry brush more often between wet cleans |
| Coastal (salt spray) | Every 3–4 weeks | Rinse with distilled water to remove salt residue |
| Urban / suburban (pollution, trees) | Every 4–6 weeks | Check for bird droppings and sap after storms |
| Humid / tropical (algae, moss) | Every 3–4 weeks | Algae can grow quickly; mild soap works |
| Temperate / mixed | Every 6–8 weeks | Spring and fall deep cleans often enough |
| Cold / snowy | After snowmelt, then every 8 weeks | Snow covers panels; clean once ice clears |
If you notice dimness before the scheduled time, clean sooner. It’s better to clean a little too often than to let grime build up. A quick dry brush takes less than a minute per light.
One more thing: cleaning the panel is part of larger outdoor maintenance. The same routine that keeps your gutters clear and your lawn trimmed also keeps your lights bright. Add it to your seasonal checklist and your solar lights will last years longer.
Frequently Asked Questions
Can I use Windex or glass cleaner?
Only on glass panels. Windex contains ammonia and alcohol that can cloud plastic. Stick to mild soap and water for plastic.
Is rubbing alcohol safe for plastic panels?
No. Alcohol can damage the UV coating and cause micro‑cracks on plastic. Use it only on glass panels for sticky residue.
Does the time of day matter when I clean?
Yes. Clean in the shade or early morning. Direct sunlight dries the cleaner too fast and leaves streaks and soap film.
My light still won’t work after cleaning — what now?
Check the batteries first. If they’re old, replace them. If the panel is cloudy or cracked, the light may need replacing entirely.
Final Verdict: The Safe, Simple Way to Keep Solar Lights Bright
Cleaning your solar light panel is a five‑minute task that restores brightness and extends the life of the light. Know your panel material, match your cleaner to the dirt, and avoid harsh chemicals on plastic. The right routine keeps your garden glowing season after season.

Similar Posts