How to Select Solar Panels and Batteries Like a Pro
You want to know how to select solar panel and battery for your home. It's a big decision, and the wrong choice can leave you with a system that doesn't match your needs. The good news is that the process is straightforward once you understand the key variables.
In our research, we've found that most homeowners skip the most critical step: calculating their actual daily energy consumption. According to the U.S. Energy Information Administration, the average American home uses about 30 kilowatt-hours per day.
That number is your starting point for everything else. Let's walk through what you need to know.
Quick Answer
The simplest way to learn how to select solar panel and battery is to start with your energy bills. Calculate your average daily kilowatt-hour usage. Then choose a battery that covers your critical loads.
Size your solar array to recharge that battery in one day with peak sun hours. Match your inverter type to your system voltage and your roof's shading situation.
Why Selecting a Solar Panel and Battery Isn't One-Size-Fits-All
Every home is different. Your neighbor's setup may look great, but it could be totally wrong for you. The variables include your location, roof orientation, energy habits, and local utility rates.
Here's what drives the decision:
- Your climate and sun hours. Phoenix gets about 6 peak sun hours per day. Seattle gets closer to 3.5. That difference alone changes the panel count you need.
- Your utility's rate structure. Some utilities offer full retail net metering. Others pay a fraction of that. If net metering is weak, a battery becomes more valuable.
- Your roof space and shading. A small roof with partial shade pushes you toward high-efficiency panels and microinverters. A big sunny roof gives you more flexibility.
- Your outage tolerance. Do you need to power your whole house for three days, or just keep the fridge running for a few hours? That determines battery size dramatically.
If you live in a place with weak net metering and frequent outages, you're looking at a completely different system than someone in a net-metering-friendly city with rare blackouts. There isn't one perfect formula. There's only the right formula for your situation.
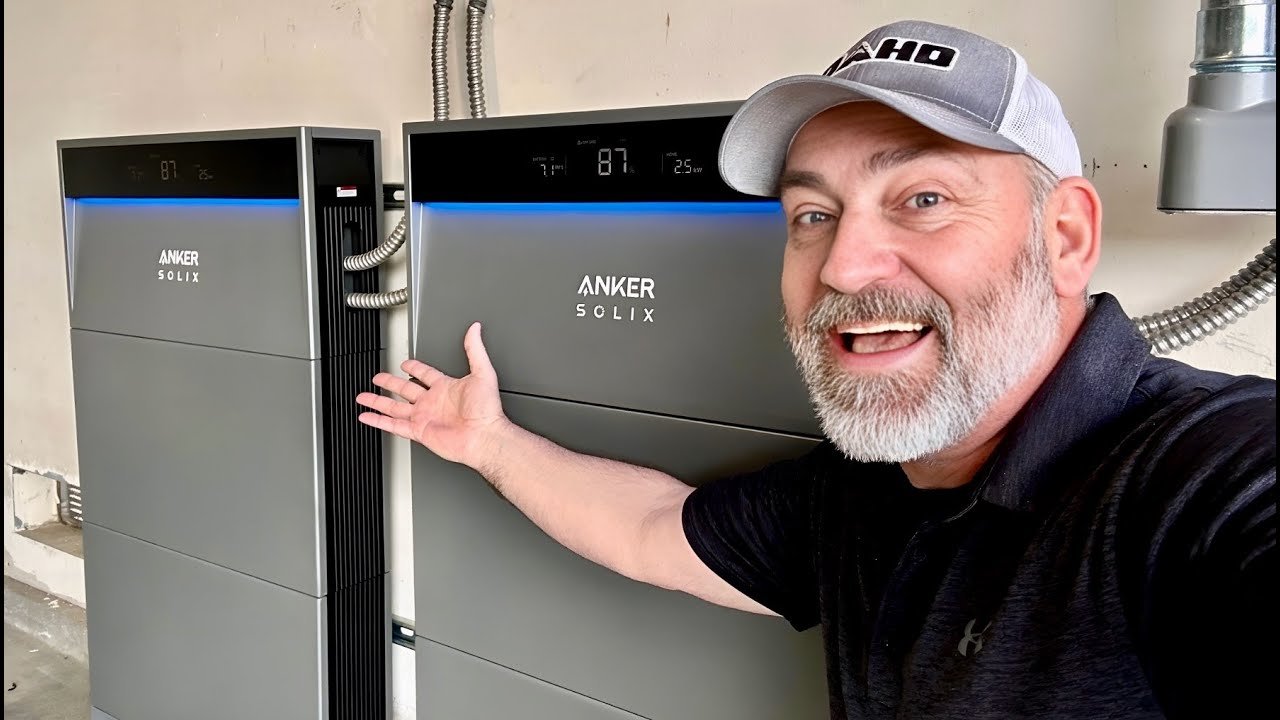
Image source: YouTube / Martin Johnson, Off Grid Living (YouTube thumbnail (fair-use with source credit))
Step 1: Get Your Home's Energy Numbers Straight
Before you pick a single panel or battery, you need cold, hard numbers. Guessing your energy usage is the fastest way to overspend or underperform.
Pull your last 12 months of electric bills. Look for the kilowatt-hour (kWh) total for each month. Add them up and divide by 365.
That's your average daily usage.
Here's what to note:
- Your highest monthly usage. This is usually summer with AC or winter with electric heat.
- Your lowest monthly usage. This tells you your baseline load.
- Any seasonal patterns that spike demand.
For a typical 2,000-square-foot home with two people, daily usage might be 20 to 25 kWh. A larger family with AC and electric appliances can hit 40+ kWh per day.
Now identify your critical loads. These are the circuits you need during an outage:
| Load | Typical Power (watts) | Hours per day | Daily kWh |
|---|---|---|---|
| Refrigerator | 150 | 24 | 3.6 |
| LED lights (10 bulbs) | 100 | 5 | 0.5 |
| Wi-Fi router and modem | 20 | 24 | 0.5 |
| Well pump | 1000 | 1 | 1.0 |
| Furnace fan | 500 | 6 | 3.0 |
| Total critical load | 8.6 kWh |
This tells you the minimum battery capacity you need. For backup-only systems, you typically size for 8 to 12 kWh of usable capacity. For whole-home backup, you're looking at 20 to 30 kWh or more.
The U.S. Department of Energy has a solid guide on sizing standalone systems if you want the official methodology.
Image source: YouTube / Robb's Homemade Life (YouTube thumbnail (fair-use with source credit))
Step 2: Pin Down Your Main Goal – Backup, Savings, or Off-Grid
Your primary goal changes everything downstream. Three main use cases drive the design.
Goal 1: Outage backup only. You want the lights on and the fridge running when the grid goes down. You don't care about saving money on your electric bill. Your system will be smaller: a 5 to 10 kWh battery paired with enough solar to recharge it in a day, plus a battery-ready inverter.
This is the cheapest entry point, but it won't offset your monthly bills.
Goal 2: Lower your electric bill (self-consumption or time-of-use savings). You want to store cheap solar energy during the day and use it at night when rates spike. This works best if your utility charges higher rates during evening hours. You'll need a bigger battery, typically 10 to 15 kWh, and a solar array large enough to both run your daytime loads and fill the battery.
Net metering policies affect this heavily; check how much your utility credits exported solar power.
Goal 3: Full off-grid independence. You want zero dependence on the utility. This requires the biggest system: 20 to 30 kWh of battery capacity minimum, plus a solar array sized for winter production (when sun hours are lowest). You'll need a generator for backup, and you'll be more conservative with energy usage.
This is the most expensive option, but it's the only way to truly cut the cord.
Here's a quick decision tree:
- If you have full net metering (retail credit for exports) → battery is optional; panels alone often make more financial sense.
- If net metering is weak or time-of-use rates exist → battery becomes valuable for shifting usage.
- If outages are frequent and long → prioritize battery size over panel count.
- If you're off-grid → max out both panels and battery, and include a generator.
We've covered weighing the trade-offs in more detail if you want to dig deeper into the financial side.
Solar Panel Decisions: Efficiency, Wattage, and Roof Reality
Once you know your goal and your energy numbers, it's time to pick panels. Three specs matter most: efficiency, wattage, and temperature coefficient.
Efficiency tells you how much sunlight a panel turns into electricity. Residential panels range from 18% to 23%. High-efficiency panels (22%+) are great for small roofs where every square foot counts.
If you have plenty of roof space, standard efficiency (19-20%) panels are more cost-effective.
Wattage is the panel's max power output under standard test conditions. Common sizes are 370W, 400W, and 450W. A 400W panel is the sweet spot for most homes right now as of 2026.
Bigger panels mean fewer panels to install, which can lower mounting and wiring costs.
Temperature coefficient matters more than most people realize. Panels lose efficiency as they heat up. A typical coefficient is about -0.35% per degree Celsius above 25°C.
If you live in Arizona or Texas and your roof hits 65°C in summer, that's a 14% loss. Look for panels with lower temperature coefficients (like -0.27%) if you're in a hot climate.
Roof reality check:
- Orientation. South-facing in the northern hemisphere is ideal. East and west work but produce less total energy.
- Tilt. A 30 to 40 degree tilt is optimal for most US latitudes. Flat roofs need angled racks. Steep roofs are fine.
- Shading. Even partial shade on one panel can drop a whole string's output if you use a string inverter. Microinverters or power optimizers handle shading much better.
If you want to understand different panel constructions at a deeper level, we've broken down monocrystalline, polycrystalline, and thin-film options elsewhere.
Monocrystalline panels dominate the residential market. They're efficient and space-efficient. Polycrystalline is cheaper but less efficient.
Thin-film is flexible but lower wattage, used mostly for large commercial roofs or unique applications.
For 90% of homeowners, our recommendation is: monocrystalline, 400W, with a temperature coefficient at or below -0.30% per degree C. That combination gives you good bang for the buck across most climates.
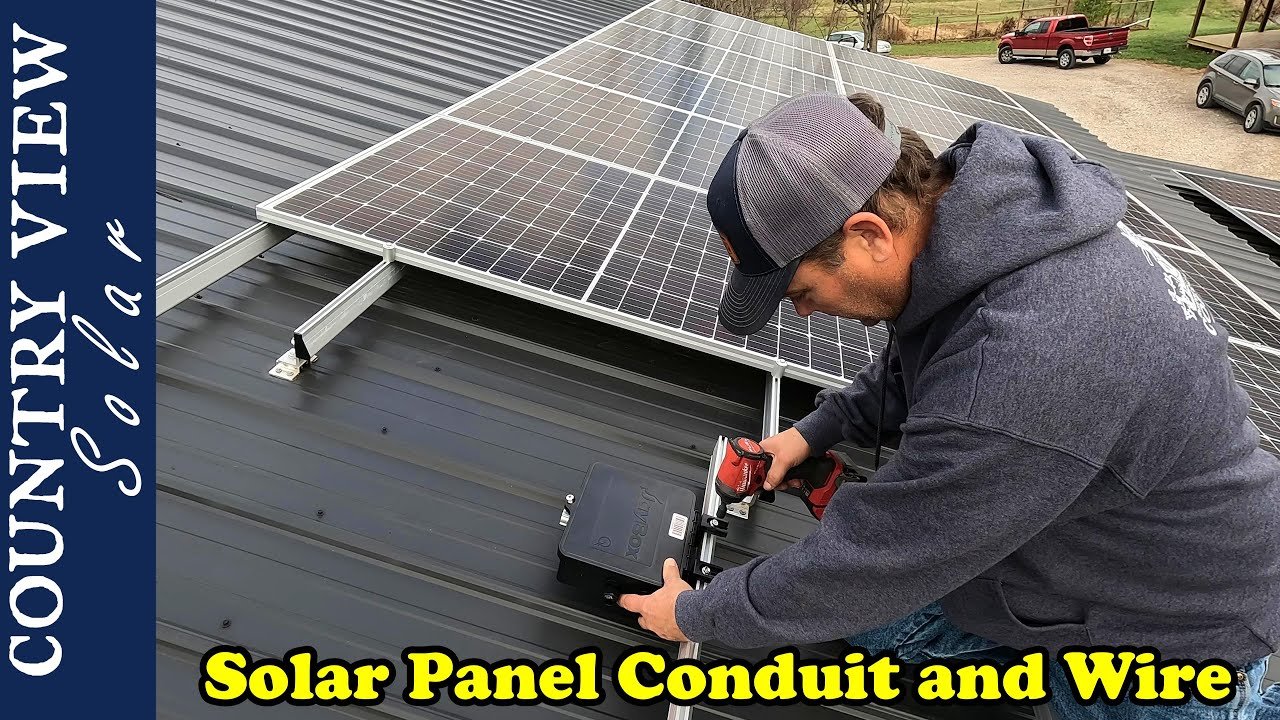
Image source: YouTube / Country View Solar, DIY Projects & Reviews (YouTube thumbnail (fair-use with source credit))
Battery Chemistry Showdown: Lithium Iron Phosphate vs. Lead-Acid
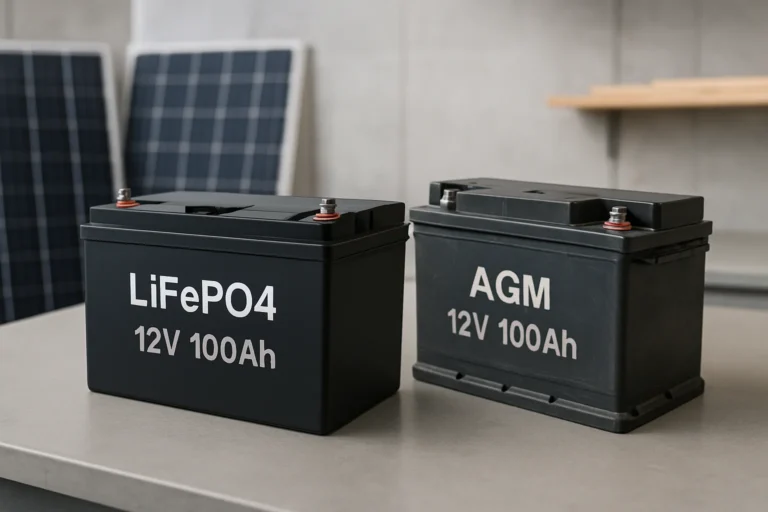
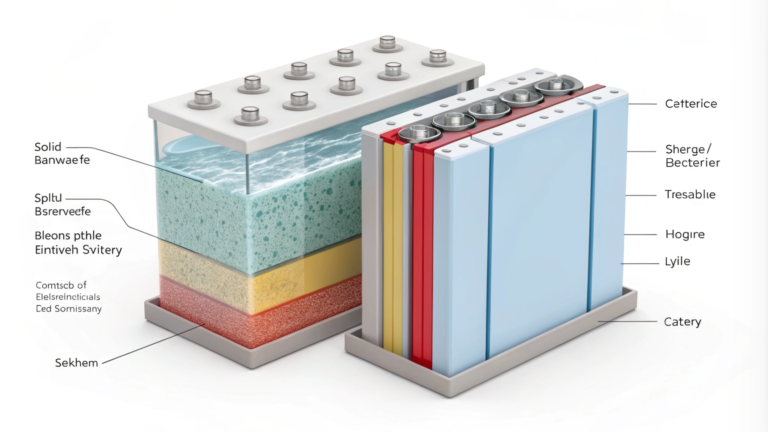
Your battery choice is arguably the most important decision because it affects safety, lifespan, and usable capacity. Two chemistries dominate the market: lithium iron phosphate (LFP) and lead-acid (AGM or flooded).
Lithium iron phosphate (LFP) is the clear leader for modern residential systems. It lasts longer, discharges deeper, and requires zero maintenance.
| Factor | LFP | Lead-Acid (AGM) |
|---|---|---|
| Cycle life (80% DoD) | 3,000 to 6,000 cycles | 500 to 1,000 cycles |
| Depth of discharge (usable) | 80% to 90% | 50% max for decent lifespan |
| Round-trip efficiency | 95% to 97% | 80% to 85% |
| Weight per kWh | ~15 lbs | ~50 lbs |
| Maintenance | None | Check water levels (flooded) |
| Operating temperature range | -20°C to 60°C | 0°C to 40°C (cold hurts lead-acid) |
| Cost per usable kWh (lifetime) | Lower over 10+ years | Higher, requires replacement sooner |
LFP pros: You get more usable capacity per dollar over the system's life. You can use 80% to 90% of the rated capacity. In practice, a 10 kWh LFP battery delivers 8 to 9 kWh of usable energy.
It lasts 10 to 15 years. It's safe (no thermal runaway like NMC lithium). It charges faster.
LFP cons: Higher upfront cost. The initial price is about $400 to $700 per kWh installed as of 2026. Some people balk at the sticker shock.
Lead-acid pros: Lower upfront cost, roughly $100 to $200 per kWh for AGM or flooded. Still widely available and recyclable.
Lead-acid cons: You can only safely use about 50% of the rated capacity. A 10 kWh lead-acid battery gives you only 5 kWh of usable energy. It degrades faster, meaning you'll replace it every 3 to 5 years.
It needs ventilation. Cold temperatures sap capacity. Over the same 12-year period, you'll likely buy lead-acid batteries two or three times.
If you're interested in the internal makeup of these batteries and how BMS systems manage LFP cells, we go into more technical detail in that guide.
The verdict for most homeowners: Go with LFP. The higher upfront cost pays for itself over the battery's lifespan. Lead-acid makes sense only for very small systems (like a cabin you visit once a month) or if you have a tight budget and plan to upgrade within a few years.
For a primary residence with any backup or savings goal, LFP is the right pick.

Image source: Wikimedia Commons / Wikimedia Commons contributor
Inverter Type: String, Microinverters, or a Hybrid?
The inverter is the brain of your system. It converts DC power from your panels into AC power for your home. It also manages battery charging and grid interaction.
Choosing the wrong type will limit your system's performance.
String inverters are the traditional option. All panels connect in a series string to one central inverter. They're simple and cost about $0.10 to $0.20 per watt.
The catch is that one shaded panel drags down the whole string's output. They're best for roofs with no shading and a single orientation.
Microinverters sit under each panel. Each panel operates independently. Shading on one panel doesn't affect the others.
They also allow per-panel monitoring. They cost more, roughly $0.20 to $0.30 per watt. They're ideal for roofs with partial shading, multiple orientations, or complex layouts.
Power optimizers are a middle ground. They sit on each panel like microinverters but still send power to a central string inverter. They give you per-panel optimization without the full microinverter cost.
They're a good compromise for roofs with some shading.
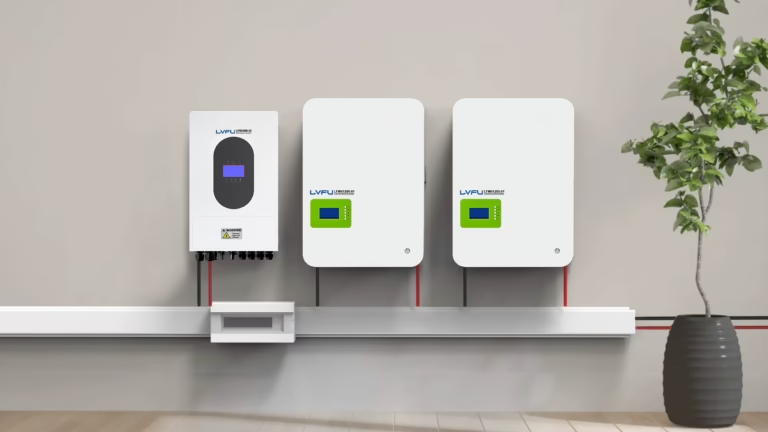
Hybrid inverters (also called battery-ready inverters) handle both solar and battery in one box. They're essential if you're adding a battery now or planning to later. They manage charging, discharging, and grid interaction.
Most modern systems use a hybrid inverter even if you're starting with solar only.
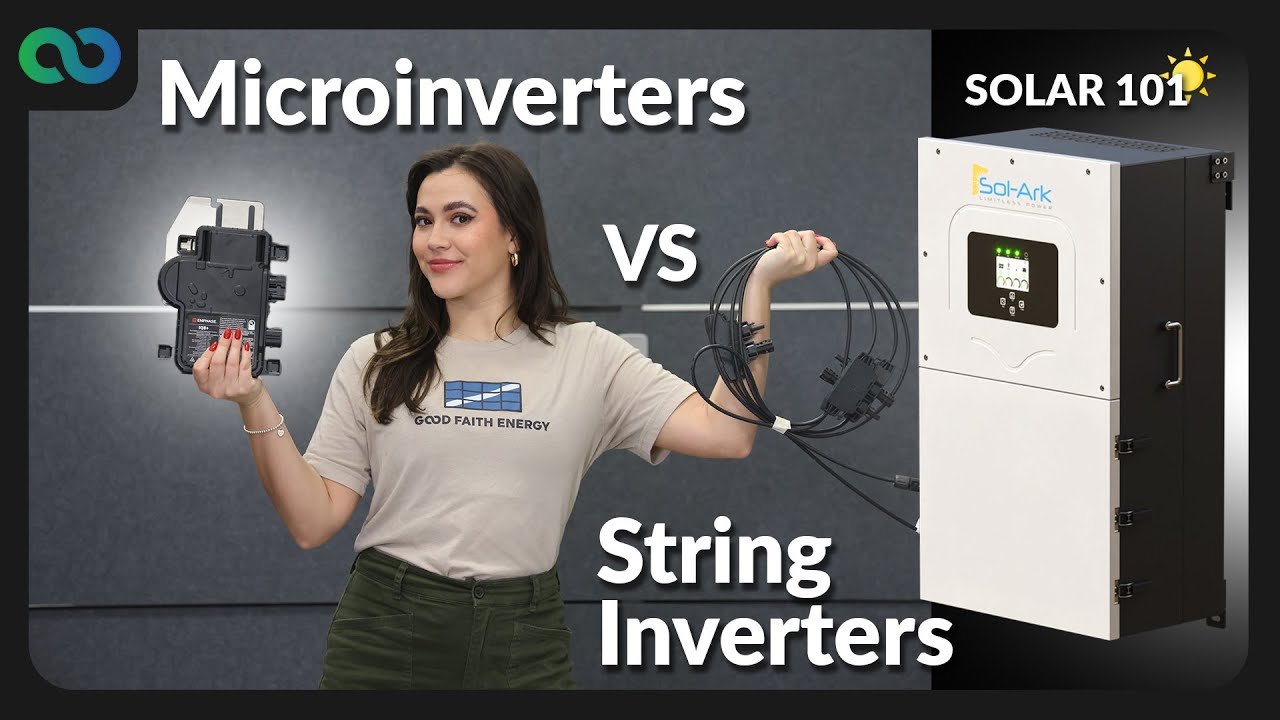
Image source: YouTube / Good Faith Energy (YouTube thumbnail (fair-use with source credit))
Here's the decision tree:
- If your roof is perfectly south-facing with no shade, a string inverter is the most cost-effective choice.
- If you have any shading or multiple roof planes, use microinverters or power optimizers.
- If you want battery backup now or within a few years, a hybrid inverter is mandatory.
- If you're off-grid, a hybrid inverter with built-in battery management is the only sensible option.
We've explained how the conversion process works in more detail if you're curious about the technical side.
AC Coupled vs. DC Coupled Battery – What Works for You?
If you're adding a battery to an existing solar system, you have a coupling choice. If you're designing a new system from scratch, the answer is simpler.
DC coupled means the battery connects to the same DC bus as the solar panels, before the inverter. The solar panels charge the battery directly without converting to AC first. This is more efficient, around 95% to 97% round-trip.
It's the standard for new systems with a hybrid inverter.
AC coupled means the battery has its own separate inverter. Solar power goes through your main inverter to AC, then the battery's inverter converts it back to DC for storage. This adds conversion losses, dropping efficiency to about 90% to 93%.
The benefit is that you can add an AC-coupled battery to an existing solar system without replacing your current inverter.
Which one should you choose?
- If you're building a new system, go DC coupled with a hybrid inverter. It's simpler, more efficient, and costs less overall.
- If you already have solar panels with a string inverter and want to add battery later, you'll likely use AC coupling. It's the retrofit path.
- If you have microinverters, you must use AC coupling. Microinverters don't have a DC input for a battery.
In our research, DC coupled systems are about 3% to 5% more efficient overall. That adds up over a decade. But for many homeowners, the convenience of retrofitting with AC coupling outweighs the small efficiency loss.
Sizing Your System: Matching Panel Array to Battery Capacity
This is the step most people get wrong. A common mistake is buying a huge battery with a tiny solar array. The battery never fully charges.
Or buying massive solar panels with a small battery, wasting energy that gets exported for pennies.
The rule of thumb is simple. Your solar array should be sized to fully recharge your battery in one day of peak sun hours. If you have a 10 kWh battery with 80% depth of discharge, you need 8 kWh of usable recharge energy. Divide that by your location's peak sun hours.
| Location | Peak Sun Hours | Array Size Needed for 10 kWh Battery (80% DoD) |
|---|---|---|
| Phoenix, AZ | 6.0 | 1.3 kW |
| Los Angeles, CA | 5.5 | 1.5 kW |
| New York, NY | 4.5 | 1.8 kW |
| Seattle, WA | 3.5 | 2.3 kW |
Real-world example. A home in Los Angeles with a 10 kWh LFP battery needs about 1.5 kW of solar just to recharge the battery. That's four 400W panels. But you also need to power your daytime loads.
If your home uses 25 kWh per day, you need more like 6 to 7 kW total to cover both the house and the battery recharge.
You also need to account for inverter losses, wiring losses, and panel degradation. A good rule is to add 20% to your calculated array size. It's better to have a little extra than to come up short on cloudy days.
If you're looking for a more detailed breakdown of what a complete system includes, that guide covers everything from racking to wiring to monitoring.
Common Mistakes That Wreck Performance and Payback
We've seen these mistakes in real installations. They cost homeowners money and frustration.
Mistake 1: Oversizing the battery, undersizing the panels. A 20 kWh battery with only 2 kW of solar will never reach full charge in winter. You end up with a heavy, expensive paperweight. Always match the array to the battery's daily recharge needs.
Mistake 2: Ignoring surge loads. Your inverter needs to handle startup surges. A well pump can draw 3,000 watts for a second but 1,000 watts running. If your inverter is rated for 2,000 watts continuous, it will trip on startup.
Check the surge rating, not just the continuous rating.
Mistake 3: Not accounting for panel degradation. Panels lose about 0.5% per year. After 20 years, a 400W panel produces closer to 360W. If you size your array exactly to your current needs, you'll be short in a decade.
Add a buffer.
Mistake 4: Installing in a shaded spot without microinverters. A single shaded panel on a string inverter can cut total output by 30% to 50%. Spend the extra money on microinverters or power optimizers if you have any shade at all.
Mistake 5: Forgetting about net metering caps. Some utilities limit the size of your system or the amount you can export. Check your local interconnection rules before ordering equipment. A system that's too large may not get approved.
Mistake 6: Skipping the energy audit. We said it at the start, and we'll say it again. Guessing your usage is the root cause of most sizing errors. Pull the bills.
Do the math. It takes 30 minutes and saves thousands.
What This System Will Actually Cost (and What You Get Back)
Let's talk money. As of 2026, here are the real numbers for a typical residential solar plus battery system.
System components and their costs (installed, before incentives):
| Component | Cost Range (per unit) |
|---|---|
| Solar panels (400W each) | $250 to $400 |
| Inverter (hybrid, 5-8 kW) | $1,500 to $2,500 |
| Battery (LFP, 10 kWh) | $4,000 to $7,000 |
| Racking and wiring | $1,000 to $2,000 |
| Labor (full install) | $3,000 to $5,000 |
| Permits and inspection | $500 to $1,000 |
Total system cost for a typical 6 kW solar + 10 kWh battery setup: $15,000 to $22,000 before incentives.
The federal solar tax credit (ITC) is 30% as of 2026. That knocks the price to $10,500 to $15,400. Some states add additional rebates. California, New York, and Massachusetts have some of the best incentives.
Payback period varies by location. In a place with high electricity rates and good net metering, payback can be 6 to 8 years. In areas with low rates and weak net metering, it stretches to 10 to 12 years. Battery-only payback (without solar) is harder to justify financially.
The real value of a battery is backup power during outages, not just bill savings.
If you want to understand the basics of how these systems function to better evaluate installer quotes, that primer will help you speak the language.
Your Decision Guide: A Simple Step-by-Step Workflow
Here's how to pull everything together. Work through these steps in order.
Step 1: Pull your energy bills. Calculate your average daily kWh. Identify your critical loads.
Step 2: Choose your goal. Backup only, bill savings, or full off-grid. This sets your budget and battery size.
Step 3: Size your battery. Use your critical load numbers from Step 1. A 10 kWh LFP battery covers most backup needs.
Go larger for whole-home or multi-day autonomy.
Step 4: Size your solar array. Match it to recharge your battery in one day of local peak sun hours. Add 20% for losses and future degradation.
Step 5: Pick your inverter. Hybrid for battery systems. String if no shade and no battery plans.
Microinverters if you have shade.
Step 6: Choose DC coupling for new builds. Choose AC coupling for retrofitting to existing solar.
Step 7: Get multiple installer quotes. Compare equipment, warranty, and price. Check their licenses and reviews.
If you want to see the broader picture of what solar panels are and how they're categorized, that page rounds out the basics.
Safety, Permits, and Code Rules You Can't Skip
Solar and battery installations involve high voltage DC and heavy batteries. Mistakes can cause fires or electrocution. Don't DIY a grid-tied system unless you're a licensed electrician.
Key code requirements:
- NEC 2020 or newer. Rapid shutdown is required within 30 feet of the array. This lets first responders safely disconnect power.
- UL 1741 certification. All inverters must meet this standard. It ensures grid safety and anti-islanding protection.
- UL 9540 certification. Battery systems need this. It covers safety, thermal runaway prevention, and fire containment.
- Permits are mandatory. Most jurisdictions require building permits, electrical permits, and an interconnection agreement with your utility.
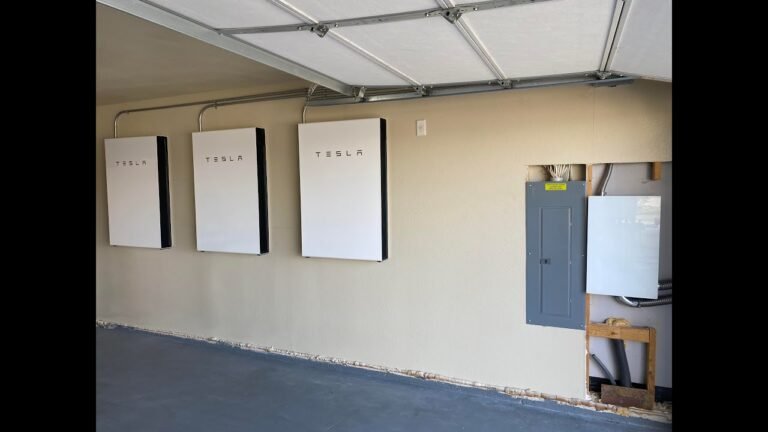
Battery placement matters. LFP batteries are safer than NMC chemistries, but they still need proper ventilation. Install them in a garage, basement, or exterior wall. Avoid living spaces.
Keep them away from flammable materials.
Work with a licensed installer who pulls permits. Unpermitted work can cause issues when you sell your home or file an insurance claim.
Frequently Asked Questions
How many solar panels do I need to charge a 10 kWh battery?
You need about 1.5 to 2.5 kW of solar depending on your location. That's roughly 4 to 6 panels at 400W each. In Phoenix with 6 sun hours, four panels suffice.
In Seattle with 3.5 sun hours, you need six.
Can I add a battery to my existing solar panels?
Yes, but the method depends on your inverter type. If you have a string inverter, you can add an AC coupled battery with its own inverter. If you have microinverters, AC coupling is your only option.
Hybrid inverters require replacing your current inverter.
How long does a solar battery last?
LFP batteries last 10 to 15 years or 3,000 to 6,000 cycles. Lead-acid batteries last 3 to 5 years or 500 to 1,000 cycles. Most LFP batteries come with a 10 year warranty that guarantees 70% capacity retention.
What size inverter do I need?
Your inverter's continuous rating should cover your peak simultaneous loads. For a typical home, a 5 kW to 8 kW inverter handles most needs. Check surge ratings for startup loads like well pumps or air conditioners.
Is solar plus battery worth it financially?
It depends on your utility rates and net metering policy. With the 30% federal tax credit, payback runs 6 to 12 years. The battery's real value is backup power during outages, not just bill savings.
If outages are rare and net metering is strong, panels alone may make more financial sense.