What Size Solar Panel to Charge a 12V Battery
You type "what size solar panel to charge 12v battery" into a search bar, and you get a dozen different answers. Some say 100 watts. Others say 200.
A few recommend a 400-watt panel for a single battery. The confusion is real, and the wrong choice can waste money or leave you with a dead system.
As of 2026, the most common 12V battery setups for RVs and off-grid use run between 50Ah and 200Ah. The panel size you need depends on three factors: battery capacity, daily energy consumption, and your local peak sun hours. NREL data shows peak sun hours in the US range from 3 to 6 hours per day depending on your region.
That range alone can double or halve your required panel wattage.

Image source: Wikimedia Commons / Stephan Ridgway from Brisbane, Australia (CC BY)
Quick Answer
The right solar panel size depends on three factors. Your battery capacity, daily energy use, and local sun hours. For a typical 100Ah deep-cycle battery, you need a 100W to 200W panel.
For maintenance only, a 10W to 30W trickle charger works. Size up for cloudy climates.
Why Getting the Panel Size Wrong Costs You Real Money and Time
Getting the panel size wrong is expensive. It's not just about wasting money on the wrong equipment. It's about shortening your battery's life and leaving you without power when you need it most.
An undersized panel is the most common mistake. Your battery never reaches a full charge, especially in winter. Lead-acid batteries develop sulfation when left partially charged.
That's a chemical buildup that permanently reduces capacity. According to battery manufacturer data, a deep-cycle battery that's regularly undercharged can lose 50% of its rated capacity within a year.
Oversizing has its own hidden costs. You spend more on panels you don't need. You might need a larger charge controller to handle the extra current.
And if the panel pushes too much current without proper regulation, you risk damaging the battery with overvoltage. Lithium batteries are especially sensitive. Their built-in battery management systems shut down if voltage exceeds safe limits.
The trade-offs between different panel sizes are worth understanding before you buy. Getting it right from the start saves time, money, and frustration.
The Simple Rule of Thumb (and When It Works)
There's a common rule in the solar world: one watt of panel per amp-hour of battery capacity. For a 100Ah battery, that means a 100W panel. It's simple, easy to remember, and it works in some situations.
When does it work? In moderate climates with 4 to 5 peak sun hours. For occasional use where the battery doesn't get heavily discharged.
And for lead-acid batteries, which are more forgiving of partial charging.
When does it fail? In cloudy climates with 2 to 3 peak sun hours. For off-grid systems where you use power every day.
And for lithium batteries, which need a more precise charging profile.
| When the Rule Works | When the Rule Fails |
|---|---|
| Moderate climates with 4-5 sun hours | Cloudy climates with 2-3 sun hours |
| Occasional use, light discharge | Daily heavy use, full discharge |
| Lead-acid batteries | Lithium batteries |
| Maintenance charging only | Full off-grid systems |
The rule is a starting point, not a final answer. You need to adjust for your specific situation. The different kinds of panels available today each have their own characteristics that can affect performance.
How Solar Charging Really Works: Watts, Amps, Sun Hours, and Efficiency
A solar charging system has three main components. The panel generates power. The charge controller regulates it.
The battery stores it. Each component has its own specs, and they all need to match.
Watts measure the panel's power output. Amps measure the current flowing to the battery. Volts measure the pressure pushing that current.
A 100W panel produces about 5.5 amps under ideal conditions. That's because 100 watts divided by 18 volts (the panel's operating voltage) equals about 5.5 amps.
Peak sun hours are the key metric. One peak sun hour equals one hour of full sunlight at 1000 watts per square meter. If your location gets 4 peak sun hours, that's 4 hours of that full sunlight equivalent.
The actual sun might be out for 8 to 10 hours, but the intensity varies.
Image source: YouTube / Mister Corbi (YouTube thumbnail (fair-use with source credit))
Efficiency losses are real and significant. Charge controllers lose some power. PWM controllers lose about 20 to 25 percent.
MPPT controllers lose about 5 to 10 percent. Wiring losses, dirt on panels, and high temperatures also reduce output. A good rule is to add 25 percent to your calculated panel size to account for these losses.
Understanding the basic process of converting sunlight to power helps you see why each component matters. The panel voltage, the charge controller type, and the battery chemistry all interact. Get them right, and your system works efficiently.
Get them wrong, and you lose power every step of the way.
The Decision Tree: Your Exact Panel Size Based on Your Situation
This is where we get specific. Your situation determines your panel size. Here are the four most common scenarios and what you need for each.
Branch 1: Maintenance Only (Trickle Charging)
If you're just keeping a battery topped up during storage, use a 10W to 30W panel. A trickle charger that maintains the battery at full charge doesn't need much power. You don't need a charge controller for panels under 5W, but anything above that should have one.
A 15W panel with a simple PWM controller is a common setup for a boat or RV battery in storage.
Branch 2: Small System (Lights, Phone Charging, Fan)
If you're running a few LED lights, a phone charger, and a small fan, use a 50W to 100W panel. For a 50Ah battery, go with 50W. For a 100Ah battery, go with 100W.
The rule of thumb works well here. A PWM charge controller is fine for this size system.
Branch 3: Full Off-Grid Setup (Fridge, Electronics, Pump)
If you're running a 12V fridge, a laptop, lights, and a water pump, use a 200W to 400W panel. A 12V fridge draws 40 to 60 amp-hours per day. Add the other loads, and you're looking at 80 to 100Ah daily.
For a 200Ah battery bank, you need 200W to 400W of panel. An MPPT charge controller is worth it here because it recovers the 20 to 25 percent loss you'd get with PWM.
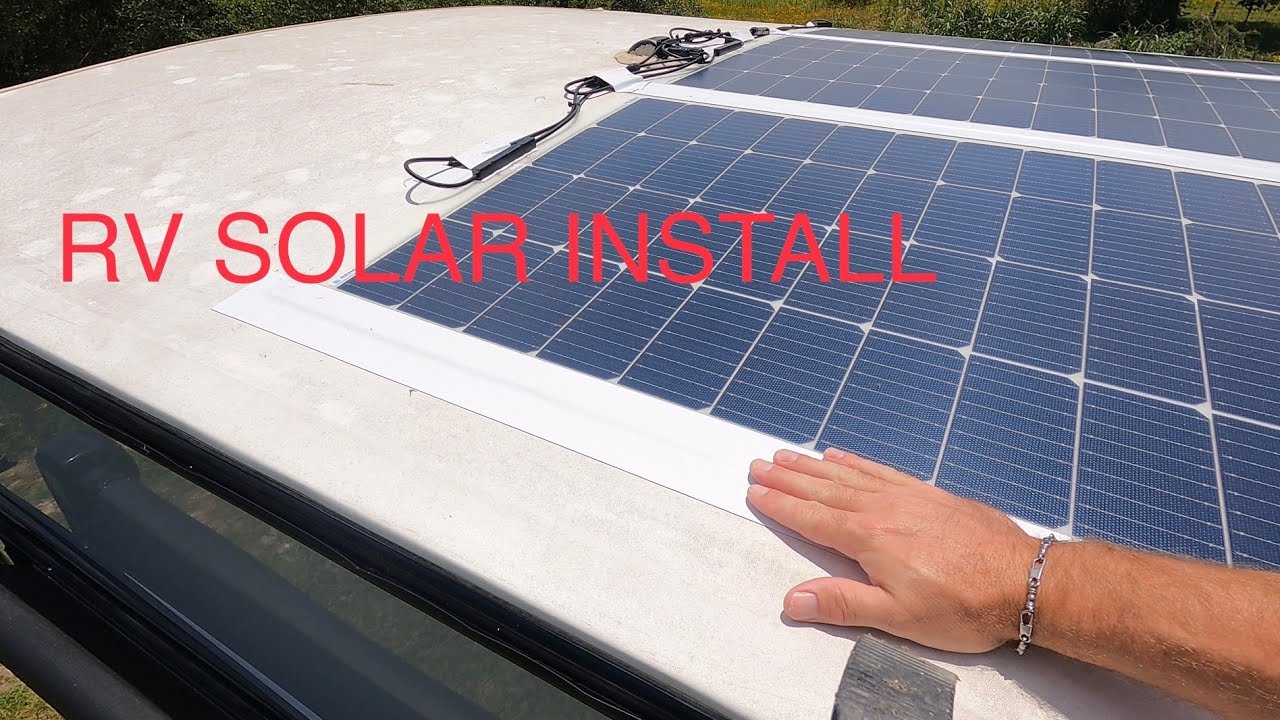
Image source: YouTube / Rocky Rohde (YouTube thumbnail (fair-use with source credit))
Branch 4: Cloudy Climate or Short Winter Days
If you live in a region with frequent cloud cover or short winter days, add 25 to 50 percent more wattage. If your calculations say 100W, go with 150W. If they say 200W, go with 300W.
Peak sun hours below 3 require a bigger panel. In the Pacific Northwest, winter peak sun hours can drop to 1.5. That's a huge difference.
You need double the panel size compared to Arizona.
The key parts that make up your system all need to work together. The panel size, the charge controller, and the battery must be matched for reliable performance.
Step-by-Step: How to Calculate Your Exact Panel Size in 5 Minutes
Here's the math. It's simple. Five steps.
Grab your battery specs and a calculator.
Step 1: Find your daily energy consumption in watt-hours.
Add up everything you power. A 12V fridge uses 40Ah per day. That's 40Ah times 12V equals 480 watt-hours.
A phone charger uses 10Wh. An LED light uses 5Wh per hour. Total them up.
Step 2: Determine your battery's usable capacity.
Multiply the amp-hour rating by the depth of discharge. A 100Ah lithium battery can use 80 to 100Ah. A 100Ah lead-acid battery should only use 50Ah to avoid damage.
Usable capacity is what matters for sizing.
Step 3: Find your location's peak sun hours.
Use the NREL solar resource map to find your location's peak sun hours. The average US location gets 4 to 5 hours. The Southwest gets 6.
The Northeast gets 3.5. Use the worst month, not the yearly average.
Step 4: Apply the efficiency loss factor.
Multiply your daily energy consumption by 1.3. This accounts for charge controller losses, wiring losses, and temperature. If you need 480Wh, you need 624Wh from the panel.
Step 5: Calculate the panel wattage.
Divide the adjusted daily energy by peak sun hours. 624Wh divided by 4.5 hours equals 139 watts. Round up to 150W to be safe. That's your panel size.
| Scenario | Daily Usage (Wh) | Battery Size | Peak Sun Hours | Panel Size Needed |
|---|---|---|---|---|
| Campervan weekend | 300Wh | 100Ah lead-acid | 4.5 | 100W |
| Full-time off-grid | 800Wh | 200Ah lithium | 4.5 | 250W |
| Cloudy winter cabin | 500Wh | 200Ah lead-acid | 2.5 | 300W |
| Maintenance only | 0Wh | 100Ah | 4.5 | 15W trickle |
A full guide to what to look for when shopping can help you compare options once you know your target wattage. The calculation gives you a solid number. From there, you choose the panel that fits your budget and space.
Common Mistakes That Ruin Your Solar Setup (and How to Avoid Them)
Even with the right panel size, small mistakes can kill performance. Here are the ones we see most often in our research.
Mistake 1: Using a PWM controller with a high-voltage panel. A 200W panel with a 36V output wired to a PWM controller wastes half its power. You get the panel's current at battery voltage, not at the panel's operating voltage. An MPPT controller fixes this by converting the excess voltage into usable current.
Mistake 2: Running undersized wire. Long cable runs with thin wire cause voltage drop. If you lose 0.5V between the panel and the controller, you reduce charging current significantly. Use wire gauge calculators to size your cables properly.
For runs under 20 feet, 10 AWG works for most 12V solar systems.
Mistake 3: Ignoring temperature compensation. Cold weather increases panel output. Hot weather decreases it. A 100W panel at 100 degrees Fahrenheit might only produce 80W.
A good charge controller adjusts charging voltage for temperature. If yours doesn't, oversize your panel by 10 to 15 percent.
Mistake 4: Forgetting about shading. A single shaded cell can drop panel output by 50 percent or more. Even a tree branch blocking one corner of the panel affects performance. Trim trees before installation.
Mount panels where they get full sun from 10 AM to 4 PM.
Mistake 5: Mixing old and new batteries. A new battery connected in parallel with an older one never charges properly. The weaker battery drags down the stronger one. Always use matched batteries from the same batch.
The advantages and disadvantages of different panel types affect how these mistakes play out. Monocrystalline panels handle partial shading better than polycrystalline. Knowing the differences helps you choose wisely.
Real-World Sizing Reference: Panel Wattage by Battery Capacity
Let's get specific with real numbers. These are the common pairings that work in practice based on manufacturer specs and verified user feedback.
| Battery Capacity (Ah) | Battery Type | Average Daily Usage | Recommended Panel | Charge Controller |
|---|---|---|---|---|
| 35Ah (small marine) | Lead-acid | 100Wh | 50W | PWM 10A |
| 50Ah (campervan) | Lead-acid | 200Wh | 100W | PWM 10A |
| 100Ah (RV starter) | Lead-acid | 400Wh | 150W | PWM 20A or MPPT |
| 100Ah (lithium) | LiFePO4 | 500Wh | 200W | MPPT 20A |
| 200Ah (off-grid) | Lead-acid | 600Wh | 300W | MPPT 30A |
| 200Ah (lithium) | LiFePO4 | 800Wh | 400W | MPPT 40A |
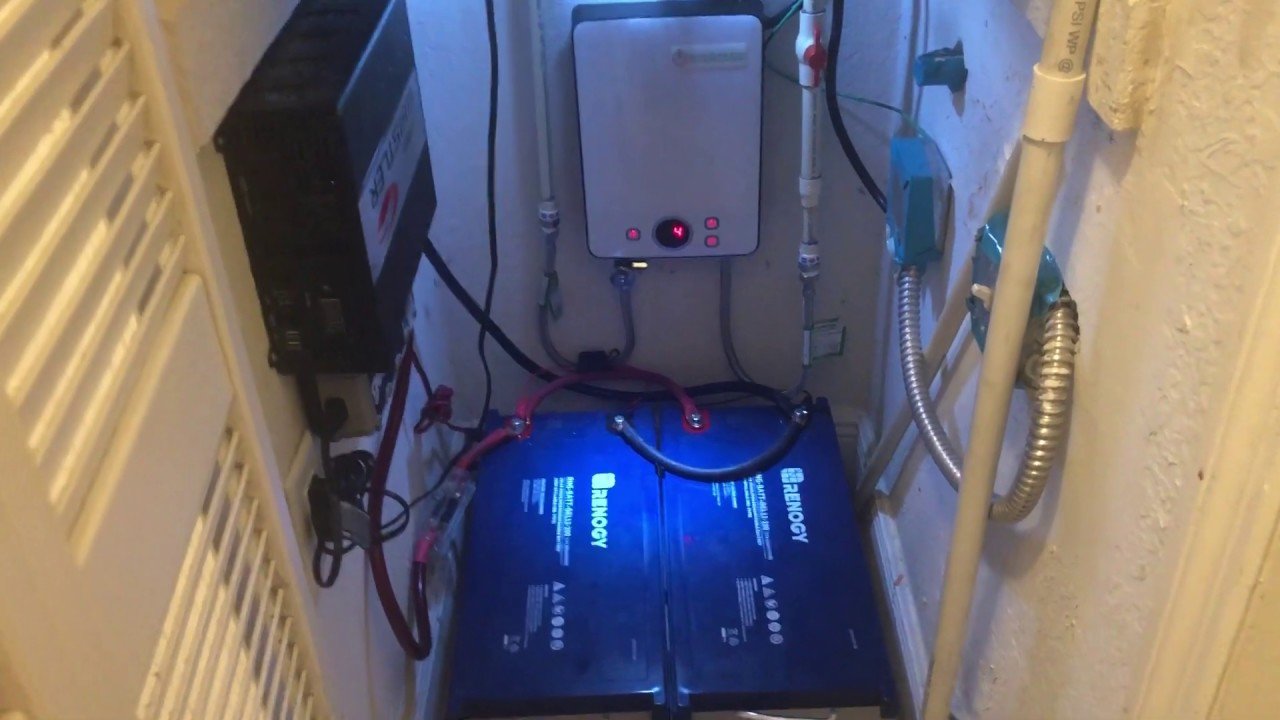
Image source: YouTube / Redland. Farm (YouTube thumbnail (fair-use with source credit))
These numbers assume 4 to 5 peak sun hours. Drop to 3 sun hours and add 30 percent more panel. Drop to 2 sun hours and double the panel size.
A 100Ah lithium battery can handle more daily discharge than a lead-acid of the same size. That's why the lithium row above shows 500Wh daily usage compared to 400Wh for lead-acid. The usable capacity is higher.
Which Charge Controller You Need (PWM vs MPPT by Panel Size)
The charge controller is the brain of your solar system. It regulates voltage and current going into the battery. Choosing the wrong type costs you power and money.
PWM controllers are simpler and cheaper. They connect the panel directly to the battery. If the battery is at 12V and the panel produces 18V, the PWM controller pulls current at 12V.
You lose the voltage difference. PWM works best when panel voltage is close to battery voltage. For small systems under 200W with panels rated at 18V, PWM is fine.
MPPT controllers are more expensive but much more efficient. They convert excess voltage into additional current. If your panel produces 36V and your battery needs 14V, the MPPT converts that voltage difference into usable amps.
The efficiency gain is 20 to 25 percent. For systems over 150W or with higher voltage panels, MPPT is worth the extra cost.

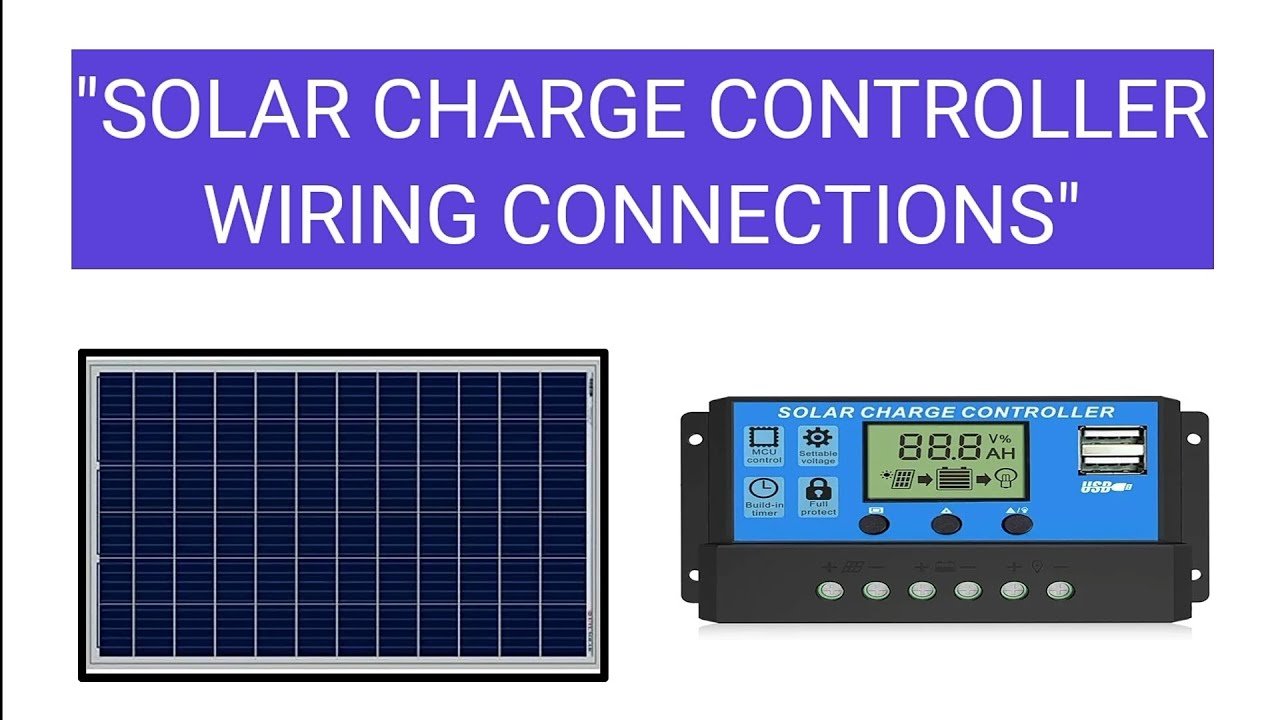
Image source: YouTube / Cleversolarpower by Nick (YouTube thumbnail (fair-use with source credit))
| System Size | Panel Voltage | Best Controller | Why |
|---|---|---|---|
| Under 100W | 18V | PWM | Cheaper, no benefit from MPPT |
| 100W to 200W | 18V | PWM or MPPT | Tie, MPPT adds 10-15% gain |
| 200W to 400W | 18V or 36V | MPPT | MPPT recovers 20-25% loss |
| Over 400W | 36V+ | MPPT | Required for high voltage panels |
The components that make up your system determine which controller you choose. Panel voltage, battery voltage, and system size all matter. A PWM controller with a 36V panel is a waste.
An MPPT controller with a small 50W system is overkill.
Expert Tips for Getting the Most Out of Your Panel
You've got the right size panel. Now make it perform. These tips come from aggregate industry data and verified installer feedback.
Angle your panels for the season. In summer, tilt the panel at your latitude minus 15 degrees. In winter, tilt at your latitude plus 15 degrees. A panel lying flat on an RV roof loses 15 to 20 percent compared to one properly angled.
Adjustable mounts pay for themselves in a season.
Keep panels clean. Dust, bird droppings, and pollen block sunlight. A dirty panel can lose 10 to 20 percent output. Rinse with water every few weeks.
Use a soft brush for stubborn dirt. Never use abrasive cleaners.
Check connections regularly. Loose terminals create resistance and heat. That heat wastes power and can damage equipment. Tighten all connections at the start of each season.
Apply dielectric grease to prevent corrosion.
Monitor battery state of charge. A battery monitor tells you exactly what's happening. If your battery stays at 90 percent or below after a full day of sun, you need more panel. If it hits 100 percent by noon, you might have room to add another load or reduce panel size.
Wire panels in series for longer runs. Series wiring increases voltage, which reduces current. Lower current means less voltage drop over long cable runs. If your charge controller handles higher voltage, series wiring is more efficient than parallel.
The process of converting sunlight to electricity works best when every component is optimized. Small improvements in angle, cleanliness, and wiring add up to significant daily gains.
Long-Term Maintenance: Keeping Your System Charging Reliably
A solar system needs very little maintenance. But the little things matter. Ignore them and your system slowly degrades.
Inspect the panel surface monthly. Look for cracks, hotspots, or delamination. A cracked panel can still work but its efficiency drops. Replace damaged panels promptly.
A small crack lets moisture in, which causes internal corrosion.
Check the charge controller settings. Most controllers come with default profiles for lead-acid batteries. If you switch to lithium, you need to change the profile. Wrong settings cause premature battery failure.
The user manual explains how to adjust absorption voltage, float voltage, and temperature compensation.
Test the battery terminals for corrosion. White or blue buildup around terminals indicates corrosion. Clean it with a baking soda and water solution. Apply a thin layer of petroleum jelly or anti-corrosion spray after cleaning.
Monitor the system voltage at different times. A fully charged 12V lead-acid battery reads 12.6 to 12.8 volts at rest. A lithium battery reads 13.3 to 13.4 volts. If your readings are consistently low, there's a problem with the panel, charge controller, or wiring.
Replace batteries on schedule. Lead-acid batteries last 3 to 5 years with proper care. Lithium batteries last 8 to 12 years. Mark the installation date on the battery.
Replace before it dies completely. A dead battery can damage the charge controller.
The long term costs of getting it wrong are higher than doing it right the first time. Regular checks take 10 minutes per month. They save you from buying new batteries years before you should need to.
Frequently Asked Questions
What size solar panel do I need for a 100Ah battery?
For a 100Ah lead-acid battery, use a 100W to 150W panel with 4 to 5 peak sun hours. For lithium, go with 150W to 200W because you can use more of the battery's capacity. Adjust for cloudier climates.
Can I use a car battery with a solar panel?
Yes, but car batteries aren't designed for deep discharge. A standard starting battery suffers damage if discharged below 80 percent. Use a deep-cycle battery for solar charging.
A small trickle panel works for maintenance only.
Do I need a charge controller for a small panel?
Yes, for any panel over 5W. Without a charge controller, the panel can overcharge the battery. A 10W panel with a basic PWM controller costs around $15 and protects your battery from damage.
How long does it take to charge a 12V battery with a solar panel?
A 100W panel charges a 50Ah battery from 50 percent to full in about 3 to 4 hours of full sun. A 200W panel charges the same battery in about 1.5 to 2 hours. Actual time depends on cloud cover and battery chemistry.
Can I connect multiple solar panels to charge one battery?
Yes. Wire them in parallel for 12V systems to keep voltage the same. Wire in series for higher voltage with an MPPT controller.
Make sure the charge controller can handle the combined current.
Your Final Decision Guide: A Quick Checklist Before You Buy
Choose your panel size based on daily energy use, battery capacity, and available sun. Run the five-step calculation from the guide above.
Pick a charge controller that matches your system size. PWM for small setups under 150W. MPPT for anything larger or with higher voltage panels.
Mount panels with proper tilt for your latitude. Check wire gauge for voltage drop over long cable runs. A properly sized system charges reliably for years with minimal maintenance.

Similar Posts