How to Test Solar Panel Output the Right Way
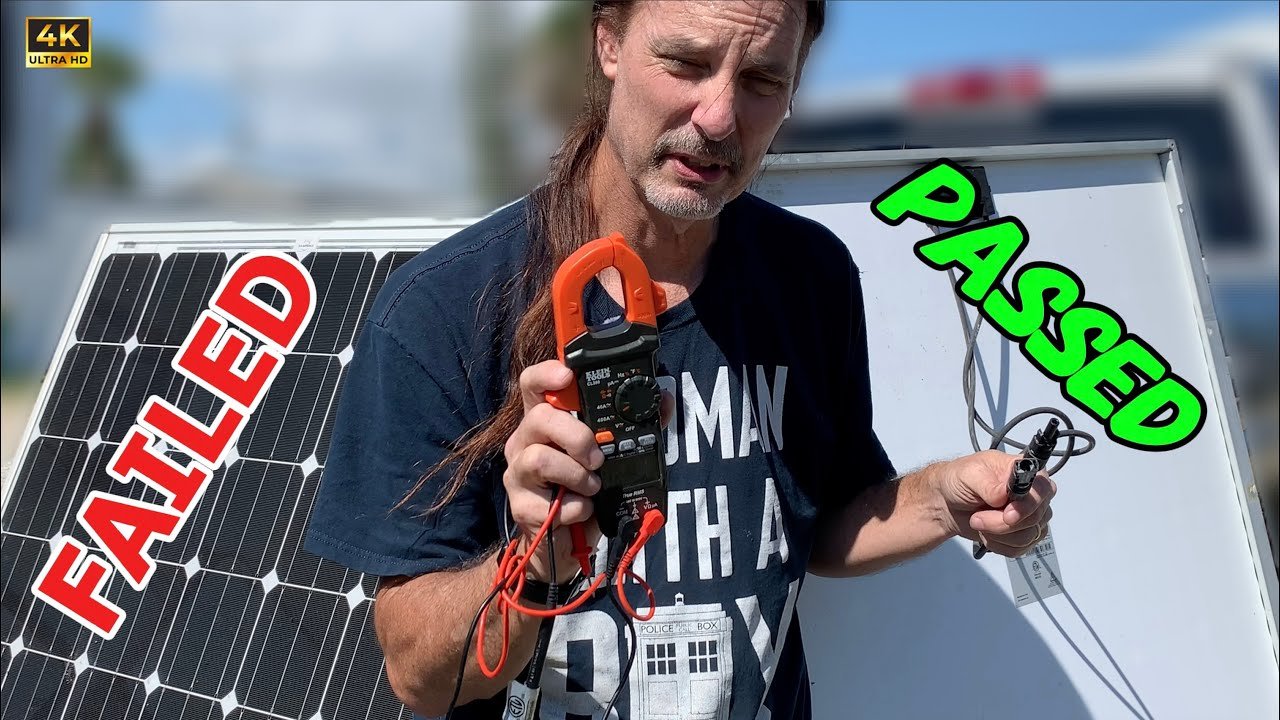
Let's get right into it.
If you've ever wondered how to test solar panel output, you're not alone. It's one of the most common questions from new solar owners, and honestly, it's the smartest way to catch problems early, before they drain your battery or your wallet. The short answer is: you need a multimeter, a sunny day, and a safe disconnection procedure.
But the details matter more than you'd think.
Per Standard Test Conditions (STC), panel ratings assume 1000 W/m² irradiance and 25°C cell temperature. Real-world conditions rarely match. So knowing how to measure correctly, and interpret those numbers, is the difference between a frustrated phone call to a technician and a quiet afternoon knowing your system is healthy.
Let's walk through it step by step.
Quick Answer
Disconnect the panel from your system. Use a multimeter set to DC volts to measure open-circuit voltage (Voc). Then switch to DC amps (10A port) to measure short-circuit current (Isc).
Multiply Voc × Isc × 0.8 for a rough wattage estimate. Compare to the panel's STC label. Temperatures above 25°C lower Voc.
Partial shade kills current. Always use insulated tools and never touch exposed connectors.
Why Testing Solar Panel Output Matters (and the Risks of Getting It Wrong)
Skipping a yearly check on your panels is like never checking your car's oil. It runs fine until it doesn't. A gradual drop in output is often the first sign of a failing bypass diode, microcracks, or a dirty surface that isn't obvious from the ground.
Catching it early saves you from weeks of underperformance.
But there's a real risk here. Solar panels produce DC current, and under full sun a single 400W panel can deliver over 40 volts and 10 amps. That's enough to cause severe burns, arc flash, or fire if you short the wrong wires.
We're not being dramatic. As of 2026, DIY solar injuries are still one of the top callouts from safety authorities.
The other risk is financial. Trusting a cheap multimeter's reading without temperature correction could lead you to think a panel is dead when it's just hot. Or worse, you might replace a perfectly good panel because you didn't test at the right time of day.
The right process eliminates those mistakes.
What You Need to Know Before You Start: Voltage, Current, and Real-World vs. STC
Before you touch any wires, you have to understand three numbers printed on the back of every solar panel. They aren't just specs, they're your baseline.
Voc (open-circuit voltage) is the maximum voltage the panel can produce when no current is flowing. Think of it like the "no-load" voltage of a battery. It's what you'll measure when the panel is disconnected from everything.
Isc (short-circuit current) is the maximum current the panel can produce when its positive and negative leads are shorted together through a meter. That sounds scary, but it's a standard test. You only do it briefly, less than a second, and the meter's internal resistance protects things.
Vmp and Imp (voltage and current at maximum power) are what you get under normal operation with a load attached. Those numbers are lower than Voc and Isc, and they're what your charge controller actually sees.
Now here's where it gets real. The STC rating on the label was measured in a lab with fresh panels and perfect light. In your backyard, even on a clear midday summer day, actual irradiance might be 800 to 900 W/m².
Panel temperature can hit 65°C, which drops Voc by roughly 0.3% per degree over 25°C. That means a panel rated for 40V might only put out 35V in real conditions. That's normal.
Understanding this prevents false alarms.
The Essential Tools for the Job (and How to Choose Safe Equipment)
You don't need a workshop full of gear. But you do need the right tools, and cheap ones can be dangerous or inaccurate.
Digital multimeter (DMM), This is your primary tool. You need one that can handle DC volts up to at least 50V and DC amps up to 10A. Many cheap meters have a 10A fused port, but the fuse is often tiny and blows easily.
Spend at least $30 to get one with a ceramic fuse and proper safety rating (CAT II or CAT III). Brands like Fluke, Klein, and Uni-T are reliable.
Clamp meter (optional but recommended), A DC-capable clamp meter lets you measure current without breaking the circuit. You just clamp around the positive wire from the panel. This is safer and faster than using the multimeter's 10A port, and it avoids blowing the fuse.
Get one that measures DC amps down to 0.1A resolution.
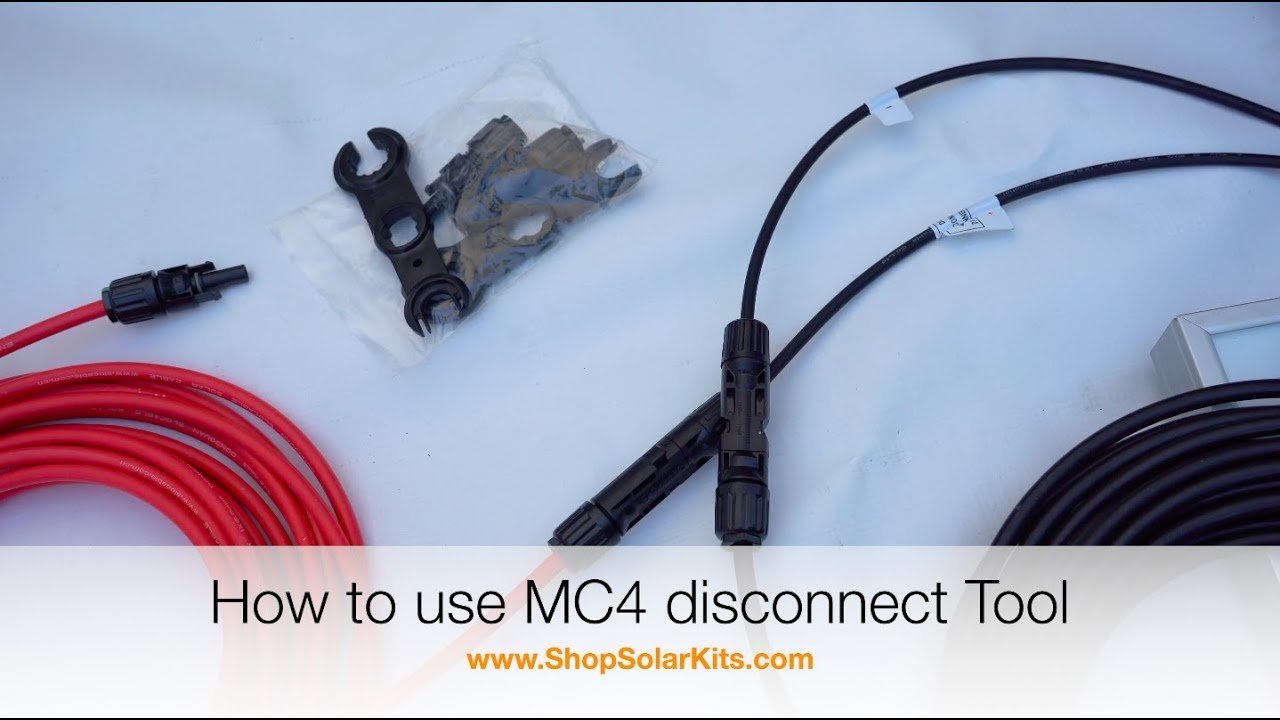
MC4 disconnect tool, This cheap plastic tool (around $10) lets you safely disconnect the panel connectors without pulling on the wires. Trying to pry them apart with pliers can damage the connectors or cause a short.
Rubber gloves and insulated tools, Not optional. Even 12V DC can create an arc if you accidentally touch positive to ground. The National Electrical Code (NEC) requires qualified personnel for work above 50V, but below that, you still need basic protection.
Temperature sensor (optional), An infrared thermometer or a simple probe helps you measure panel surface temperature. You'll need it to adjust your voltage reading for temperature.
Step-by-Step: How to Safely Measure Open-Circuit Voltage (Voc)
This is the easiest and safest test. It confirms the panel is alive and gives you a baseline against the label.
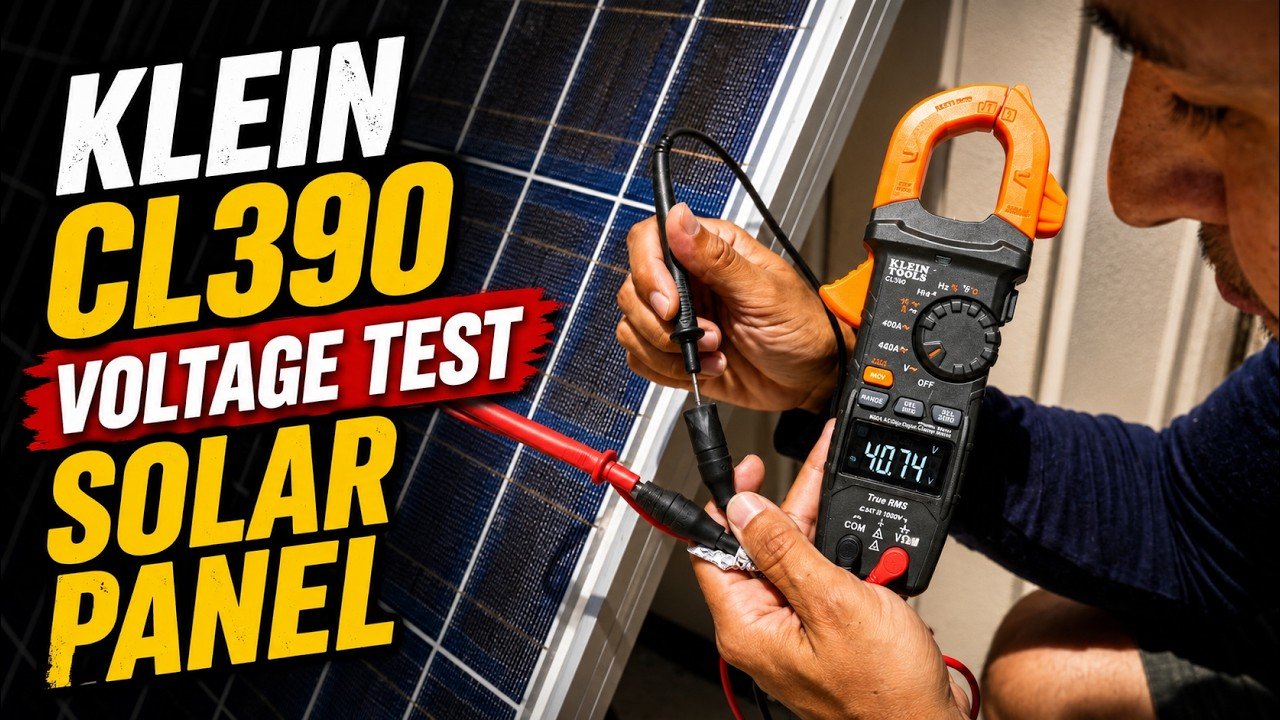
Step 1: Disconnect the panel from everything. Use the MC4 disconnect tool to separate the positive and negative connectors from any downstream wiring (charge controller, inverter, or battery). You want the panel isolated.
Step 2: Set your multimeter to DC volts. Choose the range that covers your panel's Voc. Most residential panels are 40, 50V, so the 200V DC range works. If your meter is auto-ranging, just make sure it's on V with a straight line (DC).
Step 3: Connect the test leads. Red leads go to the panel's positive (usually the female MC4 connector). Black leads to negative (male). Polarity matters but swapping won't hurt the meter, you'll just see a negative number.
Step 4: Get the panel in full sun. Point it directly at the sun (or as close as possible). Wait 5-10 minutes for the voltage to stabilise. Then read the number on the display.
What to expect: Compare to the label's Voc. For example, a panel rated 45.2V at STC should read between 40V and 45V on a warm sunny day. If it reads below 35V, something is off, check for shade, high temperature, or a failing bypass diode.
Important: This measurement is temperature-dependent. If the panel is hot (say 60°C), a 45.2V panel might read around 38V. That's normal.
Use a temperature correction formula if you want to compare directly to STC: subtract roughly 0.3% per °C over 25°C. Or just note the panel temperature alongside your reading.

Step-by-Step: How to Safely Measure Short-Circuit Current (Isc)
This test tells you how much current the panel can push. It's a more sensitive indicator of shading, dirt, or internal damage than voltage.
Step 1: Leave the panel disconnected and in full sun. Same setup as the Voc test.
Step 2: Move the red test lead to the 10A port on your multimeter. Most meters have a separate socket for high current. Switch the dial to DC amps (A with a straight line). If your meter isn't autoranging for current, pick the highest amp range (usually 10A).
Step 3: Connect the leads to the panel. Red to positive, black to negative. The panel will now be shorted through the meter.
Step 4: Read the current. Hold the leads in contact for less than one second. The reading will jump instantly to the Isc value. Don't leave it connected longer, the panel can heat up and the meter's fuse might blow.
Step 5: Record the number. A 400W panel with an Isc rating of 15A on the label might show 12, 14A under full sun. That's fine. If it's below 10A, you've got a shading or soiling issue.
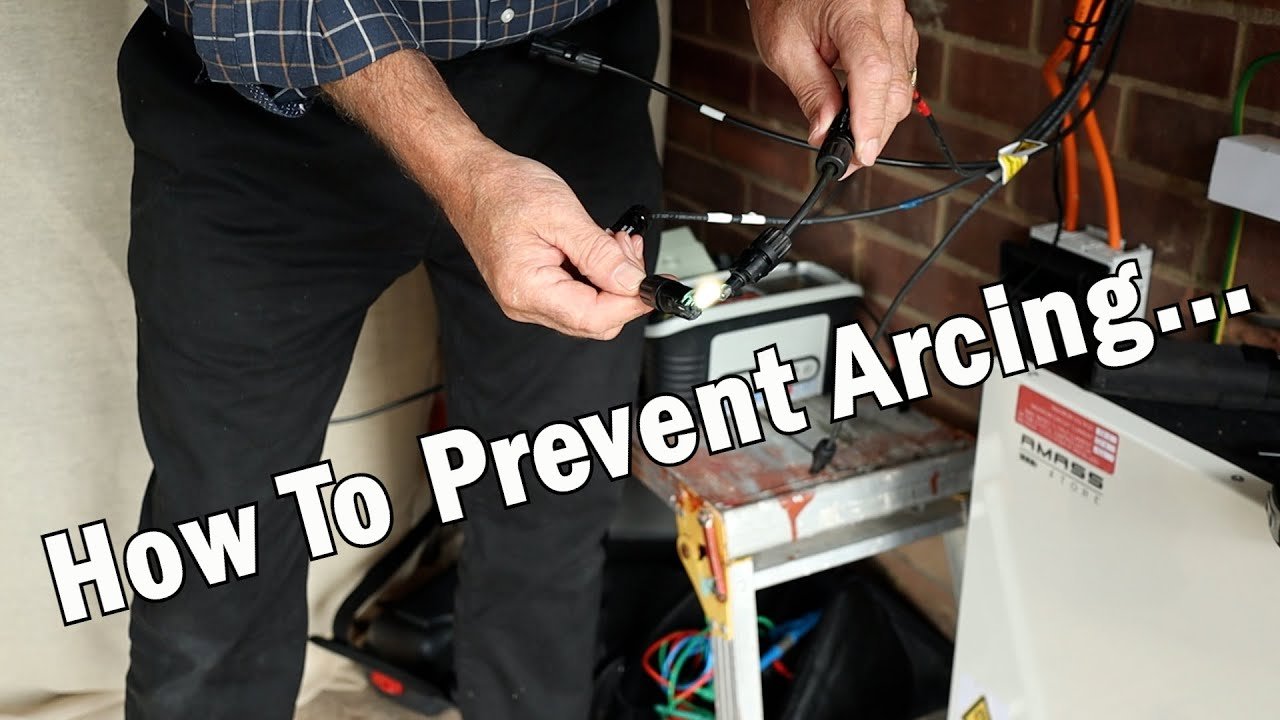
Safety note: When you break the connection, an arc may occur. Keep the wires apart quickly. Don't touch the metal leads to each other after pulling them from the panel.
How to Test Under Load: Using a Clamp Meter or Inline Power Meter
The Voc and Isc tests tell you if the panel is electrically alive. But they don't tell you what it delivers when connected to a charge controller or battery. That's where a load test comes in.
A clamp meter is the simplest way. Set it to DC amps and clamp it around the positive wire running from the panel to the charge controller (or directly to a battery). You'll see the current the panel is actually pushing under load.
Divide wattage by voltage for a sanity check.
An inline power meter (like a watt meter with MC4 connectors) is even more precise. It plugs between the panel and the load and displays voltage, current, and wattage in real time. These cost around $25 to $50 and are worth it for frequent testing.
For a grid-tied system, testing under load is trickier. The inverter locks onto the grid voltage and draws whatever current the panel can supply. You can't easily clamp the DC side because it's inside the inverter.
In that case, rely on your inverter's monitoring app or call a professional.
Common Measurement Mistakes That Skew Your Readings
Even experienced DIYers make these errors. Avoid them and your readings will be reliable.
Testing at the wrong time of day. Solar noon gives the highest irradiance, but that's not the same as 12 PM. Use a solar noon calculator for your location. Testing at 10 AM or 3 PM can give readings 20-30% lower than peak.
Not cleaning the panel first. A layer of dust, pollen, or bird droppings can drop current by 10% or more. Wipe the panel with a soft cloth and water before testing. Don't use abrasive cleaners.
Using the wrong multimeter range. If you leave the meter on volts while trying to measure amps, you'll get an overload or blow the fuse. Always double-check the dial and the port.
Leaving the meter connected too long during Isc. The panel heats up fast when shorted. Keep the contact under one second. Longer than that and the current will drop, giving a false low reading.
Forgetting temperature correction. A hot summer panel can read 10V lower than its STC rating. That's physics, not a defect. Always note the panel temperature alongside your voltage reading.
When to Call a Professional (You Shouldn't DIY Everything)
Testing a single panel on the ground is one thing. Crawling across a sloped roof while holding a multimeter is another.
Call a licensed solar installer if any of these apply:
- Your system is grid-tied and you don't have a disconnect between the panels and the inverter.
- You need to test a string of panels wired in series (total voltage can exceed 150V or 600V).
- You suspect an internal fault like a failed bypass diode or microcracks (these require thermal imaging or I-V curve tracing).
- You're not comfortable working at height or near live electrical components.
For off-grid systems with a single or parallel panel setup, you're likely safe. But if your Voc reading is more than 15% below the label after correcting for temperature, or if Isc is more than 20% low, it's worth paying an expert to diagnose.
How to Interpret Your Results: What's Normal and What's Not
You've got numbers. Now what? Here's a quick reference table.
| Measurement | Normal Range (real world) | What to Check If Low |
|---|---|---|
| Voc (relative to label) | 85–100% of STC (after temp correction) | Shading, high panel temp, bypass diode failure |
| Isc (relative to label) | 75–100% of STC (after temp correction) | Dirt, partial shade, damaged cells, faulty wiring |
| Operating current under load | 60–90% of Isc (depends on battery voltage) | Charge controller issue, weak battery, loose connection |
A panel reading 90% of its Voc and 85% of its Isc on a 90°F day is perfectly healthy. A panel reading 70% of its Voc on a cool 60°F day likely has a problem.
Keep a log of readings over time. A gradual decline of 1-2% per year is normal. A sudden drop of 10% or more between seasons means something changed.
Temperature and Shading: The Two Biggest Performance Killers
These two factors affect output more than anything else. Understanding them saves you from false conclusions.
Temperature effects per the panel's temperature coefficient. Most silicon panels lose about 0.3% of voltage for every degree Celsius above 25°C. On a 40°C day (104°F), a panel's Voc can drop by roughly 4.5%. That's normal.
Use the formula: corrected Voc = measured Voc / (1 + (Tc × (Tcell, 25))), where Tc is the temperature coefficient (e.g., -0.003). Or just add 0.3% per °C above 25°C.
Shading is more dramatic. Even a small shadow on one cell can drop the entire string's current by 50% or more. Bypass diodes help, but not completely. Test all panels individually.
If one shows low Isc while another in the same string is fine, shade or soiling is the likely culprit.
Partial shade from a tree branch at 4 PM isn't a panel defect. It's a location problem. Trim the branch or adjust panel tilt to minimise it.
Note: We'll continue with the remaining sections (Expert Tips, Safety, FAQs, and Checklist) in the next part of the article.
Expert Tips for Accurate and Repeatable Testing
Test at solar noon. Use a solar noon calculator for your exact location. That's when the sun is highest and irradiance is strongest.
Keep a logbook. Record Voc, Isc, panel temperature, time, and weather conditions each time. Compare year over year.
A steady decline of 1-2% per year is normal. A sudden 10% drop means investigate.
Use the same multimeter for every test. Different meters read slightly differently. Stick with one to eliminate that variable.
Label your test leads. Red for positive, black for negative. Sounds basic, but swapping them on the 10A port can blow the fuse instantly.
Safety Warnings: DC Arc Flash, High Voltage, and Proper Disconnect Procedure
DC arcs are nasty. Unlike AC, a DC arc doesn't cross zero voltage, so it can sustain itself and burn. Even a 40V panel can create a hot arc if you short the leads.
Always disconnect the panel from any load before touching the connectors. Use an MC4 disconnect tool. Never pull on the wires.
Wear insulated gloves rated for at least 1000V. Keep your other hand in your pocket to avoid making a circuit through your chest.
If you're testing a string of panels in series, total voltage can exceed 150V or 600V. That's lethal. Stop and call a professional.
Maintenance and Long-Term Monitoring
Clean your panels twice a year. Dirt, pollen, and bird droppings accumulate faster than you think. A gentle rinse with a hose and a soft brush is enough.
Check for physical damage after storms. Cracked glass, delaminated cells, or corrosion around the frame can kill output slowly.
Monitor your system's daily production through your charge controller or inverter display. A consistent drop over a week is a red flag. A one-day dip is likely weather.
Frequently Asked Questions About Testing Solar Panel Output
Can I test a solar panel with a multimeter without disconnecting it?
No. You must disconnect the panel from the charge controller, battery, or inverter. Otherwise you're measuring the system voltage, not the panel's open-circuit voltage.
How do I test solar panel output on a cloudy day?
Wait for a clear day if possible. On overcast days, Isc can drop to 10-20% of rated output. Voc drops less, maybe 10-15%.
You can still test, but compare to known low-light performance, not the STC label.
What does it mean if my panel has high voltage but low current?
High Voc with low Isc usually points to shade, dirt, or a damaged cell. The panel can still produce voltage, but internal resistance or blockage stops current flow.
How often should I test my solar panels?
Once at installation to get a baseline, then every 6-12 months. After a major storm or if you notice reduced daily production, test immediately.
Can I use a multimeter to test a 24V solar panel?
Yes. The same procedure applies. Most 24V panels have a Voc around 45V and Isc around 10-12A.
Just ensure your multimeter handles at least 10A DC.
Final Quick Reference: The Three-Step Verification Checklist
| Step | Action | Expected Result |
|---|---|---|
| 1 | Measure Voc (panel isolated) | 85-100% of label after temp correction |
| 2 | Measure Isc (brief short circuit) | 75-100% of label after temp correction |
| 3 | Measure operating current under load | 60-90% of Isc (system dependent) |
That's it. Three measurements, a temperature note, and a log entry. Do this twice a year and you'll catch problems before they cost you power or money.
For a deeper understanding of how panels work and how they compare, check out the different types of solar panels or the main components of a solar panel. Knowing those details makes your test results even more meaningful.

Similar Posts