How to Remove Snow from Solar Panels Safely
Seeing snow piling up on your solar panels can be stressful. You probably wonder how to remove snow from solar panels without damaging them or hurting yourself. The good news is that in many cases, you don’t need to rush out and clear it.
But when you do need to act, the right approach matters a lot.
According to data from the National Renewable Energy Laboratory, a 6-inch layer of wet snow can cut a panel’s electricity output by over 90 percent. That’s a serious drop in performance. However, the risks of a bad removal job, broken panels, voided warranties, or a fall from the roof, can outweigh the lost energy.
That’s why it pays to understand your options before the next storm hits.
Quick Answer: Can I Just Leave It or Should I Remove It?
If your panels are tilted at 30 degrees or more and the day is sunny, just leave the snow. It will slide off naturally within a day or two. If you must clear it, use a soft roof rake from the ground.
Never use a metal shovel. Never climb onto a snowy roof.
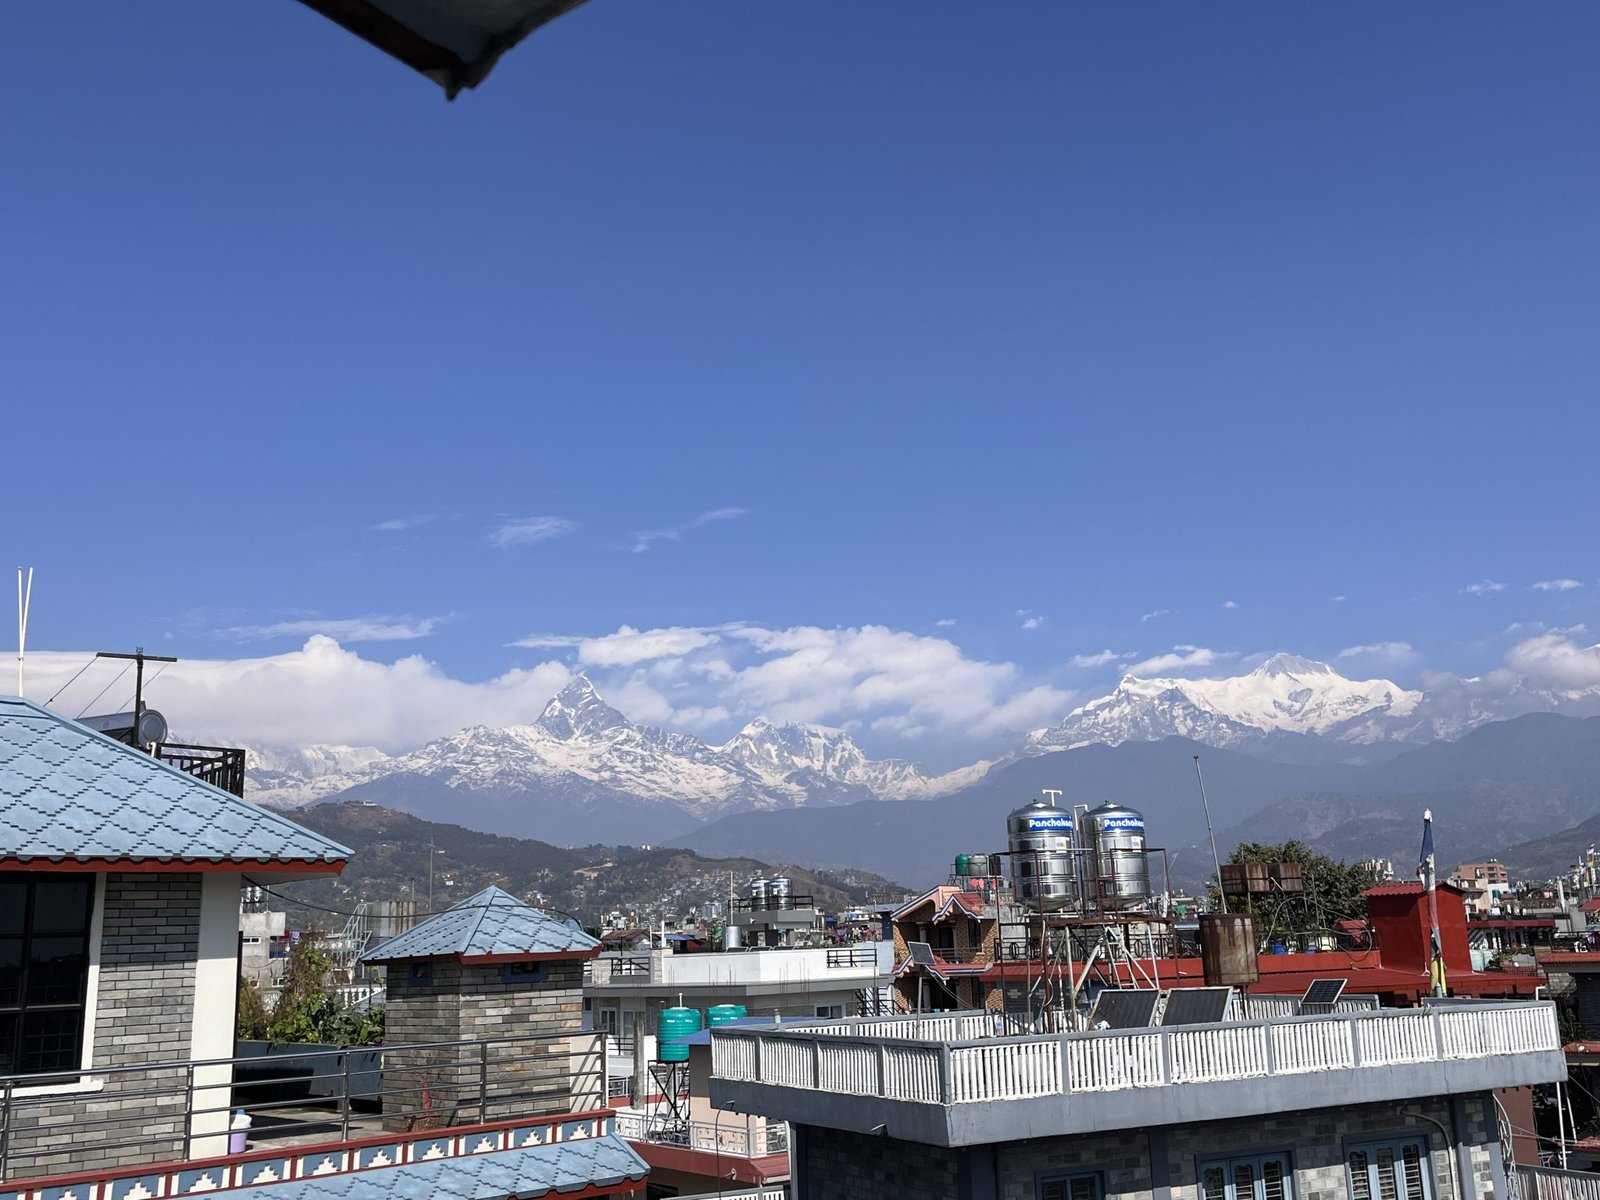
Image source: Openverse / sweekar7
Safety First: Why This Needs Careful Attention
Before you even touch a tool, your safety is the priority. Snow removal from rooftop panels is a high-risk task. The main dangers are falls, electrical hazards, and damage to your roof or panels.
Falls are the biggest risk. Wet roofs and snowy ladders are incredibly slippery. The US Occupational Safety and Health Administration requires fall protection for any work above six feet.
For a homeowner, that means stay on the ground whenever possible. Use a roof rake with a long extension pole.
Electrical danger is real, too. Solar panels generate high voltage DC power in sunlight. If you slip or push a tool into the wiring, you could get a serious shock.
Always inspect the tool’s handle for damage. Never work in wet conditions that could create a path to live components.
Your warranty can also be at risk. Most manufacturers prohibit the use of abrasive tools, metal blades, or high-pressure water on the panels. Scratches or microcracks can void coverage entirely.
Before you buy any tool, check the fine print in your system’s manual. If you are planning a new system, a comprehensive buying guide can help you choose a setup that is easier to clear in winter.

Image source: YouTube / Don't Burn the House Down! (YouTube thumbnail (fair-use with source credit))
How Snow Actually Affects Your Panels (And When It's a Problem)
It helps to know what is happening under that white blanket. Solar panels work by converting sunlight into electricity. That process depends on light reaching the cells.
Understanding the main components of a solar panel helps explain why even a thin layer of snow is such a problem.
Even a partial cover can cause issues. A single shaded cell in a string of panels can drag down the output of the whole series. This is called a hotspot effect.
It can reduce production by far more than just the covered area. In some cases, it can even damage the panel over time.
Snow also adds weight. The International Building Code and ASCE 7 standard set design snow loads for roofs. These are typically 30 to 50 pounds per square foot in northern climates.
Modern panels and racks are built for that, but deep, repeated drifts can stress the mounts. If you have a flat or low-slope roof, the risk is higher.
That said, natural melting is often faster than you might expect. Panels get dark, absorb heat, and self-warm during operation. Many homeowners report that even a heavy storm clears itself within 48 hours.
The choice to remove snow depends on how long that wait is acceptable for your energy needs. The fundamentals of how they turn sunlight into power explain why heat buildup helps speed melting.
The Main Methods for Removing Snow – A Practical Breakdown
You have a few options if you decide to clear the panels. Each has its place. Here is a quick comparison.
| Method | Best For | Key Risk | Cost |
|---|---|---|---|
| Long-handle roof rake | One-story homes, light to moderate snow | Can scratch glass if blade is metal | $40-80 |
| Soft brush with extension pole | All roof heights, any snow type | Can push snow into gaps | $30-60 |
| Leaf blower | Dry, powdery snow less than 2 inches | Ineffective on wet, heavy snow | $50-200 (tool cost) |
| Heated cables (de-icing) | Eaves and valleys, ice dams | Installation complexity | $0.50-2 per foot |
| Professional service | Any roof, deep snow, steep slopes | Cost per visit | $100-300 per visit |
The roof rake is the most common DIY method. Look for a model with a plastic or foam blade. A soft brush on a pole is gentle on glass and works well for ground-mount systems.
For light dustings, a leaf blower can do the job in minutes. The type of panels you have can also affect which tool works best, especially with frameless designs.
Some people consider heated systems. Heated cables along the bottom edge can melt falling snow before it builds up. But they add ongoing electricity cost and require installation.
They are best for areas with frequent, wet storms.
Professional removal is the safest option for a steep roof or deep snow. Services use soft tools and know where the wiring runs. The cost is usually $100 to $300 per visit.
For most homeowners, one or two visits per winter is enough.
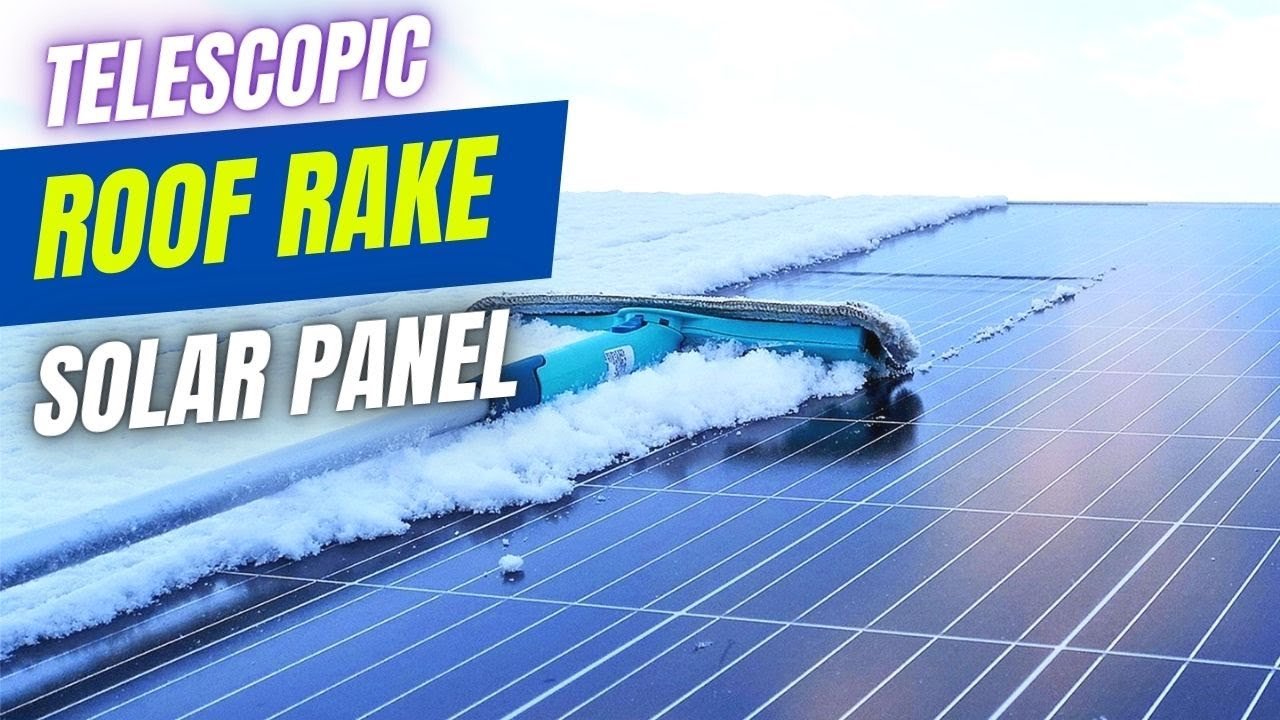
Image source: YouTube / Best Snow Blower Guidance (YouTube thumbnail (fair-use with source credit))
Step-by-Step: How to Safely Remove Snow From Rooftop Panels
If you decide to go the DIY route, follow this sequence exactly. It will protect you and your panels.
- Read your warranty. Confirm that the tool you plan to use is allowed. Many manufacturers approve soft brushes and plastic rakes only.
- Wait for the right time. The best moment is just after the snow stops, early in the morning. Snow is lighter before it melts and refreezes into ice. Never try to chip ice off a panel.
- Set up from the ground. Use a roof rake with an extension pole that keeps both feet planted on solid ground. Do not stand on a ladder while raking.
- Pull down, never push up. Start at the top edge and drag snow downward. Pushing snow upward can force it under the panel frames, where it can cause water damage.
- Work in parallel strokes. Clear one row at a time. Overlap each pass by a few inches to avoid leaving stripes of snow. You do not need to get every last flake. A thin layer will melt faster than a thick one.
For ground-mounted arrays, you can use a soft broom or a leaf blower. A long brush also works. The key rule is the same: soft tool, no metal, no water spray.
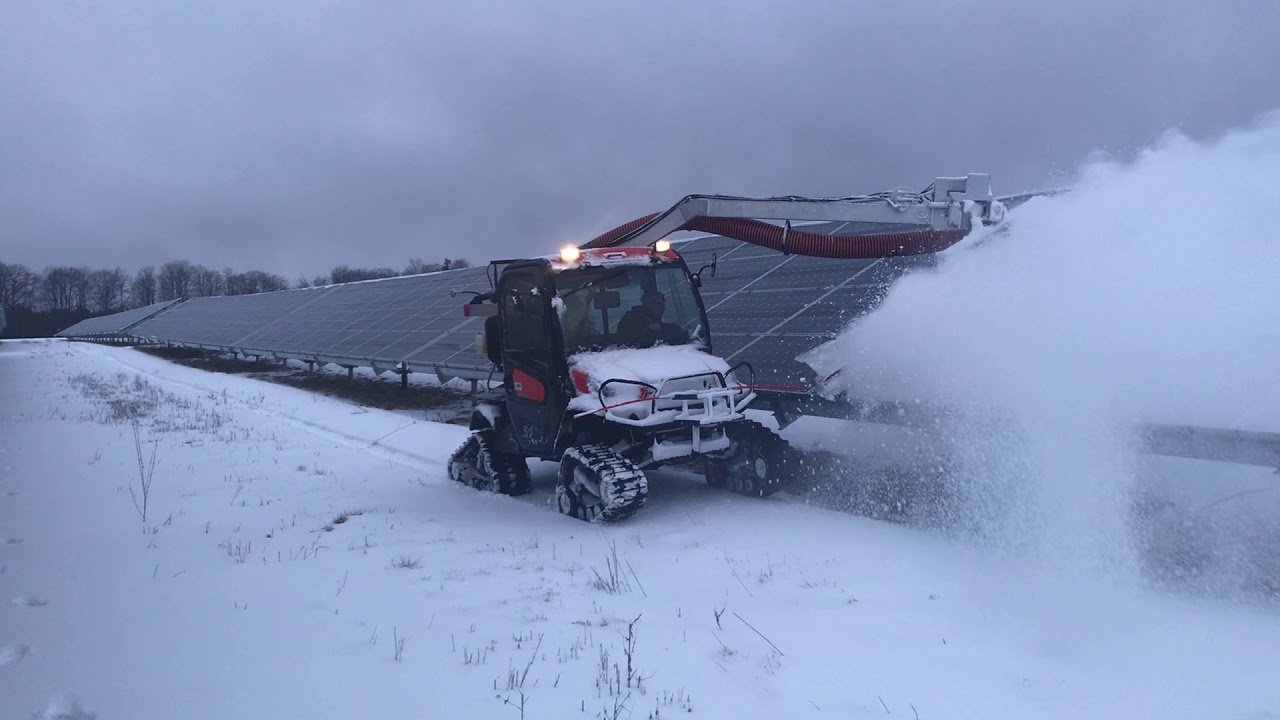
Image source: YouTube / Snolar Technologies (YouTube thumbnail (fair-use with source credit))
Part of good ownership is weighing the trade-offs of winter maintenance ahead of time. Being prepared saves you from making rushed decisions in a snowstorm.
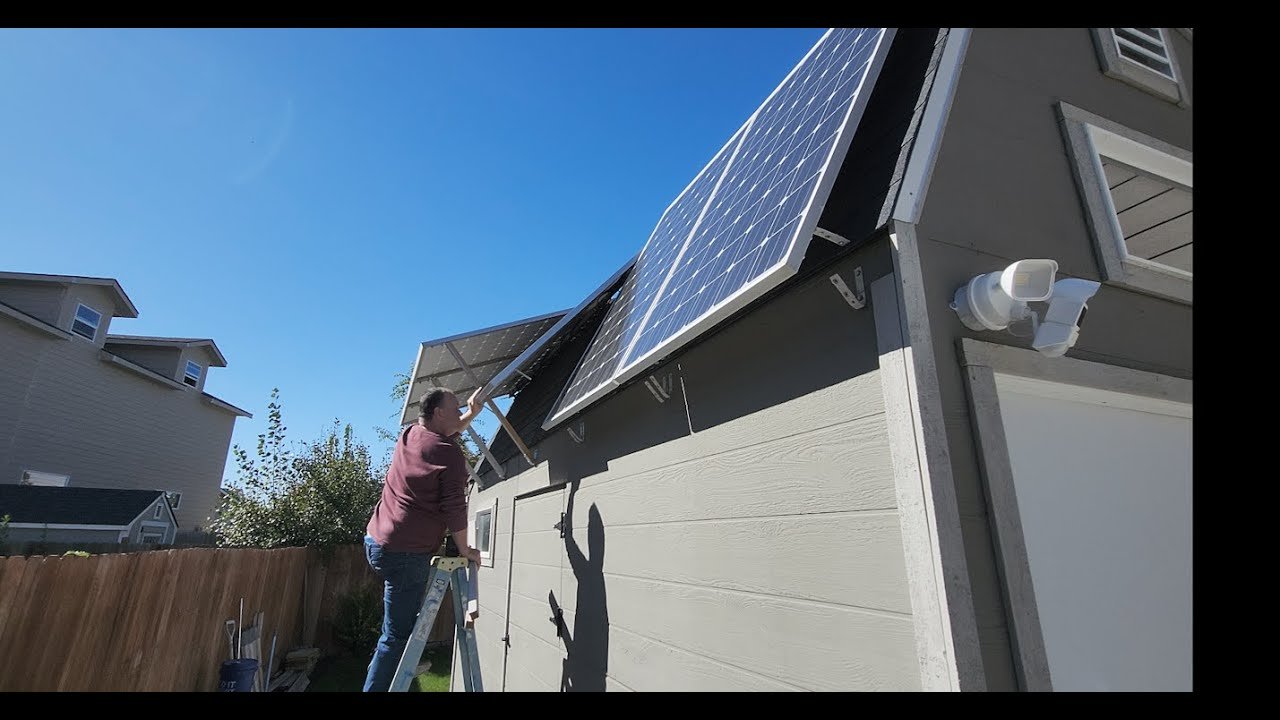
Image source: YouTube / Erick | Off-Grid & EcoFlow DPU Power User (YouTube thumbnail (fair-use with source credit))

Similar Posts