The Right Way to Mount Solar Panels on RV Roof
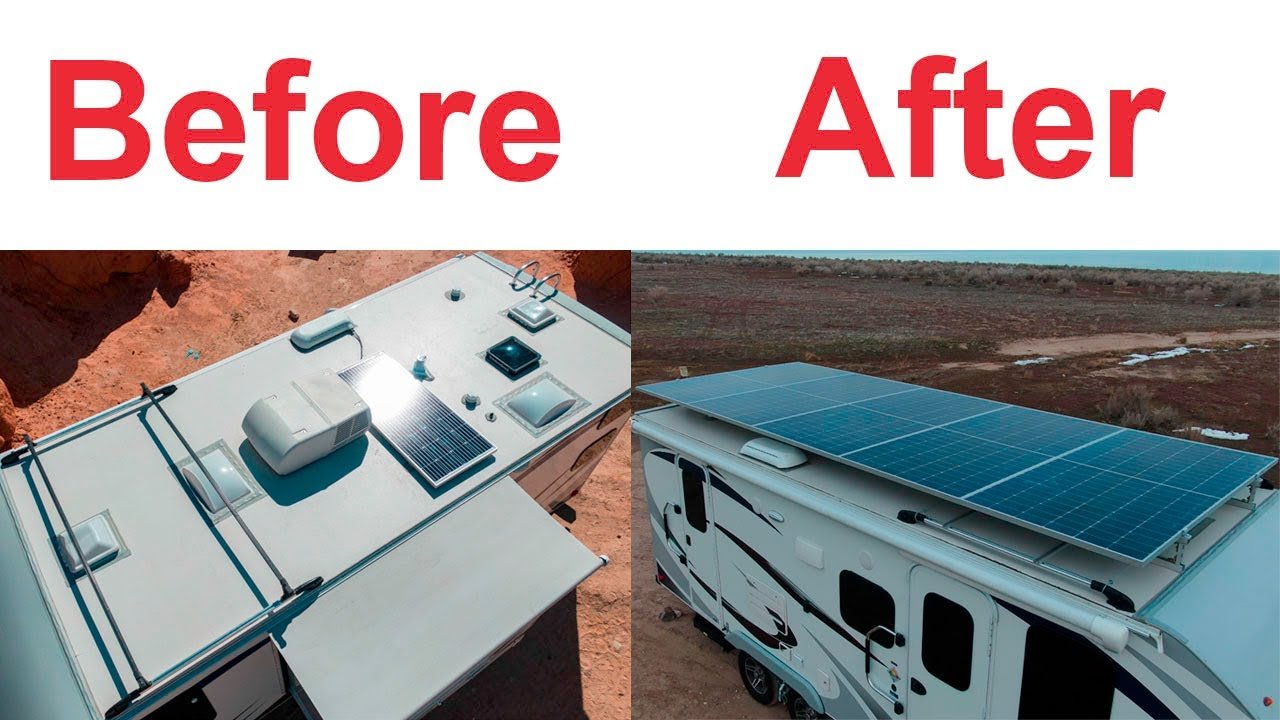
You've got your solar panels picked out and a weekend set aside for the install. But there's one question that stops most RV owners cold: how to mount solar panels on an rv roof without causing leaks, structural damage, or a costly mistake. It's a valid worry.
Drill in the wrong spot, use the wrong sealant, or skip a critical step, and you could be looking at a ruined roof or worse, an electrical fire waiting to happen.
Manufacturer specifications indicate that most RV roofs can support about 10 to 15 pounds per square foot of static load. That's roughly four to six 100-watt rigid panels before you start pushing structural limits. But load capacity is only one piece of the puzzle.
Roof material, truss placement, sealant chemistry, and wiring method all factor into a safe, lasting install. Let's walk through each of those so your solar system stays put for the long haul.
Image source: YouTube / Electric Tech Adventures (YouTube thumbnail (fair-use with source credit))
Quick Answer
Mount solar panels directly into roof trusses with stainless steel screws. Apply butyl tape under each bracket. Cover every fastener head with self-leveling lap sealant.
Route cables through a sealed entry gland. Avoid silicone on TPO or EPDM roofs. Test for leaks with a garden hose before finishing.
Why Getting This Right Matters More Than You Think
An RV roof isn't built like a house roof. It's a thin membrane spanning across lightweight trusses spaced 16 to 24 inches apart. Miss the truss with a screw, and you're fastening into a thin layer of luan plywood or worse, just the foam core.
That bracket will eventually pull loose under wind load or vibration.
Leaks are the obvious risk. A single unsealed screw hole can let water into the roof cavity. Once moisture gets trapped between the membrane and the deck, rot spreads fast inside an RV.
Mold follows. If the damage goes unnoticed for a season, you could be looking at a full roof replacement, a job that runs thousands of dollars.
Then there's the electrical side. Poorly mounted panels can detach at highway speeds. We've all seen the photos of a panel flying off and hitting the car behind.
That's a liability you don't want. If the wiring isn't properly secured and protected, chafed insulation can short against the metal roof frame. That's how RV fires start.
In our research, the difference between a safe install and a failure almost always comes down to three things: hitting a real support, using the correct sealant for your roof type, and taking the time to do a proper leak test. None of that is hard. But skipping any one step can turn a weekend project into a nightmare.
Core Facts You Need First (Before You Buy Anything)
Before you order panels or brackets, you need to know exactly what you're working with. Three variables determine every other decision.
Your Roof Material Dictates Everything
RV roofs come in four main types. Each one reacts differently to fasteners and sealants.
| Roof Material | Common on | Sealant Type | Notes |
|---|---|---|---|
| TPO (Thermoplastic Polyolefin) | Many modern RVs, 2010+ | Dicor self-leveling lap sealant, Geocel Proflex RV | Most common today. Silicone will not bond permanently. |
| EPDM (Rubber) | Older RVs, some budget models | Dicor self-leveling lap sealant, Geocel Proflex RV | Similar to TPO in care. Avoid silicone. |
| Fiberglass (One-piece) | High-end RVs, Class A, some travel trailers | Sikaflex 221, Geocel Proflex RV | More forgiving. Can use urethane adhesives. |
| Aluminum | Older motorhomes, fleet RVs | Butyl tape, urethane sealants | Strongest substrate. Easier to mount reliably. |
The most important takeaway here is simple. Never use silicone on TPO or EPDM. Silicone can't bond to those membranes.
It peels off within months, leaving bare screw holes exposed to rain. Stick with a manufacturer-certified lap sealant like Dicor or Geocel Proflex RV.
Finding Your Roof's Real Structural Support
You cannot mount solar panels to the roof membrane alone. That membrane is just weatherproofing. Underneath is either a thin plywood deck or a foam-filled sandwich panel.
Neither can hold a bracket under wind load without pulling through.
The only safe attachment points are the roof trusses. Those are the wood or aluminum members that run across the width of the roof. To find them, you have a few options.
Go inside the RV and look up. Many RVs have visible interior ceiling seams or screw lines that follow the truss pattern. Measure the spacing and mark it on the roof.
If you don't see visible markers, use a stud finder designed for RVs. Standard home stud finders struggle with aluminum trusses and thick insulation. An RV-specific model or a rare-earth magnet works better.
If you're still unsure, drill a small pilot hole from the inside up through the ceiling at a location you believe is a truss. Use a thin drill bit. If you hit solid wood or aluminum at about an inch depth, you're on target.
Patch the hole after.
Sealant Is Not a Choice, It's a Specification
Roof sealants are formulated for specific chemistry. You cannot swap them freely.
Butyl tape goes under the bracket as the primary seal. It's a pliable, sticky tape that compresses when you tighten the screw. It creates a gasket between the bracket and the roof membrane.
Over the screw head, you apply self-leveling lap sealant. This flows out into a dome shape and seals the fastener entry point.
The combination works. Butyl tape alone can't handle UV. Lap sealant alone can't seal the bracket edge.
You need both.
Skip the cheap off-brand sealants. Stick with products that RV manufacturers actually use. Dicor and Geocel are the industry standards for a reason.
Their chemistry is tested against TPO and EPDM compatibility. That matters.
Rigid vs Flexible Panels: Which Mounting Method Is Safer?
This is the first fork in the road. The panel type you choose changes how you mount, seal, and maintain the system.
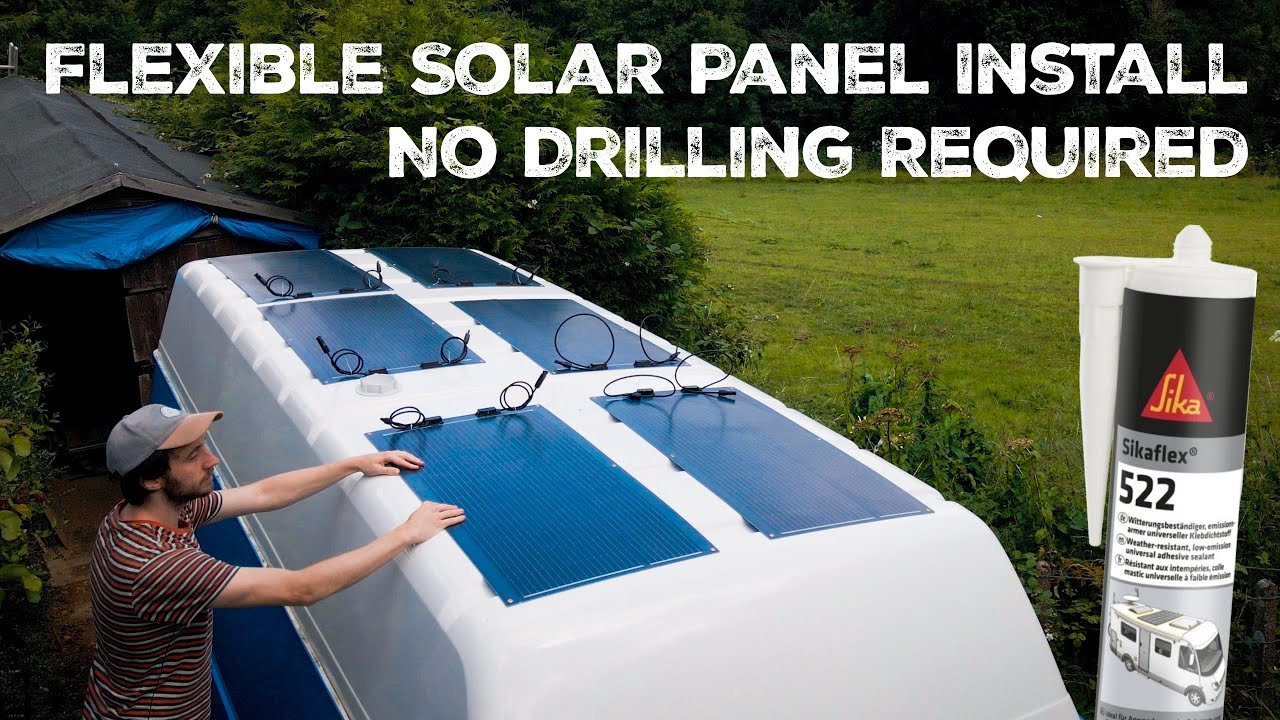
Image source: YouTube / Wood & Wild (YouTube thumbnail fair-use with source credit)
Benefits and Drawbacks of Rigid Panels
Rigid panels have an aluminum frame and a tempered glass face. They sit above the roof surface on brackets, leaving an air gap underneath that helps with cooling. That air gap is important.
Solar panels lose efficiency as they heat up. An open mount lets air circulate underneath.
The bracket mounting system is well established. Z-brackets attach to the panel frame on one side and the roof on the other. You space four to six brackets per panel depending on size.
Each bracket gets two screws into a truss. The load is distributed across multiple points.
Rigid panels are tougher. They resist hail, debris, and someone walking near them better than flexible panels. They also last longer.
Most carry a 25-year performance warranty.
The downside is weight and wind profile. A 100-watt rigid panel weighs about 15 to 18 pounds. Four panels add significant load.
At highway speeds, the raised profile creates lift. Proper bracket spacing and torque keep them secure.
Benefits and Drawbacks of Flexible Panels
Flexible panels are lightweight and low profile. They sit flush against the roof curve without brackets. Some installers glue them directly to the membrane with VHB tape and seal the edges with lap sealant.
That sounds easier, and it is. But flexible panels have tradeoffs. They run hotter because there's no air gap.
Heat shortens their lifespan. Most flexible panels last 5 to 10 years instead of 25.
They also rely entirely on adhesive for retention. If the adhesive fails at highway speeds, the panel can peel up and separate. Even with screws through the panel corners, the thin plastic body can tear under lift.
Vandwellers and van conversions often choose flexible panels for their low profile and ease of install. Owners of RVs with heavily curved fiberglass roofs also favor them. But if you plan to keep your RV for more than five years, rigid panels are the safer investment.
Best Choice for Your Roof Type
For TPO and EPDM roofs, rigid panels with Z-brackets and proper truss mounting are the gold standard. For fiberglass roofs where the curve makes rigid panels sit unevenly, flexible panels with adhesive and corner screws work well. For aluminum roofs, either type works, but rigid panels are more durable.
Step-by-Step: How to Mount Solar Panels on an RV Roof
Now the actual process. You'll need a helper for lifting and positioning panels. This is a two person job.
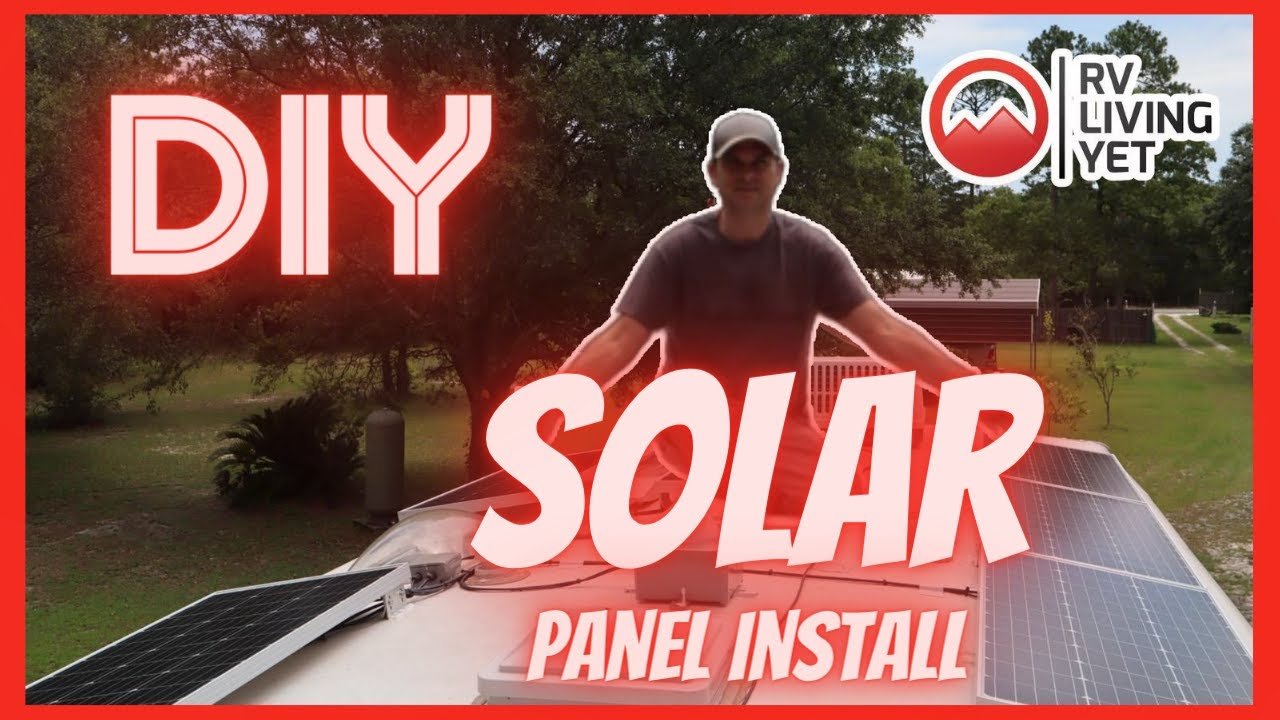
Image source: YouTube / RV Living Yet (YouTube thumbnail fair-use with source credit)
Phase 1: Planning Your Layout Without Future Regret
Get on the roof with a tape measure and a marker. Map out every roof penetration you already have. Vents, AC units, TV antenna, refrigerator exhaust, satellite dome.
You need at least four inches of clearance around each for access and airflow.
Draw your panel locations. Keep panels away from the roof edges. A six inch setback minimum is standard.
More is better. Check the distance to your refrigerator vent or any other roof penetration you might need for cable routing. The closer you place panels to that entry point, the shorter your wire run.
Phase 2: Prepping the Roof Surface Correctly
Clean the area where brackets will sit. Use a mild detergent and water. Rinse thoroughly.
Then wipe the area with isopropyl alcohol. Let it dry completely. Any dirt or residue under the bracket breaks the seal.
Mark your truss locations on the roof with a pencil or chalk line. Measure twice. Drill a small pilot hole through the roof membrane and into the truss.
Use a drill bit slightly smaller than your screw diameter.
Phase 3: Installing Mounting Brackets into Actual Support
Place a piece of butyl tape on the bottom of each bracket. Position the bracket over the pilot hole. Insert a stainless steel screw through the bracket and into the truss.
Tighten until the butyl tape squeezes out around the edges. Do not overtighten. You want the bracket snug against the roof, not compressing the membrane.
Repeat for every bracket. Space brackets evenly across each panel. A four foot long panel needs at least four brackets.
Larger panels may need six.
Phase 4: Securing the Panels and Wiring Safely
Lift the panel onto the brackets. Secure it with the provided hardware. Tighten nuts and bolts to the manufacturer's torque spec.
Then, cover each screw head and bracket edge with self-leveling lap sealant. Apply a generous blob. It will flow into a dome shape.
Route your cables. Use a solar cable entry gland or a roof junction box to pass wires through the roof. Do not run cables through an existing vent opening.
The gap around the cable will leak. Install the entry gland according to its instructions. Seal the gland edge with lap sealant.
Phase 5: The All-Important Final Leak Test
Wait for the sealant to fully cure. That could be 24 to 48 hours depending on temperature and humidity. Then, spray the installed brackets and entry gland with a garden hose for several minutes.
Go inside the RV. Check for drips around any screw penetrations, the entry gland, and the wiring path.
If you see moisture, you caught it before it caused damage. Remove the bracket, re clean the area, and re apply sealant. Test again.
Do not skip this step. It saves more roofs than any other single action.
Image source: YouTube / Osiris Vans (YouTube thumbnail (fair-use with source credit))
Image source: YouTube / BeestUSA Fullstop (YouTube thumbnail (fair-use with source credit))

Similar Posts