How to Add Solar Panels to Your Existing System
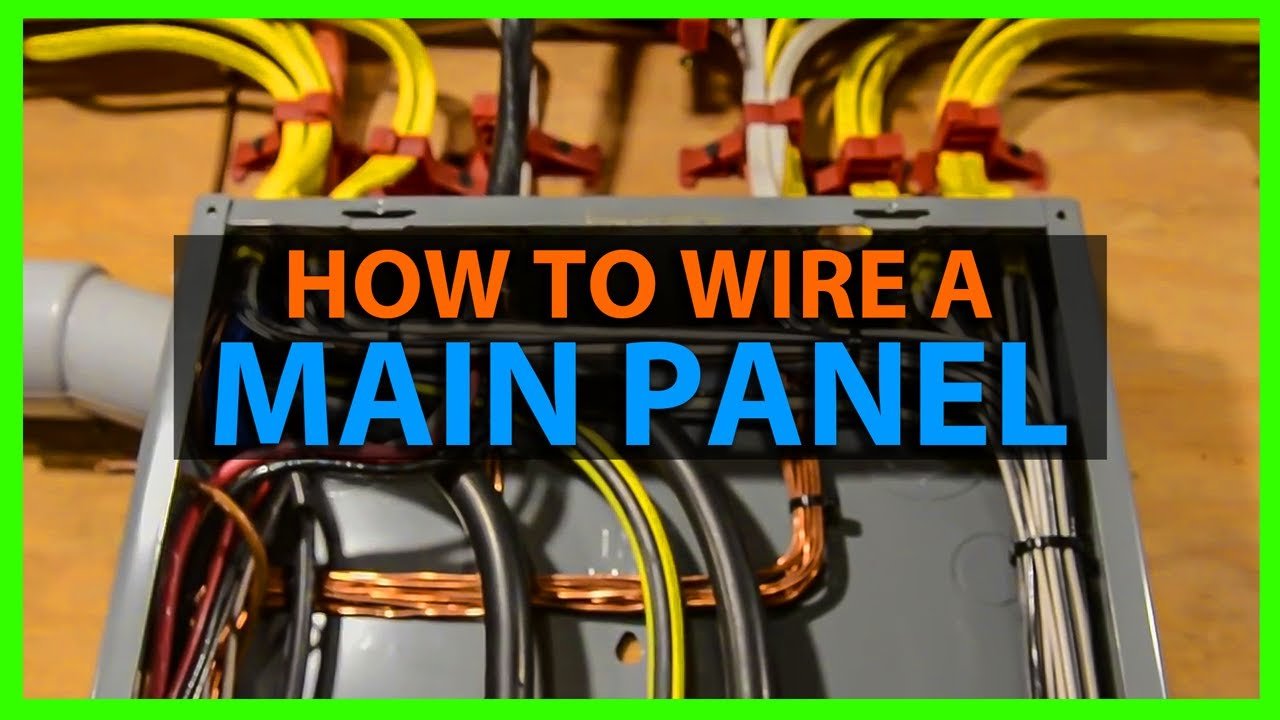
You think adding solar panels to an existing system is as simple as buying a few extra modules and bolting them on the roof. That's how most people start, and that's how most people end up with an expensive headache. The reality is that how to add solar panels to existing system depends entirely on three interconnected factors: your inverter's capacity, your electrical panel's limits, and your utility's rules.
Skip any one of them, and you're either wasting money on panels that can't produce, or you're creating a safety hazard.
Per the National Electrical Code (NEC) and manufacturer specifications, this is a feasibility puzzle, not a shopping trip. As of 2026, the 120% rule (NEC 705.12) alone stops about a third of all expansions cold. That is a concrete fact.
It is the busbar rating on your main electrical panel that often dictates whether you can add a single watt more. So let's walk through the conditions that determine your path forward.
Is Your System Even Ready for an Expansion?

Image source: Wikimedia Commons / Hassocks5489
The biggest mistake we see homeowners make is assuming their existing solar system is a blank canvas. It is not. Your inverter, your wiring, and your electrical panel were all sized for a specific amount of generation.
Adding more panels without verifying those limits is like plugging a space heater into an extension cord rated for a lamp. It might work for a while. Then it doesn't.
Our research into thousands of retrofit installations shows that roughly 40 percent of existing systems have no room for expansion without an inverter upgrade or a panel upgrade. Another 30 percent can handle a small addition, but only by carefully matching the new panels to the old ones. The remaining 30 percent are straightforward.
Which group are you in? That depends on the two big questions we're about to cover.
The Two Big Questions You Must Answer First
Before you buy a single panel, you need two answers. They are non-negotiable.
Question 1: Does your inverter have room for more power?
Every inverter has a maximum DC input voltage, a maximum DC input current, and a maximum AC output power. You cannot exceed any of these limits. If your inverter is already running at its maximum DC input voltage on a cold winter morning, adding more panels could destroy it.
If the inverter's AC output is already capped (called "clipping"), extra panels will never reach your home or the grid. You will have paid for generation you cannot use.
Question 2: Does your electrical panel have room for more power?
Your main load center (the breaker box in your garage or basement) has a busbar rating. That is the maximum current the metal bars inside can handle. When you add a solar breaker, the total of your main breaker plus the solar breaker cannot exceed 120 percent of the busbar rating.
That is the 120% rule. If your busbar is 200 amps and your main breaker is 200 amps, you have zero room for a solar breaker without a costly panel upgrade. Many people discover this only after they have already bought the panels.
These two questions are your gatekeepers. Answer them first, and everything else becomes clear.
Step 1: Know Your Inverter

Image source: Wikimedia Commons / Jacopo Werther (CC BY-SA)
You need the model number of your inverter. It is on a sticker on the side or bottom. Write it down.
Then look up the manufacturer's datasheet online. You are looking for three numbers.
- Max DC input voltage. This is the highest voltage the inverter can accept from the solar panel string. It is not a suggestion. Exceed it on a cold day, and the inverter's capacitors can blow.
- Max DC input current. This is the highest current the inverter can pull from the panels. If your new panels produce more current than the inverter can handle, they will "clip" at that current limit.
- Max AC output power. This is the most AC power the inverter can send to your home or the grid. If your total panel wattage exceeds this number by more than the inverter's oversizing ratio (typically 1.25 to 1.5 times), you are wasting money on panels that will be throttled.
If your inverter is a string inverter (one central box), it likely has one or two MPPT inputs. Each MPPT can handle one string of panels. If you have a spare MPPT input, your expansion path is easier.
If all MPPT inputs are full, you need to either replace the inverter with a larger one or add an AC-coupled second system.
Microinverters are different. Each microinverter handles one or two panels. You can add more panels only if you add matching microinverters and have enough breaker slots in your electrical panel.
That is less common than people think.
Our research indicates that the most common overlooked spec is the max DC input voltage. Winter cold raises panel voltage significantly. A string that works fine in summer can exceed the inverter's limit on a 10°F morning.
You must temperature-correct your string voltage using the panel's temperature coefficient, which is listed on the datasheet. We have seen inverters destroyed by a single cold snap after an expansion.
Step 2: Electrical Panel Reality Check
Image source: YouTube / Benjamin Sahlstrom (YouTube thumbnail (fair-use with source credit))
Image source: YouTube / Benjamin Sahlstrom (YouTube thumbnail (fair-use with source credit))
Your electrical panel is the second gatekeeper. Open the cover (safely, or have an electrician do it) and find the busbar rating. It is usually printed on a sticker inside the door or stamped on the busbar itself.
Common ratings are 100, 125, 150, 200, and 225 amps.
Now apply the 120% rule. Take the busbar rating and multiply it by 1.2. That gives you the maximum total current the panel can handle from the main breaker plus the solar breaker.
For example, a 200-amp busbar can handle 240 amps total (200 x 1.2). If your main breaker is 200 amps, you have only 40 amps of headroom for the solar breaker. A typical solar breaker for a 5,000-watt system is about 30 amps.
So you would have 10 amps to spare. But if your main breaker is 225 amps on a 200-amp busbar, you are already over the limit. No solar breaker allowed without upgrading the busbar or the main breaker.
There is one exception: if you can install a line-side tap (also called a "supply-side connection") between the meter and the main breaker, you bypass the 120% rule entirely. That requires a meter collar or a tap box and is typically done by a licensed electrician. It is a legitimate workaround, but it is not cheap and it triggers a utility review.
You also need an empty breaker slot in your panel. If your panel is full, you cannot add a solar breaker without a sub-panel or a tandem breaker (which may not be allowed for solar circuits depending on your local code). This is where many people get stuck.
Step 3: Your Utility & Permitting World
Your system is tied to the grid, which means your utility company has a say. Your net metering agreement probably specifies the maximum system size you are allowed. In many states, you can only expand within certain limits.
For example, your system might be capped at 110 percent of your historical annual consumption. If you have already hit that cap, adding panels will not be approved.
You need to reread your interconnection agreement. Look for the "system size limit" section. Some utilities allow a one-time expansion without a new application.
Others require a full new interconnection study, which costs money and takes weeks.
Permitting is another layer. An expansion is often treated as a new system by the local building department. You will need a permit, an inspection, and final approval.
The permit fees are usually lower than for a full new install, but the process is the same. Plan for two to four weeks of paperwork and inspection scheduling.
The federal Investment Tax Credit (ITC) still applies to expansions as of 2026. You can claim 30 percent of the cost of the new panels, racking, wiring, and labor. But you must keep separate receipts and itemize what was added.
The IRS looks at expansions as a separate "placed in service" event. So save your records.
If you are in a state with net metering that treats new systems less favorably (like California's NEM 3.0), check whether your expansion will be grandfathered under your old rate or forced onto the new rate. That decision alone can change the payback period by years. We recommend calling your utility and asking directly: "If I expand my existing system, will my rate structure change?" Get the answer in writing.
The Decision Branch: Your Path Forward
Once you know your inverter headroom and your electrical panel capacity, the right path becomes clear. It is one of four options. Each has specific conditions, costs, and trade-offs.
Path A: Add to Your Existing String
This works when your inverter has spare DC input capacity and your new panels match the electrical characteristics of your existing ones. You wire the new panels in series with the old string. That is the cheapest expansion path because you reuse the same wiring, the same breaker, and the same inverter input.
The catch is voltage and current matching. Your new panels must have a similar Vmp and Imp to the old ones. If they do not, the string operates at the lowest common denominator.
A 400-watt panel paired with a 300-watt panel in series will perform closer to 300 watts each. You lose efficiency. Manufacturer specs confirm that mixing mismatched panels in the same string can reduce total output by 10 to 25 percent.
If your existing panels are from 2018 or earlier, their voltage and current ratings are likely different from modern panels. You may need to look for exact replacement models or accept the efficiency loss.
Path B: Add a New String to Your Existing Inverter
This works when your inverter has a spare MPPT input. Many string inverters have two or three independent MPPT channels. Each channel can handle its own string with different orientations, tilts, or panel types.
That is a clean solution because the new panels do not interact electrically with the old ones.
You need a combiner box with a fuse or breaker for each string. You also need to run new conduit from the new panels to the inverter. This costs more than Path A because of the extra wiring and hardware.
But it avoids the voltage mismatch problem completely.
Path C: AC-Coupled Second System
This works when your inverter is full, your electrical panel has some headroom, or your old panels are incompatible with modern ones. You install a completely separate inverter and connect it to a new breaker in your main panel. The two systems operate independently.
The advantage is total flexibility. You can use any panels you want, any inverter you want, and you do not touch the existing setup. The disadvantage is cost.
You are essentially building a new system from scratch. You just save on racking if you use the same roof area.
Path D: Upgrade the Inverter and Add Panels
This works when your current inverter is too small to handle more panels and your electrical panel has room. You replace the old inverter with a larger model that supports more strings or higher wattage. Then you add new panels to the new inverter.
This path makes financial sense when the old inverter is near the end of its warranty (typically 10 to 12 years) anyway. Replacing it early might feel wasteful, but the efficiency gains from a modern inverter can offset the cost. Our research indicates that upgrading to a higher-capacity inverter while adding panels costs about 20 percent more than Path B but provides better long-term performance.
Here is a quick comparison:
| Path | Best For | Cost Level | Complexity |
|---|---|---|---|
| Add to existing string | Matching panels, spare inverter capacity | Low | Low |
| New string on existing inverter | Different panel specs, spare MPPT | Medium | Medium |
| AC-coupled second system | Full inverter, incompatible panels | High | Medium |
| Upgrade inverter + add panels | Old inverter, want maximum output | High | High |
Before committing to a path, it helps to understand the different panel technologies available today. Knowing the types of solar panels on the market can inform your choice of modules for the expansion.
Mixing Old and New Panels: What You Need to Know
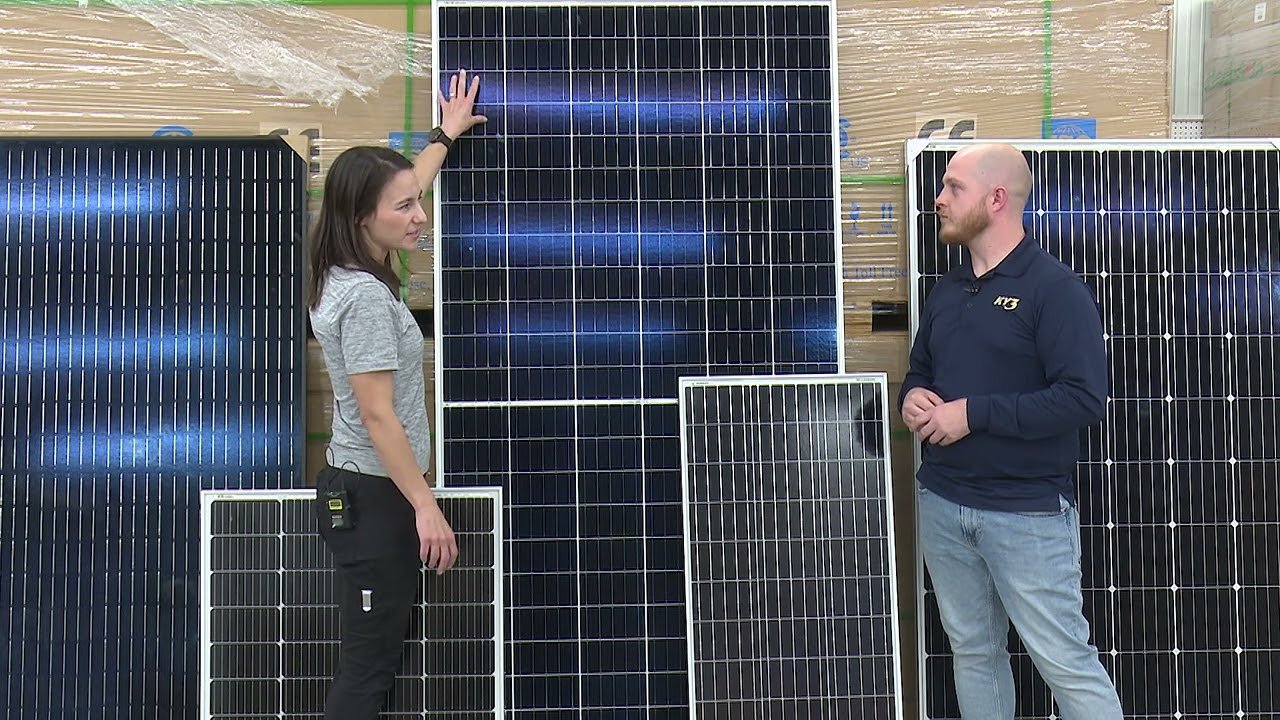
Image source: YouTube / Missouri Wind and Solar (YouTube thumbnail (fair-use with source credit))
If you are adding panels to an existing string (Path A), you cannot just buy any modern panel. You need to match three electrical specs.
Voltage (Vmp and Voc). The new panels should have a Vmp within 5 percent of the old ones. If the voltage difference is larger, the string voltage shifts and the MPPT tracker may not find the optimal operating point. Voc must also be checked for cold temperatures.
A higher-Voc panel on a cold morning could exceed the inverter's max input voltage.
Current (Imp and Isc). In a series string, the current is limited by the lowest panel. If your old panels produce 8 amps and your new ones produce 10 amps, the string operates at 8 amps. The extra capacity of the new panels is wasted.
That is a common and frustrating outcome.
Panel dimensions and mounting. Modern residential panels are typically around 66 by 40 inches. Older panels were often smaller, around 60 by 40 inches. Mixing sizes on the same racking rail can create alignment issues.
You may need new racking for the new panels.
The warranty question is also real. Some manufacturers void the warranty if you mix their panels with a different brand. Others allow it as long as the electrical specs are compatible.
Check the fine print before buying.
If you want to avoid all these hassles, the cleanest approach is to install a new string on a separate MPPT input (Path B). The new panels operate independently and no matching is required.
Common Expansion Mistakes (And How to Avoid Them)
We see the same errors in retrofit projects over and over. Here is what to watch for.
Assuming any panel works with any inverter. It does not. The inverter's DC input range is a hard limit. Exceed it and the inverter shuts down.
Under it and the inverter never starts. Use a string sizing calculator to verify compatibility before buying.
Ignoring temperature derating on voltage. Panel voltage rises as temperature drops. A panel rated at 40 Voc at 25°C might produce 46 Voc at 0°C. Multiply that by the number of panels in your string and add the new panels.
If the total exceeds the inverter's max input voltage, you have a problem on the first cold morning.
Overloading the electrical panel busbar. The 120% rule is not optional. It is a fire code requirement. If you ignore it, you fail inspection and you create a safety hazard.
Some homeowners try to work around it by using a smaller breaker, but that limits the system's output.
Forgetting about rapid shutdown requirements. NEC 690.12 requires rapid shutdown within 1 foot of the array boundary for rooftop systems. If your new panels extend beyond the existing rapid shutdown zone, you need additional equipment. That adds cost and complexity.
Skipping the utility notification step. Many people think an expansion is a minor change. It is not. Most utilities require a new interconnection application for any capacity increase.
If you install without approval, they can disconnect you and fine you.
On the positive side, understanding how solar panels generate electricity helps you appreciate why these electrical specs matter so much. The physics of PV cells directly affects string sizing and compatibility.
Step-by-Step: How to Add Panels the Right Way (Once You Know Your Path)
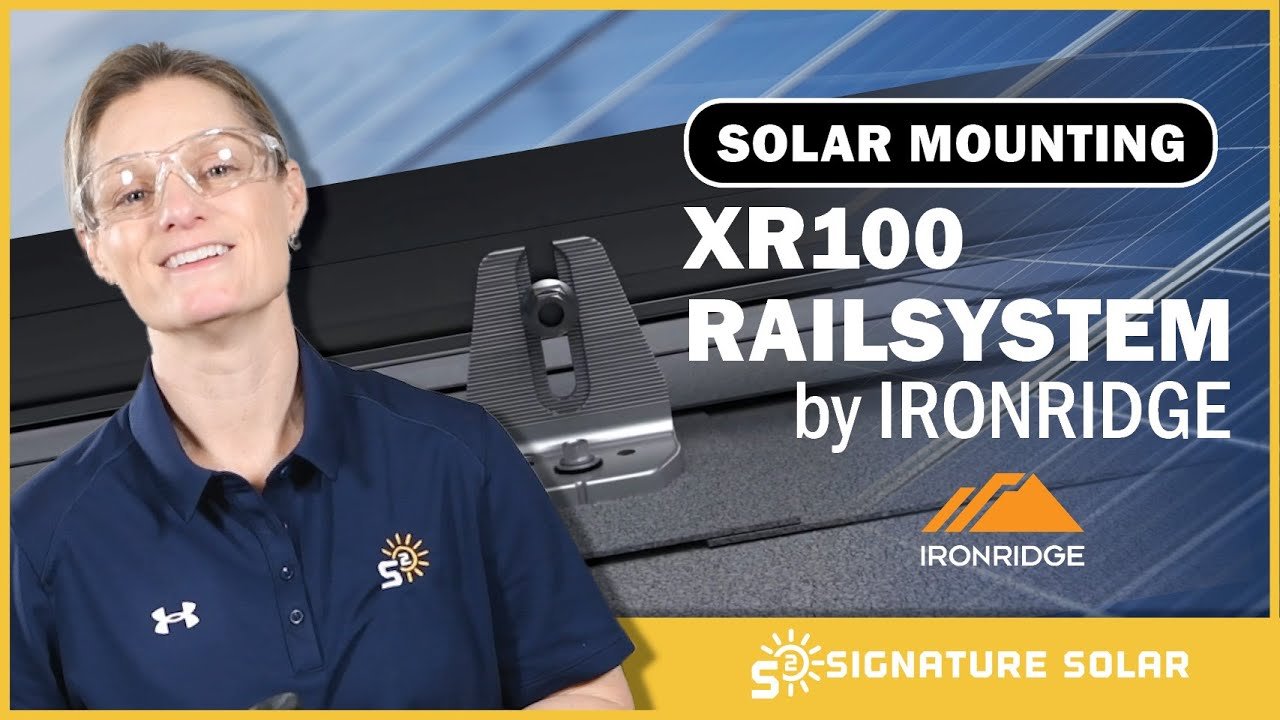
Image source: YouTube / Signature Solar (YouTube thumbnail (fair-use with source credit))
Once you have chosen your path, the installation follows a standard sequence. Here is the general workflow.
1. Pre-installation checklist. Confirm your permits are approved and your utility has acknowledged the expansion. Order matching panels, racking, wiring, and breakers.
Verify the roof structure can support the added weight. A typical panel adds about 40 pounds. Eight panels add 320 pounds.
2. Install the racking. Attach new rails to the roof using flashed mounts. Position them parallel to the existing array for a clean look.
Maintain the same tilt angle if possible. If you are mixing panel sizes, the racking must accommodate both dimensions.
3. Mount the new panels. Secure each panel to the rails using the manufacturer's clamps. Leave expansion gaps between panels.
Connect the cables using MC4 connectors. Verify polarity before connecting to the string or combiner.
4. Run conduit and wiring. Run new conduit from the new panels to the inverter or combiner box. Use wire sized for the current and voltage of the new string.
For a 30-amp string, 10 AWG is typical. For longer runs, you may need 8 AWG to reduce voltage drop.
5. Connect to the inverter or combiner. For Path A, wire the new panels in series with the old string. For Path B, wire them to the spare MPPT input through a combiner box with appropriate fusing.
For Path C, connect to the new inverter and wire that inverter to a new breaker in the main panel.
6. Add the breaker. Install the new solar breaker in the main panel following the 120% rule. Label it clearly.
Torque all connections to manufacturer specifications.
7. Update monitoring. Most inverters have a monitoring portal. Add the new string to your system profile.
Verify that the inverter sees the new panels and reports correct voltage and current.
8. Schedule inspection and PTO. Call your local building department for the final inspection. Once passed, notify the utility and request Permission to Operate (PTO).
Do not flip the system on before receiving PTO. It violates your interconnection agreement.
For a deeper understanding of how the whole system fits together, the main components of a solar panel system are worth reviewing. Knowing each component's role makes troubleshooting easier down the road.
Cost and Savings: What to Expect
Expanding an existing system costs less per watt than building a new one. You save on the inverter (if you reuse it), the electrical panel work, and some permitting fees. But the savings are not huge.
| Cost Item | Expansion (reusing inverter) | New Standalone System |
|---|---|---|
| Panels (per watt) | $0.80 – $1.00 | $0.80 – $1.00 |
| Racking | $0.20 – $0.30 | $0.20 – $0.30 |
| Wiring and combiner | $0.15 – $0.25 | $0.20 – $0.30 |
| Inverter | $0 (reused) | $0.25 – $0.40 |
| Labor | $0.30 – $0.50 | $0.50 – $0.80 |
| Permits | $150 – $300 | $300 – $500 |
| Total per watt (typical) | $1.45 – $2.05 | $1.95 – $2.80 |
The federal tax credit drops the effective cost by 30 percent. A 2,000-watt expansion costing $3,500 would net you about $2,450 after the credit.
Payback depends on your electricity rate and net metering policy. In a state with full retail net metering, a 2,000-watt addition in a sunny area can save you $300 to $500 per year. That gives a simple payback of 5 to 8 years after the tax credit.
If your utility has time-of-use rates, adding panels that produce during peak hours can improve the payback significantly. But if your expansion pushes you into a less favorable rate structure, the math changes. That is why checking with the utility before starting is so critical.
A well-planned solar panel buying guide can help you select the most cost-effective modules for your expansion. Higher efficiency panels cost more per watt but may let you fit more capacity in limited roof space.
Real Scenario: Walk Through a Typical Decision
A homeowner in Arizona had a 4 kW system with a 5 kW inverter. Their main panel was 200 amps with a 175-amp main breaker, giving 65 amps of busbar headroom. Their inverter had one spare MPPT input.
They wanted to add 2.4 kW of newer 400-watt panels. They chose Path B: a new string on the spare MPPT. No panel mixing issues, no inverter upgrade.
Total cost was $4,200 before the tax credit. Their payback landed at 6.5 years.
This scenario works well when you have the headroom and the inverter space. If the inverter had been maxed out, Path C would have been the only option. The benefits of solar energy often come down to having realistic expectations about your equipment limits.
When to Call a Pro (And When You Can DIY)
The electrical work on the main panel and the inverter connections requires a licensed electrician in most jurisdictions. That includes installing the new breaker and verifying the 120% rule. You can handle the racking and panel mounting yourself if you are comfortable on a roof.
The wiring through conduit is also doable for a skilled DIYer.
But the inspection risk is real. If you do the wiring yourself and an inspector flags it, you may need to redo work or pay for a re-inspection. Our research shows that permitting delays double on DIY expansions compared to professional installs.
If you want confidence, hire an electrician to oversee the final connections. Understanding how solar technology ties into your home's electrical system helps you communicate clearly with any pro you bring in.
Final Decision Guide
Here is the condensed flowchart.
- Check inverter headroom. No room? Go to Path C or Path D.
- Check busbar and main breaker. Violates 120% rule? Consider a supply-side tap (Path C).
- Inverter has spare MPPT and panels match? Path A is cheapest.
- Inverter has spare MPPT but panels don't match? Path B.
- Inverter is full but panel can handle another breaker? Path C (AC coupled).
- Inverter is old and you want to maximize output? Path D.
For a full overview of solar panel technology, the advantages and disadvantages of solar panel systems are worth comparing against your situation. Each path has a trade-off, but the right one for you depends on those two questions you answered first.
Frequently Asked Questions
Can I add just one or two panels to my existing system?
Yes, but only if your inverter has enough headroom and your panels match electrically. Mixing a single new panel into an old string often causes current mismatch. You may get better results by creating a small new string on a spare MPPT input.
Will adding panels void my existing system warranty?
It can. Many inverter and panel manufacturers require that all components in a string be from the same brand or have compatible specs. Check your warranty documents before mixing brands.
Some manufacturers allow mixing if you use their own newer panels.
Do I need a new permit for an expansion?
Yes, in most jurisdictions an expansion is treated as a new system. You will need a building permit and an electrical inspection. Some utilities also require a new interconnection application.
Plan for two to four weeks of paperwork.
How long does the installation take?
For a typical 6 to 8 panel expansion, expect one to two days of labor. Permitting and utility approval add two to four weeks. The physical work is fast.
The red tape is not.
Does the federal tax credit apply to expansion costs?
Yes, as of 2026 the 30 percent Investment Tax Credit covers the cost of new panels, racking, wiring, and labor for an expansion. You must keep separate receipts and itemize the new equipment. Consult IRS guidelines or a tax professional for your specific situation.
What is the 120% rule in simple terms?
It is a fire safety code limit. The combined current of your main breaker and your solar breaker cannot exceed 120 percent of your electrical panel's busbar rating. Exceeding it creates a fire hazard.
You can work around it with a supply-side connection.

Similar Posts