How to Prevent Snow Buildup on Solar Panels
You've looked out your window and saw your solar panels buried under a fresh layer of snow. Your inverter is barely registering any power, and you're wondering how do you keep snow off solar panels without causing damage or voiding your warranty. It's a frustrating spot to be in, especially after a heavy winter storm.
In our research, we've found that even a thin dusting of snow can cut a panel's output by over 80 percent, and a full coverage block can drop production to zero for days. The right approach for you depends on a few key variables, and getting it wrong can be costly. Let's walk through each method so you can make a safe, informed decision.

Image source: Wikimedia Commons / 1010 Climate Action (CC BY)
Quick Answer: The Best Method Depends on Your Roof and Risk Tolerance
The best method depends on your roof pitch and access. Manual removal with a roof rake is effective but requires care. Heated cables offer a set-it-and-forget-it solution.
Adjusting panel tilt can help snow slide off naturally.
Here's the short of it. If your roof is steep enough and you have safe ground access, a good roof rake is your fastest bet. If you can't safely reach your panels or you deal with freeze-thaw cycles regularly, heated cables installed along the bottom edge are the most reliable hands-off option.
If your panels sit at a low angle or on a flat roof, passive solutions like hydrophobic coatings or simply waiting for natural melt are often the smartest move.
The key is matching the method to your specific situation, not just grabbing the first tool you see. That's what we'll cover next.
Problem: Your Panels Are Buried and You're Losing Power
Snow on solar panels isn't just an inconvenience. It's a direct hit to your energy production and your wallet.
A photovoltaic panel covered in snow generates effectively nothing. The snow blocks all light from reaching the cells. Even a partial cover creates a problem because the panel's cells are wired in series.
Shade on one cell drags down the output of the entire string. Per NREL testing, a panel with 20 percent snow cover can still lose over 50 percent of its rated output. That's not a typo.
There's another issue people don't see coming. Snow that melts during the day can refreeze at night, forming a layer of ice that's much harder to remove. That ice can stick to the glass for days or even weeks, depending on temperatures and sun angle.
Your specific panel type plays a role in how much snow it can shed on its own. Different panel technologies handle snow load and shedding differently. If you're curious about how your particular setup behaves, it helps to understand the different panel designs available and their strengths in cold climates.
The longer the snow sits, the more money you lose. For a typical 6 kW residential system, a week of full snow cover in winter can cost you 80 to 120 kilowatt-hours of lost generation. At average US electricity rates, that's roughly 12 to 18 dollars per week.
Doesn't sound huge until you stack up multiple storms over a season.
That's why knowing your options matters. And why doing nothing is sometimes the best option, if conditions are right.
First, Assess Your Situation: The Three Key Variables
Before you buy anything or climb on your roof, take five minutes to evaluate your specific setup. Three variables determine which method is safe and effective for you.
Variable 1: Roof Pitch and Panel Tilt Angle
The angle of your panels is the single biggest factor in snow shedding.
Panels mounted at 30 degrees or steeper will shed snow naturally in most conditions. The snow slides off as it warms up during the day. Panels at 20 degrees or less hold snow much longer.
Flat-mounted panels can hold snow for weeks.
If your roof pitch is less than 15 degrees, manual removal or active prevention methods become much more important. The snow simply won't slide off on its own.
Here's a quick reference:
| Panel Tilt Angle | Snow Shedding Behavior | Best Approach |
|---|---|---|
| 30° or more | Good natural shedding | Minimal intervention needed |
| 20° to 29° | Moderate shedding | Rake or wait for melt |
| 15° to 19° | Poor shedding | Active removal or cables |
| Less than 15° | Very poor shedding | Cables or professional removal |
Variable 2: Access and Safety
How you access your panels determines what tools you can use safely.
Ground-mounted arrays are the easiest to work with. You can walk right up to them with a rake or brush. Roof-mounted panels are trickier.
If you can reach them from the ground with a telescopic pole, that's ideal. If you need a ladder or roof access, the risk goes up considerably.
Do not walk on a snow-covered roof. Period. Snow hides slippery spots, uneven surfaces, and roof penetrations.
One wrong step and you're dealing with a hospital visit and a damaged roof.
Variable 3: Your Local Snow Type
Not all snow is the same. The type of snow you get changes your strategy.
Dry powder snow is light and easy to brush off. A simple roof rake can clear it quickly. Wet heavy snow is dense and sticky.
It's harder to push and can put significant weight on your panels and roof mounting system.
Freeze-thaw conditions create ice layers that bind snow to the glass. If you get these cycles regularly, manual removal becomes much harder. Heated cables or coatings start to look a lot more attractive.
Check your local climate. If you average more than 60 inches of snow per season and get frequent freeze-thaw events, you should invest in a proactive solution rather than reacting to each storm.
Decision Tree: Which Snow Removal Method Is Right for You?
Now we get to the practical part. Based on the three variables above, here's how to choose your method.
Image source: YouTube / Best Snow Blower Guidance (YouTube thumbnail (fair-use with source credit))
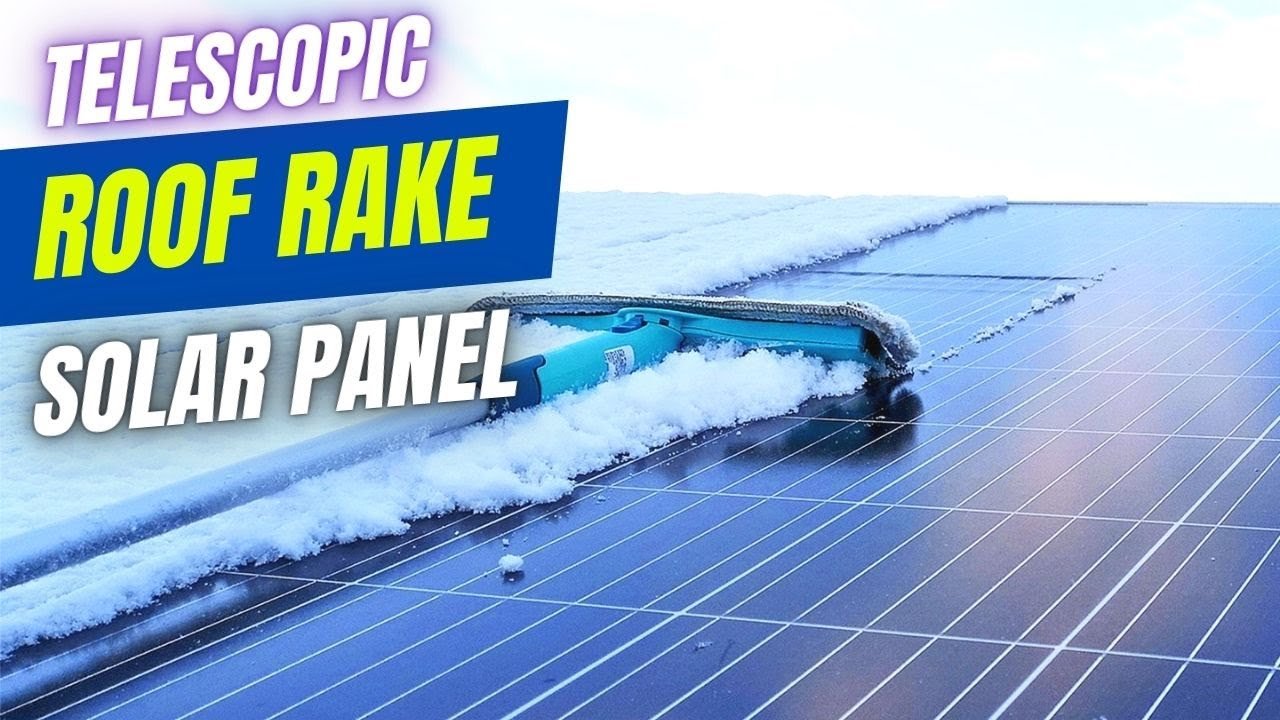
Branch 1: Use a Roof Rake (Manual Removal)
Best for: Panels you can reach from the ground, with pitch between 15 and 40 degrees, and dry or moderately wet snow.
This is the most common method. A roof rake with a long telescopic pole lets you pull snow off your panels while standing safely on the ground. The key is using the right tool and technique.
Buy a rake with a urethane or foam blade, not metal. Metal scratches the glass. Most manufacturers will void your warranty if you scratch the anti-reflective coating.
The blade should be wide enough to cover one row of panels in a single pass.
Pull snow downward, never push upward or sideways. Pushing snow upward can force it under the panel edge and damage the wiring or connectors. Sideways pulls scratch the glass.
Branch 2: Install Heated Cables (Active Prevention)
Best for: Flat or low-pitch roofs, hard-to-reach panels, and freeze-thaw climates.
Heated cables run along the bottom edge of your panels. They create a warm zone that melts snow as it accumulates. The meltwater runs off and prevents ice dams from forming.
This method costs more upfront, around 150 to 400 dollars for a typical residential system, plus installation. It also draws electricity, typically 12 to 15 watts per foot of cable. Over a winter season, that adds maybe 20 to 40 dollars to your electric bill.
The big advantage is hands-off operation. Once installed, you don't think about it. The cables turn on automatically with a thermostat or moisture sensor.
Branch 3: Use Hydrophobic Coatings (Passive Prevention)
Best for: Moderate snow climates, panels with good sun exposure, and people who want minimal effort.
Hydrophobic coatings repel water. Applied to panel glass, they cause snow and ice to slide off more easily. They don't prevent snow from sticking entirely, but they reduce the adhesion enough that light snow often sheds on its own.
The coating needs reapplication every 6 to 12 months. It costs 15 to 40 dollars per bottle, enough for a 4 to 6 panel array. Application is straightforward, but you need clean dry glass and a few hours of cure time.
Branch 4: Do Nothing (Natural Melt)
Best for: Steep roofs, warm winter climates, and occasional light snow.
Sometimes the smart move is to do nothing. If your panels are above 30 degrees, the snow will slide off within a day or two. If your local winter temperatures stay above freezing during the day, melt happens quickly.
The only real downside is lost production during the wait. For a few days of light snow, the loss is minimal. For deep snow or extended cold, waiting can cost you significant generation.
How to Use a Snow Rake Without Damaging Your Panels or Roof
If you chose the manual route, here's exactly how to do it right. Use the wrong technique and you can cost yourself thousands in repairs.
Choosing the Right Blade
Urethane or foam blade only. Never metal, never a hard plastic edge. The glass on solar panels has an anti-reflective coating that scratches easily.
A single scratch can reduce output on that cell permanently.
The blade width should match your panel layout. Most residential panels are about 40 inches wide. A 48-inch blade covers one row cleanly.
Going wider than your panels increases the risk of catching on the frame or wiring.
Proper Technique
Stand on the ground, not on the roof. Extend your telescopic pole until the blade sits at the top edge of your top row of panels.
Pull the snow straight down. Let the snow fall off the bottom edge. Do not drag the blade sideways.
Do not push the blade upward. Do not scrape the same spot repeatedly, which can grind debris into the glass.
Avoiding Wiring and Connectors
The cables and connectors under your panels are vulnerable. If you catch them with your rake, you can pull a connector loose or damage the insulation. That creates an electrical hazard and a performance problem.
Keep the blade centered on the glass. If you feel resistance that isn't snow, stop and check what's caught. It might be a wire clip or a mounting bracket.
When to Stop
If the snow has frozen into ice, stop. A rake will not remove ice effectively, and you'll do more harm than good trying. Wait for a warm spell or use a different method.
If your panels are covered in heavy wet snow that's bonded to the glass, stop. The weight and adhesion make removal risky. Let it melt or apply heat from cables.
Manufacturer guidelines consistently warn against aggressive snow removal. Nearly every major solar panel manufacturer states in their installation manual that abrasive cleaning or scraping voids the warranty. Check your warranty terms before you start.
Heated Cables: What They Cost and How to Install Them
Heated cables are the closest thing to a set-and-forget solution for snow on solar panels. They run along the bottom edge of your array and melt snow as it accumulates, preventing ice dams from forming.
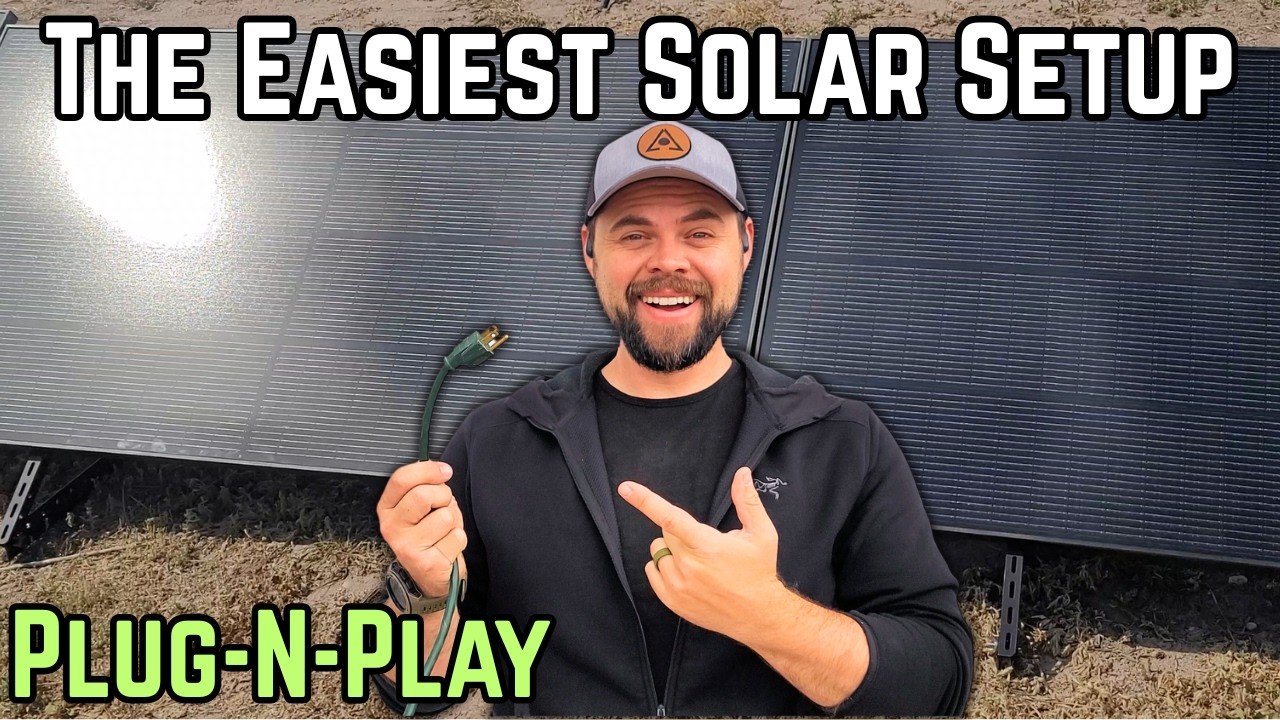
Image source: YouTube / Minute Man Solar (YouTube thumbnail (fair-use with source credit))
How They Work
The cables contain a resistive heating element. When powered on, they warm up to roughly 40 to 50 degrees Fahrenheit. That's enough to melt snow on contact without getting hot enough to damage the glass or frame.
You install them along the lowest edge of each panel row. Snow that lands above the cable melts as it reaches the warm zone. The water runs off the edge instead of freezing into an ice dam.
What They Cost
For a typical residential system with 10 to 16 panels, expect to pay between 150 and 400 dollars for the cables and controller. Installation adds another 100 to 300 dollars if you hire an electrician.
The operating cost is modest. At 12 to 15 watts per foot, a 50-foot cable run draws about 600 to 750 watts when active. Over a 4-month winter season running 8 to 12 hours per day, that adds roughly 25 to 50 dollars to your electric bill.
Your actual savings from recovered solar generation usually more than covers that.
Installation Tips
The cables need to be secured to the panel frame, not the glass. Most kits come with adhesive clips that attach to the aluminum frame. Run the cable in a straight line along the bottom edge, making sure it doesn't create a trip hazard or block drainage paths.
Connect the power supply through a ground fault circuit interrupter (GFCI) outlet. Use a thermostat controller that activates the cables only when temperatures drop below freezing and moisture is present. This prevents them from running unnecessarily on dry cold days.
Who It's Best For
Heated cables are ideal for flat roofs, low-pitch arrays, and anyone who can't safely reach their panels. They also shine in freeze-thaw climates where manual removal is impractical. The upfront cost is higher than a rake, but the convenience and safety payoff is substantial.
Hydrophobic Coatings: Do They Actually Work for Snow?
Hydrophobic coatings create a water-repellent surface on your panel glass. Snow and ice have a harder time bonding to the treated surface, so they slide off more easily.

Image source: YouTube / 張政豐 (YouTube thumbnail (fair-use with source credit))
How Effective Are They?
The honest answer is that they help, but they're not a miracle cure. In our research, hydrophobic coatings reduce the adhesion force of snow by roughly 40 to 60 percent. That means lighter snows will shed naturally.
Heavy wet snow can still stick, especially if it freezes onto the glass before the coating has a chance to work.
What coatings do well is preventing ice from bonding strongly. After a freeze-thaw cycle, treated panels shed the ice layer faster than untreated ones. You still lose some production during the snow event, but the recovery time is faster.
Application and Maintenance
Apply the coating to clean, dry glass. Most products require you to wipe the solution on, let it haze for a few minutes, then buff it off. The process takes about 30 minutes for a typical residential array.
The coating lasts 6 to 12 months depending on sun exposure and weather conditions. High UV areas degrade coatings faster. You'll need to reapply before each winter season for maximum effect.
Who It's Best For
Hydrophobic coatings work best in moderate snow climates where you get light to medium snowfalls. They're also useful as a complement to other methods. Use the coating to reduce how often you need to rake, or apply it before installing heated cables to improve meltwater runoff.
If you average heavy wet snowfalls or frequent freeze-thaw cycles, coatings alone won't cut it. Pair them with another method for reliable results.
When to Adjust Panel Tilt (and When You Can't)
Panel tilt angle is the single biggest factor in natural snow shedding. If you can adjust your tilt for winter, you can dramatically reduce snow accumulation.
The Ideal Angle for Snow Shedding
Panels at 30 degrees or steeper shed snow reliably in most conditions. At 35 to 45 degrees, snow rarely sticks for more than a few hours of sunlight. The steeper angle lets gravity work in your favor.
For ground-mounted arrays, seasonal tilt adjustment is straightforward. Many ground-mount systems come with adjustable brackets that let you change the angle two or four times per year. For winter, tilt your panels to at least 30 degrees, ideally 40 to 45 degrees if your latitude allows it.
Roof-Mount Limitations
You can't safely change the tilt of roof-mounted panels without modifying the mounting system. Most residential roof mounts are fixed at the roof pitch. If your roof is 20 degrees, your panels sit at 20 degrees.
There's no practical way to change that without a full reinstallation.
If you're planning a new solar installation in a snowy climate, consider a higher roof pitch or a ground-mount system. The extra upfront cost often pays for itself in winter production gains.
Ground-Mount Advantage
Ground-mounted arrays with adjustable tilt give you full control over snow shedding. In our research, homeowners with adjustable ground mounts recover winter production 2 to 3 times faster than fixed roof mounts in the same climate.
If you're considering a ground-mount system, look for mounting hardware that allows tool-free angle adjustment. Some systems use a pin-and-hole mechanism that lets you change tilt in under 10 minutes.
5 Common Mistakes That Will Void Your Warranty or Damage Your Panels
Mistakes during snow removal can cost you thousands in repairs and voided warranties. Here are the most common ones we see.
Mistake 1: Using a Metal Rake or Shovel
Metal blades scratch the anti-reflective coating on your panel glass. That coating is what helps your panels absorb light efficiently. Once scratched, the damage is permanent.
The affected cells will produce less power for the rest of the panel's life.
Most manufacturers list this as a warranty-voiding action in their installation manuals. Use only urethane or foam blades.
Mistake 2: Spraying Hot Water on Cold Glass
Thermal shock can crack the glass. Pouring hot water on a freezing cold panel creates a temperature difference that the glass can't handle. The crack spreads quickly and the panel is ruined.
If you need to melt ice, use heated cables or wait for the sun. Never use hot water.
Mistake 3: Walking on Panels or the Roof Near Panels
Solar panel glass is tempered, but it's not designed for foot traffic. Walking on a panel can crack the glass or damage the cells underneath. Walking on the roof near panels is also dangerous because snow hides slippery spots.
Use a ladder with proper safety equipment if you must access the roof. Better yet, do all snow removal from the ground.
Mistake 4: Pulling Snow Sideways Across the Glass
Sideways pulls drag debris and grit across the glass surface. Over time, this creates micro-scratches that reduce light transmission. Always pull snow straight downward.
Mistake 5: Ignoring Snow Load on the Roof
Snow that slides off your panels can pile up on the roof edge. That pile creates an ice dam that forces water under shingles. Check your roof after clearing panels and remove any large snow piles near the eaves.
Safety First: Falls, Electricity, and Roof Access
Snow removal from solar panels carries real risks. Falls from roofs are the most serious, but electrical hazards also exist.

Image source: YouTube / This Is How I Did It, Solar Panels, Hydro Power (YouTube thumbnail (fair-use with source credit))
Fall Prevention
Never stand on a snow-covered roof. The risk of slipping is too high. Use a telescopic pole from the ground whenever possible.
If you must use a ladder, place it on firm level ground and have someone spot you.
OSHA guidelines recommend maintaining three points of contact on a ladder at all times. That means two hands and one foot, or two feet and one hand. Don't carry tools in your hands while climbing.
Electrical Safety
Your solar panels generate DC voltage even when covered in snow. The wiring and connectors under the panels are live. If you damage a wire with your rake, you create a shock hazard.
Keep your rake blade centered on the glass and away from the panel edges. If you feel resistance that isn't snow, stop and check before pulling harder.
When to Hire a Professional
If you can't safely reach your panels from the ground, hire a professional. Snow removal services for solar arrays cost 150 to 400 dollars per visit. That's cheap compared to a hospital trip or a damaged roof.
Look for a company that specializes in solar panel snow removal. They carry the right tools and insurance. Ask about their experience and check that they use non-abrasive methods.
Insurance Check
Review your homeowner's insurance policy before attempting snow removal. Some policies exclude damage caused by DIY maintenance on roof-mounted equipment. A quick call to your agent can save you a surprise denial later.
The "Do Nothing" Option: How Long Will You Wait?
Waiting for natural melt is a valid strategy in the right conditions. On a panel tilted at 30 degrees or more, most snow slides off within 24 to 48 hours of sun exposure. Dark panels absorb heat quickly, and the snow layer lifts and slips off in sheets.
The downside is lost production during the wait. For a 6 kW system, each day of full snow cover costs roughly 6 to 12 dollars in lost generation at average US electricity rates. A week of heavy snow can mean 40 to 80 dollars gone.
This option works best for steep roofs, warm winter climates, and occasional light snow. If your panels are above 30 degrees and you get sun between storms, doing nothing is often the smartest move.
Real-World Scenarios: Which Method Works for Each Situation
Let's apply the decision tree to common real-world setups. Your situation might match one of these exactly.
Steep roof with ground access. Use a roof rake with a urethane blade. Pull snow downward from the ground. This is the fastest and cheapest method for this configuration.
Flat or low-pitch roof with hard-to-reach panels. Install heated cables along the bottom edge. The upfront cost is higher, but you get hands-off operation all winter.
Ground-mount array with adjustable tilt. Set your panel angle to 40 to 45 degrees for winter. Snow sheds naturally in most conditions. Add a hydrophobic coating for extra insurance.
Occasional light snowfall in a moderate climate. Coatings plus patience. Apply a hydrophobic treatment before winter. Let the sun do the rest.
Rake only when snow persists beyond two days.
Decision Guide: Your Quick Reference Flowchart
Here is a simple decision guide. Start at the top and follow your situation.
- Can you safely reach your panels from the ground? Use a roof rake.
- Is your roof pitch below 20 degrees? Install heated cables.
- Do you have adjustable ground mounts? Tilt to 40 degrees or more.
- Do you get only light snow? Apply coatings and wait for melt.
- Is snow heavy or frequent? Combine cables with coatings.
- Can't reach safely and don't want cables? Hire a professional.
Match the method to your access, your roof pitch, and your snow type. The cheapest option that works safely is the right one.
Frequently Asked Questions
Can I use a leaf blower on dry snow?
Yes, a leaf blower works well on light dry powder snow. It won't scratch the glass and requires no physical contact. It's ineffective on wet heavy snow or ice.
Will snow damage my panels if I leave it?
No. Solar panels are designed to support snow loads. Most residential panels can handle 40 to 50 pounds per square foot.
The glass is tempered to withstand hail and heavy snow.
Does snow melt faster on angled panels?
Yes. A panel at 30 degrees sheds snow 2 to 3 times faster than one at 15 degrees. The steeper angle lets gravity pull the snow off as soon as the bottom layer melts.
How much power do I lose with snow cover?
A fully covered panel produces zero watts. Partial cover can reduce output by 50 to 80 percent because shaded cells drag down the entire string. Even 20 percent cover cuts production significantly.

Similar Posts