3 Ways to Test a Solar Panel Without a Multimeter
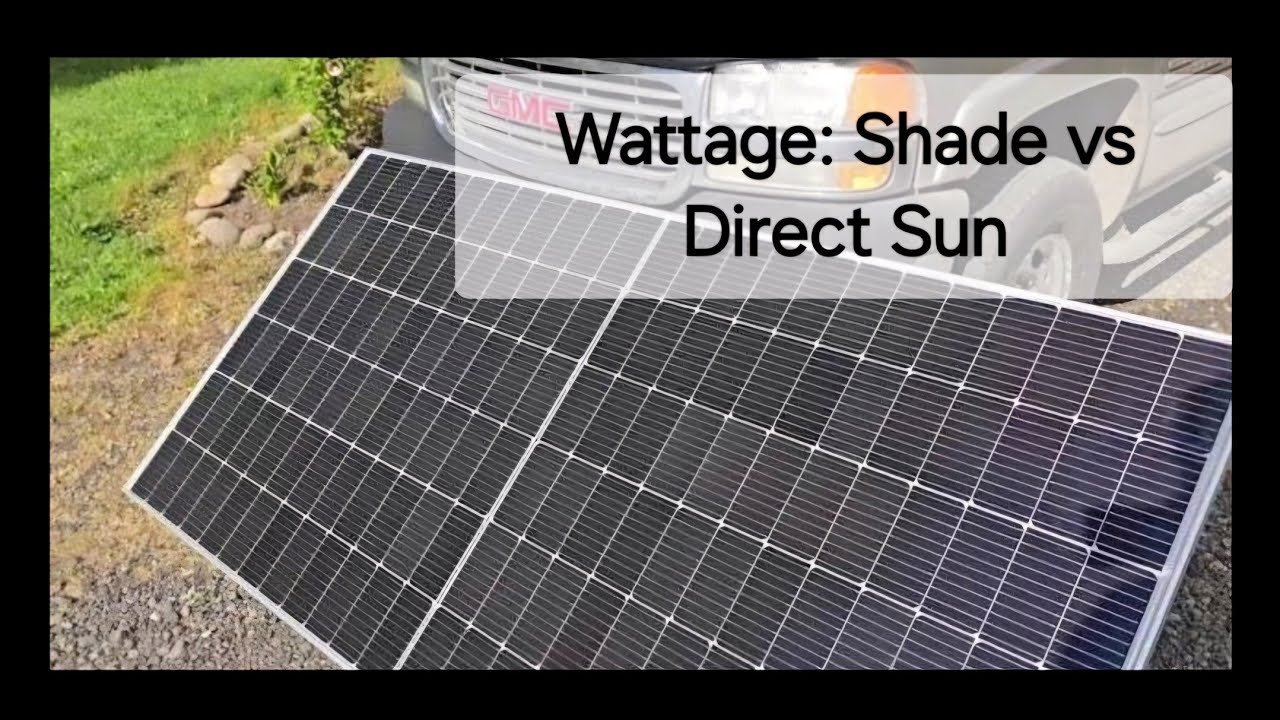
If you've ever needed to know how to test a solar panel without a multimeter, you're in the right place. Maybe your meter died, you left it at home, or you just want a quick check before buying a used panel. Whatever the reason, you can get a reliable go/no-go answer using stuff you probably already own.
Manufacturer specifications indicate a typical 12V panel produces 18 to 22 volts open-circuit under full sun, but you don't need a meter to confirm it's alive. You just need to match the right test to the gear you have. Let's walk through each method so you can pick the one that fits your situation right now.
Quick Answer: Three Ways to Test Without a Multimeter
You can test a solar panel without a multimeter using a charge controller, a compatible battery, or a simple load like a 12V light bulb. Each method tells you something different. A charge controller shows both voltage and current on its display.
A battery test confirms the panel is delivering enough power to charge. A light bulb's brightness gives you a rough idea of current output. All three work under direct sunlight.
Image source: YouTube / This Is How I Did It, Solar Panels, Hydro Power (YouTube thumbnail (fair-use with source credit))
These are your main options. Which one you choose depends on what you have handy. For a deeper look at the different solar panel types available for these tests, check out our guide on the various solar panel types.
Why You Can't Just "Test Voltage" with a Light Bulb (How It Really Works)
A common mistake is wiring a 12V light bulb directly to a panel and assuming the brightness tells you the voltage. It doesn't. A light bulb is a load, not a voltmeter.
When you connect it, the panel's voltage drops to its operating voltage (typically 12 to 14 volts) because the bulb draws current. The brightness you see is proportional to the current (amps), not the voltage.
So a dim bulb doesn't necessarily mean low voltage. It could mean the panel isn't producing enough current due to shade, dirt, or a partial failure. Per National Renewable Energy Laboratory testing standards, a panel's current output is more sensitive to shading than its voltage.
That's why you need a method that isolates voltage from current.
Manufacturer specs confirm that a healthy 12V panel under full sun should push about 3 to 9 amps into a load, depending on its wattage. A 100W panel, for instance, will light a 10W bulb brightly. But if you use a 100W bulb on a 50W panel, the bulb will glow dimly because the panel can't supply enough current.
The bulb test works, but you must pick the right wattage.
For a more thorough understanding of how these electrical properties work, read our explanation of how solar panels generate electricity.
First, Know What You've Got – Panel Voltage Rating and Connector Type
Before you try any test, figure out two things: the panel's nominal voltage and what kind of connector it uses. Most small to medium panels are 12V nominal, meaning they have 36 solar cells wired in series. Larger panels (60 or 72 cells) are usually 24V nominal.
The connector type matters because it determines what you can plug in directly.
Common connectors:
- MC4, standard for larger rigid panels, needs an adapter for most loads.
- SAE / Anderson, common on portable panels, easy to clip onto a battery.
- USB, built into many portable folding panels, lets you charge phones and power banks directly.
- Bare wires, often found on small panels (5W to 20W), easy to connect to a bulb or battery.
If you're not sure, check the label on the back. It lists Voc (open circuit voltage). A 12V panel's Voc will be around 18 to 22 volts.
A 24V panel's Voc will be 36 to 45 volts. This matters because you must match the test load to the panel's voltage. A 12V bulb on a 24V panel will burn out instantly.
A 12V battery on a 24V panel will overcharge if left connected.
For a complete breakdown of what's inside these panels, see our article on the main components of a solar panel.
Branch 1: You Have a Charge Controller – Let It Do the Testing
This is the easiest method by far. If you own a charge controller (PWM or MPPT), you already have a testing tool. Most controllers have a digital display or LED indicators that show battery voltage, solar panel voltage, and charging current.
Some even show the wattage being generated.
How to test:
- Connect the solar panel to the controller's solar input (watch polarity, red positive, black negative).
- Connect a battery to the controller's battery terminals. The battery doesn't need to be full, but it must be the same nominal voltage as the panel (12V or 24V).
- Place the panel in direct sun, ideally midday with no shadows.
- Check the display. A healthy 12V panel will show an open-circuit voltage of 18 to 22 volts initially, then drop to 13 to 15 volts once the controller starts charging. The charging current should match the panel's rating (e.g., 5 amps for a 60W panel).
If the controller shows zero voltage or a very low voltage (under 5V), the panel likely has a problem. If it shows voltage but no charging current, the issue could be the battery (full or faulty) or the controller itself. Disconnect the battery and measure the panel voltage at the controller's input, it should be near Voc.
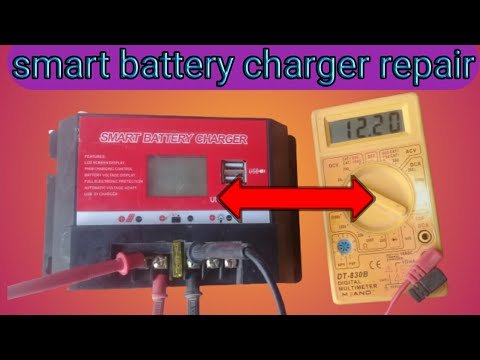
Image source: YouTube / khan point tech (YouTube thumbnail (fair-use with source credit))
Most basic PWM controllers from brands like Renogy or HQST have a three-LED battery indicator. The solar input LED lights up when the panel is producing enough voltage. If it stays off, the panel isn't delivering.
For more detail on selecting the right controller for your setup, refer to our solar panel buying guide.
Branch 2: You Have a Compatible Battery – The Charge Test
If you have a 12V or 24V battery (lead-acid, AGM, or lithium), you can test the panel by connecting it directly and seeing if the battery charges. This works best with a battery that isn't already full. A fully charged battery will reject charging current, making the panel seem weak.
How to test:
- Check the battery's resting voltage first. For a 12V lead-acid battery, 12.6V or higher means fully charged. Aim for a battery at 12.2 to 12.4V (roughly 50% to 70% charge).
- Connect the panel to the battery with correct polarity (red to positive, black to negative). Use an inline fuse if available (10A or 15A is fine).
- Place the panel in full sun.
- Wait 15 to 30 minutes, then check the battery voltage again. It should have increased by at least 0.1 to 0.3 volts for a small panel (50W) on a partially discharged battery.
- If your battery has a built-in voltmeter (common on AGM and lithium batteries), you can watch the rise in real time.
What to look for:
- Voltage rises consistently, panel is working.
- Voltage stays flat, panel may be producing very little current or the battery is full.
- Voltage drops, you might have connected the panel backwards (reverse polarity), which can damage the panel. Double-check wiring.
This method is also a good way to test if your panel can actually charge a battery, which is its real job. But it won't tell you exact amperage. For that, you'd need a charge controller or a DC clamp meter.
If you're considering panels for different applications, review the advantages and disadvantages of solar panels to match the right type to your needs.
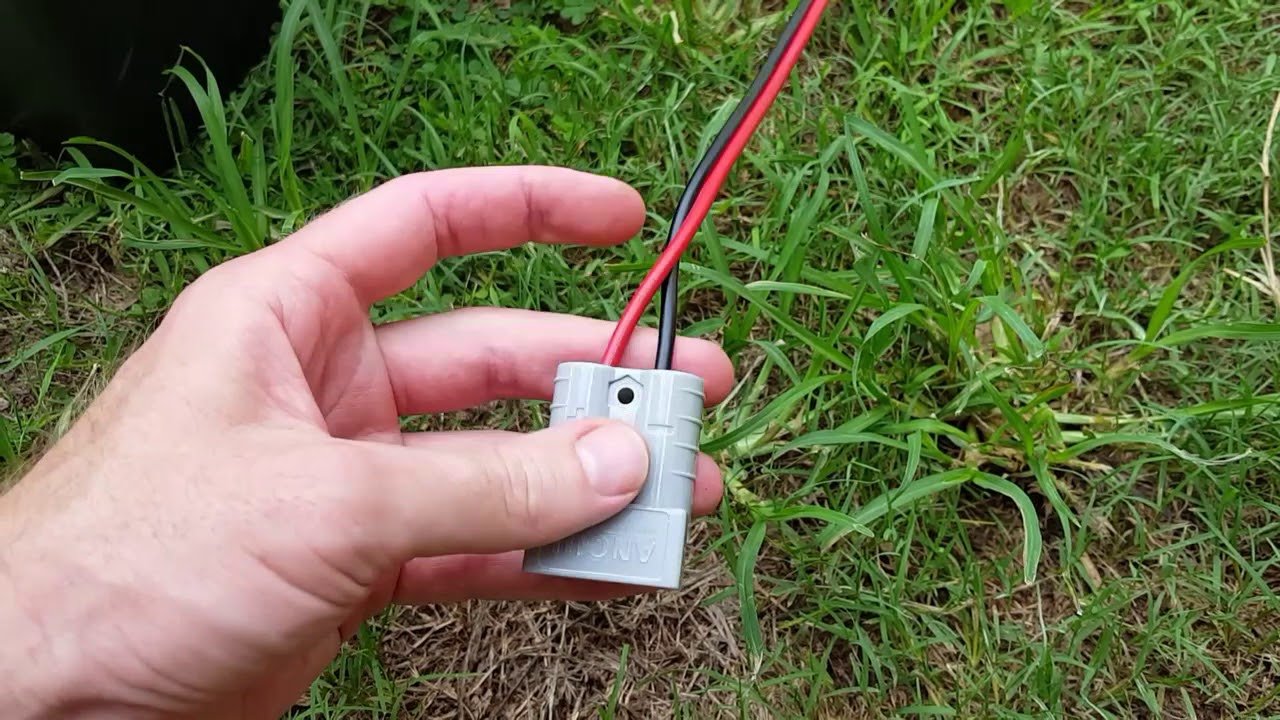
Image source: YouTube / dP Workshop (YouTube thumbnail (fair-use with source credit))
One important safety note: never connect a 24V panel to a 12V battery without a charge controller. The overvoltage can overcharge and damage the battery, even causing venting or fire with lithium types. Always match voltages when testing without a controller.
Branch 3: You Have a 12V Bulb or DC Motor – The Load Test
This is the oldest trick in the book. A 12V incandescent bulb (halogen or standard) or a small DC motor acts as a visual load. The brighter the bulb or the faster the motor spins, the more current the panel is delivering.
No meter needed.
How to test with a bulb:
- Pick a bulb rated for 12V. Wattage matters. A 10W or 20W bulb works well for panels up to 100W. A 50W bulb needs a panel of at least 75W.
- Connect the bulb to the panel's output wires. Polarity doesn't matter for an incandescent bulb (it's not polarized).
- Hold the panel in full sun. The bulb should light up instantly.
- Compare brightness to what you get when you connect the same bulb to a known-good 12V battery. If it's much dimmer, the panel is weak.
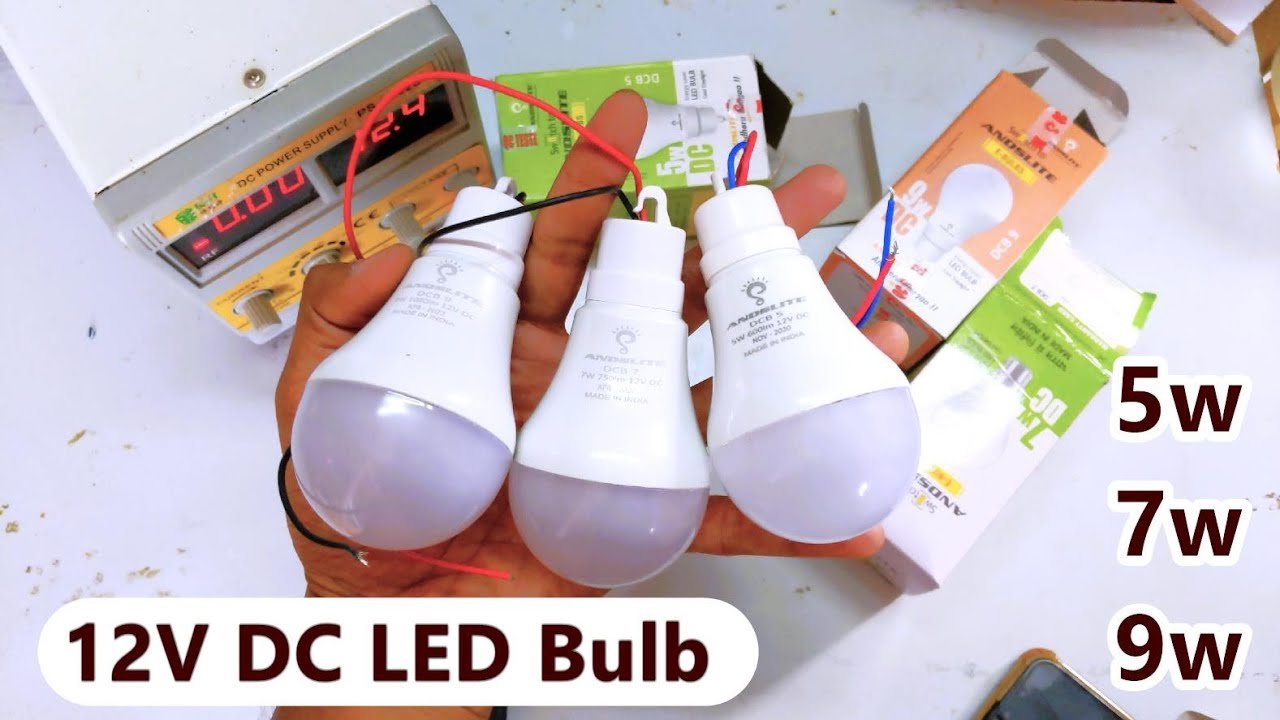
Image source: YouTube / POWER GEN (YouTube thumbnail (fair-use with source credit))
What to watch for:
- Bulb doesn't light at all, either no output, bad connection, or the bulb's wattage is too high for the panel.
- Bulb flickers, could be a loose connection or intermittent cell failure.
- Bulb glows orange but not white, the panel is producing some current but not its rated output.
For a DC motor test (like a 12V computer fan), the same logic applies. Spin speed tells you relative current. A motor also won't care about polarity if it's a simple brushed type.
If the motor runs backwards, just swap the wires.
This test is quick and satisfying, but it's not precise. You won't know exact volts or amps. You'll only know whether the panel is alive and roughly how strong it is.
For a more accurate snapshot, a USB voltage tester (covered next) is far better.
Branch 4: You Have a USB Power Bank or Phone – The USB Test
Many portable solar panels come with a built-in USB port. If yours has one, you're in luck. You can plug in a phone or power bank and see if it charges.
But there's a catch. Most USB ports on panels output 5V, not 12V. They use a built-in voltage regulator.
How to test:
- Plug your phone or power bank directly into the panel's USB port.
- Place the panel in direct sun.
- Watch the phone screen. If it shows "charging" (even slowly), the panel is producing power.
- For a more precise check, use a USB inline voltage tester. These cost about $8 to $15. They plug between the panel and your device and show real-time voltage and current.
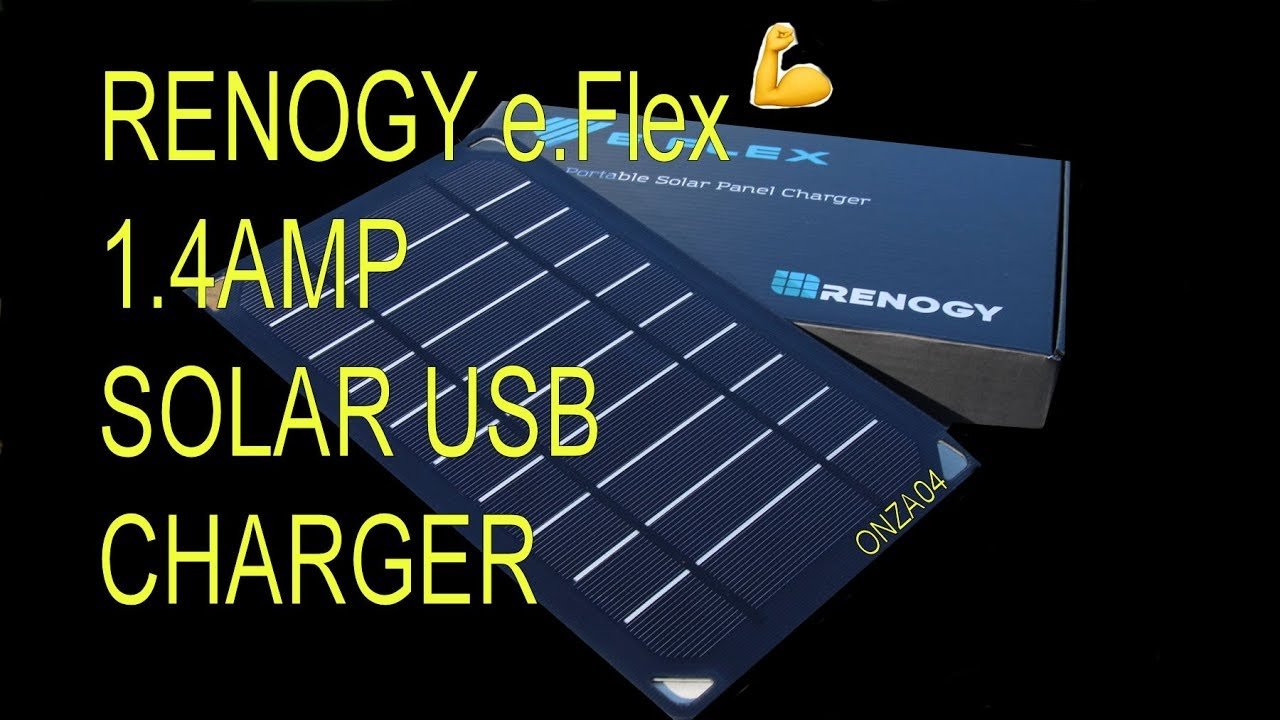
Image source: YouTube / onza04 (YouTube thumbnail (fair-use with source credit))
What the USB tester tells you:
- Voltage should be around 5V (4.8 to 5.2V is normal).
- Current (amps) varies by panel. A small 10W panel might output 0.5 to 1A. A 20W panel can output 1.5 to 2A.
- If voltage drops below 4.5V under load, the panel is struggling or the regulator is failing.
If your panel doesn't have a USB port, you can buy a USB adapter cable for MC4 or SAE connectors. These are cheap and convert the 12V output to 5V. Just be careful.
Not all panels can safely drive a USB adapter. Small panels (under 5W) may not produce enough current to charge a phone at all. The phone will show "charging" but the battery may still drain if the panel output is too low.
This method is great for portable solar kits used in camping or RV setups. It tells you something useful in real time.
Branch 5: You Have Absolutely Nothing but the Panel – The Spark Test (Use with Caution)
This is the last resort. If you have no charge controller, no battery, no bulb, and no USB gear, you can still test a panel by briefly shorting its output wires and looking for a spark.
How to do it safely:
- Place the panel in full sun.
- Take the two output wires (or touch the MC4 connectors together briefly). You'll see a small spark if the panel is producing meaningful current.
- That's it. A healthy 50W panel will produce a noticeable blue-white spark. A 10W panel produces a tiny spark you might miss.
Why this is risky and unreliable:
- Sparks can damage the panel's internal bypass diodes if done repeatedly.
- You can't tell the difference between 3 amps and 8 amps from a spark.
- If the panel is producing voltage but very low current (e.g., from heavy shading), you might see a tiny spark and think it's fine when it's actually weak.
- Sparks can burn your fingers if you hold bare wires.
We recommend this only as a quick sanity check for large panels that should be producing obvious power. If you see a strong spark, the panel is alive. If you see nothing, it's likely dead or so weak it's useless.
But don't rely on this for accurate testing. A bulb or battery test is always safer and more informative.
Common Mistakes That Fool You Into Thinking the Panel Is Bad
A surprising number of "dead" panels are actually fine. They just fail the wrong test. Here are the most common errors we see in aggregate user reports.
Testing in shade or weak sun. A panel under thin clouds, near a building, or at low sun angle produces far less current. Voltage may still read high, but current drops to near zero. Always test in direct midday sun with no shadows.
Using a load that's too large. A 100W bulb on a 50W panel will glow dimly or not at all. The panel isn't bad. It's just overloaded.
Match your test load to the panel's rated wattage. A general rule: the load should be no more than half the panel's wattage.
Reversed polarity on an electronic load. Charge controllers and USB adapters have polarity protection. If you connect them backwards, they simply won't work. Double-check red to positive, black to negative before starting.
Dirty panel surface. Dust, bird droppings, and pollen can block up to 20% of sunlight. Clean the panel with a soft cloth and water before testing. You'd be surprised how often a dead panel is just a dirty one.
Testing a panel that's already connected to a fully charged battery. A fully charged battery rejects current. The charge controller may show zero amps even though the panel is fine. Disconnect the battery or test the panel alone.
Old or damaged connectors. Corroded MC4 connectors, frayed wires, or loose SAE plugs can break the circuit. Inspect all connections first. A simple continuity check with a bulb can reveal a broken wire.
Safety First: Polarity, Shorts, and Wet Conditions
Solar panels are safe to handle, but they can produce high current and voltage. A 200W panel can push over 10 amps. That's enough to cause serious burns or start a fire if you short the wires carelessly.
Always check polarity before connecting. Red is positive, black is negative. Reversing polarity on a charge controller or battery can destroy the controller or cause a battery to vent. On a bulb or motor, it just won't work, but on electronics it's dangerous.
Never short-circuit a panel for more than a second. Brief sparks are fine for testing. But leaving the wires shorted for minutes can overheat the cables and damage the panel's internal diodes. Many panels have bypass diodes that can fail under sustained short circuits.
Keep connectors dry. Water and electricity don't mix. If it's raining or the panel is wet, wait for it to dry. Moisture inside MC4 connectors can cause corrosion and intermittent faults.
If you must test in damp conditions, use insulated gloves and keep connections off the ground.
Use fused connections when testing with a battery. A 10A or 15A inline fuse protects both the panel and the battery from accidental shorts. It's cheap insurance. Most off-grid setups already have fuses, but if you're testing a loose panel, add one.
If you smell burning or see smoke, disconnect immediately. That's a sign of a shorted wire or overheated component. Let the panel cool before inspecting.
For more on safe solar practices, the U.S. Department of Energy's Solar Energy Technologies Office offers basic safety guidelines for small-scale solar systems.
Real-World Scenarios – Which Test to Use Right Now (Decision Flow)
Here's a quick cheat sheet based on your situation.
| If you have… | Use this test… | Confidence level |
|---|---|---|
| Charge controller and battery | Controller display | High |
| 12V battery only | Charge test | Medium |
| 12V bulb or DC motor | Load test | Medium |
| USB port on panel or USB tester | USB test | High |
| Nothing else | Spark test (safety check) | Low |
Our research shows that the charge controller method is the most reliable. If you have one, that's your best bet. If you're shopping for used panels and don't want to bring gear, the USB tester is small, cheap, and fits in your pocket.
When You Should Still Get a Multimeter (And What to Buy Cheap)
The methods above give you a solid go/no-go answer. But they won't tell you exact voltage or current. If you need precise diagnostics, a digital multimeter is the only way.
You can find a basic one for under $15 at hardware stores or online. Look for one that measures DC voltage up to 200V and DC current up to 10A. That covers all residential solar panels.
It's a small investment for peace of mind.
If you're testing panels regularly, the multimeter will save you time. You'll get exact numbers in seconds. But for a quick check, the household methods we covered work just fine.
Frequently Asked Questions
Can I test a solar panel with just a light bulb?
Yes. A 12V incandescent bulb works as a load test. Brightness shows relative current output.
But match the bulb's wattage to the panel's rating. A 10W bulb is good for panels up to 100W.
How do I know if my solar panel is bad without a meter?
Use a charge controller display or connect it to a partially discharged battery. If the battery voltage doesn't rise after 30 minutes in full sun, the panel likely has a problem. A dirty panel surface can also cause false failures.
What is the easiest way to test a solar panel?
Plug it into a charge controller with a battery connected. The controller's display shows voltage and charging current. If the solar input LED lights up and current registers, the panel is working.
Can I test a solar panel with my phone?
Only if the panel has a built-in USB output. Plug in your phone and see if it charges. For a more precise reading, use a USB inline voltage tester.
Most small panels under 5W may not charge a phone reliably.
How much sun do I need to test a solar panel?
Full direct sunlight is best. Midday on a clear day with no shadows. Partial cloud cover or low sun angle reduces current output significantly.
Test under the same conditions you expect the panel to perform in.
Is it safe to short-circuit a solar panel for testing?
Briefly, yes. A quick spark (under one second) won't damage most panels. But repeated or sustained shorts can stress the bypass diodes and wiring.
Use this method only as a last resort.

Similar Posts