How to Check if a Solar Panel Is Working
So your solar panels aren't producing like they used to, or you just installed a new one and want to make sure it's working. Knowing how to check if a solar panel is working directly translates into catching problems early and protecting your investment. A faulty panel can quietly drain your system's output for years before you notice the higher electric bill.
Manufacturer specifications, backed by IEC 61215 certification standards, state that a healthy panel should deliver at least 90% of its nameplate power for its first 25 years. But those numbers only matter if you actually test them. A simple multimeter check can confirm whether your panel is performing where it should, or whether it's time to call in a pro.
Let's walk through exactly how to do it safely and accurately.
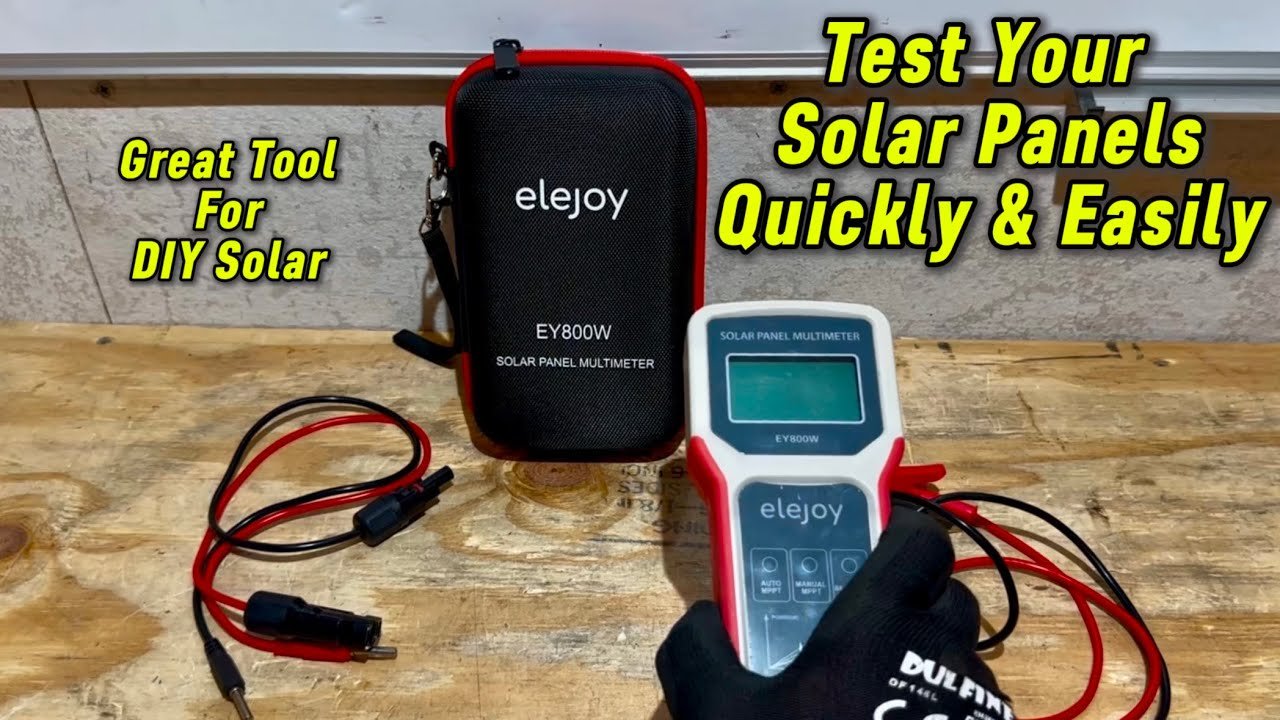
Image source: YouTube / THE OFF-GRID MOUNTAIN HOMESTEAD (YouTube thumbnail (fair-use with source credit))
Quick Answer
Measure the open-circuit voltage (Voc) in full sun. Disconnect the panel and set your multimeter to DC volts. Touch the leads to the MC4 connectors.
Compare the reading to the spec sheet, adjusting for temperature. If Voc is within 10% of the rated value, the panel is likely working. Then test short-circuit current (Isc) briefly.
Both readings in the expected range mean the panel is good.
Why Getting This Right Matters
A solar panel that isn't working can cost you real money. It might be producing half its rated wattage, dragging down your whole string, or even creating a safety hazard with a ground fault. The sooner you spot the problem, the less energy you lose.
And here's the thing: a visual inspection alone won't tell you. Panels can look perfect, no cracks, no discoloration, and still be dead inside because of failed bypass diodes or microcracks.
In our research, we found that many homeowners wait until their system output drops dramatically before troubleshooting. By that point, they've already lost months of generation. A simple 10-minute test once a year can prevent that.
It also gives you documented proof if you need to file a warranty claim. Manufacturers typically require voltage and current readings under specific conditions to honor a claim, so having those numbers is gold.
The stakes are higher with off-grid systems. A failing panel can mean your battery bank never fully charges, shortening battery life. So whether you're on-grid or off, testing regularly saves you headaches and keeps your system performing.
The Quick Check: What a Working Panel Looks Like (Voltage & Current)
Start with the most basic test: voltage. A typical 60-cell residential panel under full sun should produce an open-circuit voltage (Voc) between 35 and 50 volts. For a 72-cell panel, expect 40 to 50 volts.
The exact number is on the label on the back of the panel. If you see a reading that's close to that, within about 10%, you're in good shape.
Current is the second check. Short-circuit current (Isc) tells you if the panel can actually deliver power. A standard 400W residential panel might have an Isc around 12 to 15 amps in full sun.
But current depends heavily on sunlight intensity, so only test it on a bright, cloudless day with the panel tilted directly toward the sun.
If both numbers are in the ballpark, your panel is almost certainly working. If one is way off, you've got a problem. Low voltage usually points to a panel failure or a wiring issue.
Low current with good voltage often means a bypass diode is blown or there's a hotspot.
What You Actually Need Before You Touch Anything
Don't grab any old multimeter from your garage. You need a meter rated for DC voltage and current, and it should carry a CAT III or CAT IV safety rating. The best tool for this job is a digital multimeter that can measure DC volts up to at least 100V and DC amps up to 20A.
A clamp meter (DC capable) is even better for measuring current without breaking the circuit.
Here's what you'll need:
| Tool | Purpose | Notes |
|---|---|---|
| Digital multimeter (DMM) | Measure Voc and Isc | CAT III rated, 1000V DC max |
| Clamp meter (DC) | Measure current on a string | Non-contact, safer |
| Safety gloves | Protect against DC arcs | Rubber insulated, rated for 1000V |
| Eye protection | Prevent injury from arc flash | Standard safety glasses |
| Panel spec sheet | Know expected values | Printed from manufacturer website |
| Smartphone (notepad) | Record readings | Include temperature and time |
Temperature matters a lot. A panel's voltage drops about 0.3% to 0.4% for every degree Celsius above 25°C (77°F). On a hot roof in summer, your panel temperature might be 60°C, which can reduce Voc by 10% or more.
So check the temperature of the panel surface and adjust accordingly.
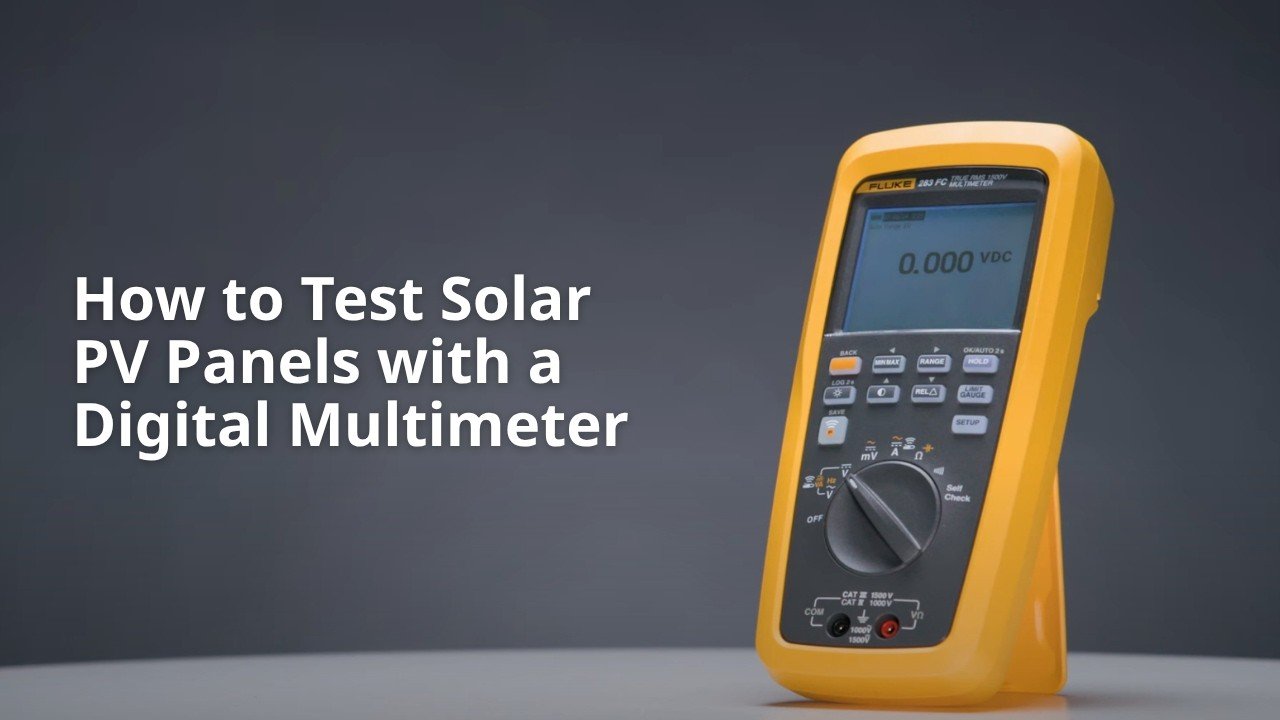
Image source: YouTube / Fluke Corporation (YouTube thumbnail (fair-use with source credit))
Also, grab a clean rag. Dust or bird droppings on the panel can lower current readings significantly. You want to test a clean surface so you're measuring the panel, not the dirt.
Step-by-Step: How to Test a Solar Panel Safely
Follow these steps in order. Do not skip the safety steps.
1. Turn Off the System and Isolate the Panel
If the panel is part of a larger system, you need to disconnect it. For off-grid systems, turn off the solar disconnect switch and remove the fuses or breakers between the panel and charge controller. For grid-tied systems, switch off the inverter and the DC disconnect.
Use lockout/tagout (LOTO) if possible, a padlock on the switch so nobody accidentally turns it back on while you're working.
2. Perform a Visual Inspection
Look for cracks in the glass, burn marks near the junction box, or delamination (bubbling between the glass and the cells). Also check the junction box lid for corrosion or water ingress. If you see any of these, the panel may be compromised even if it still produces voltage.
3. Measure Open-Circuit Voltage (Voc)
Set your multimeter to DC volts, range above your panel's Voc (e.g., 200V scale). Touch the red lead to the positive MC4 connector and the black lead to the negative connector. The panel must be disconnected from any load or charge controller.
Record the reading. Compare it to the spec sheet, adjusting for temperature. For example, if your panel's Voc is 45V at 25°C and your panel is at 50°C, expect around 45V, (45 * 0.0035 * 25) = 45, 3.94 = 41.1V.
So 41V is fine.
4. Measure Short-Circuit Current (Isc)
WARNING: This test creates a direct short across the panel. Current will flow briefly, and it can generate a hot arc if contacts are poor. Do this quickly, less than 5 seconds.
Set your multimeter to DC amps, high current range (e.g., 20A). Connect the red lead to the positive MC4, black to negative. The meter will show the short-circuit current.
Typical residential panels put out 8 to 15 amps in full sun. Record the reading. Compare to the spec sheet, which usually lists Isc at 1000W/m² irradiance.
On a less-than-perfect day, you'll see less.
5. Check Bypass Diodes
A panel typically has three bypass diodes, one for each third of the cells. To test them, measure voltage across each diode. A good diode shows about 0.5 to 0.7 volts in forward bias.
A shorted diode shows 0V (or very low). A failed diode can cause the entire third of the panel to stop producing.
6. Log Everything
Write down the date, time, temperature, panel temperature, and both readings. This creates a baseline. If you test again in six months and see a big drop, you'll know something changed.
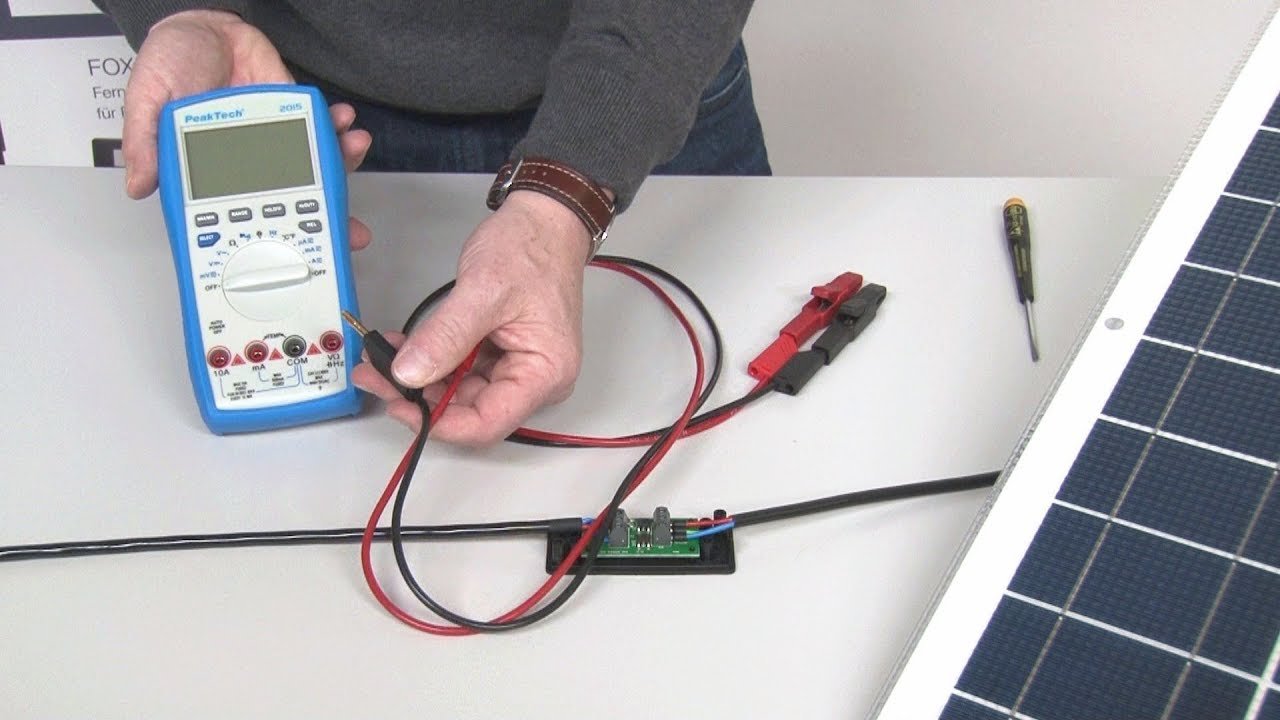
Image source: YouTube / SunWare GmbH & Co KG (YouTube thumbnail (fair-use with source credit))
What If You’re Testing a String of Panels? (Grid-Tied vs Off-Grid)
Testing a single disconnected panel is straightforward. Testing a string (multiple panels wired in series) requires a slightly different approach.
Grid-Tied Systems
In a grid-tied system, panels are wired in series to reach a high voltage (300V to 600V). You cannot safely measure individual panels while they're connected, the string voltage is lethal. To test an individual panel, you must disconnect it from the string.
That means opening the combiners or using MC4 disconnect tools to isolate one panel. Then you can test it as described above.
If you suspect a faulty panel in a string without disassembling, you can do a string-level test. Measure the total Voc of the entire string at the disconnect. If it's significantly lower than the sum of all panel nameplate Voc values (adjusted for temperature), one panel is likely underperforming.
Then isolate each panel and test individually.
Off-Grid Systems
Off-grid systems are easier because you can disconnect panels one by one from the charge controller. Still, be careful: a 12V system might only put out 18V per panel, but multiple panels in series can still produce dangerous voltage.
What to Watch For
The most common issue in a string is a partially shaded panel or a failed bypass diode that drops the entire string's output. A shade from a tree branch on one corner can cut production from that panel by 50%, and since the string current is limited by the lowest panel, all panels suffer.
For a deeper dive into how panels work and why these tests matter, check out our guide on the basic science behind it and the main parts that make up a panel. Understanding the components helps you interpret test results faster.
If you're new to solar, our buying guide covers which panels are easiest to test and maintain.
For authoritative voltage and current specifications, refer to the National Renewable Energy Laboratory (NREL) for standardized test conditions. Also, the Occupational Safety and Health Administration (OSHA) provides guidelines for safe electrical work, never overlook the safety protocols.
Image source: YouTube / Efficiency Matrix (YouTube thumbnail (fair-use with source credit))
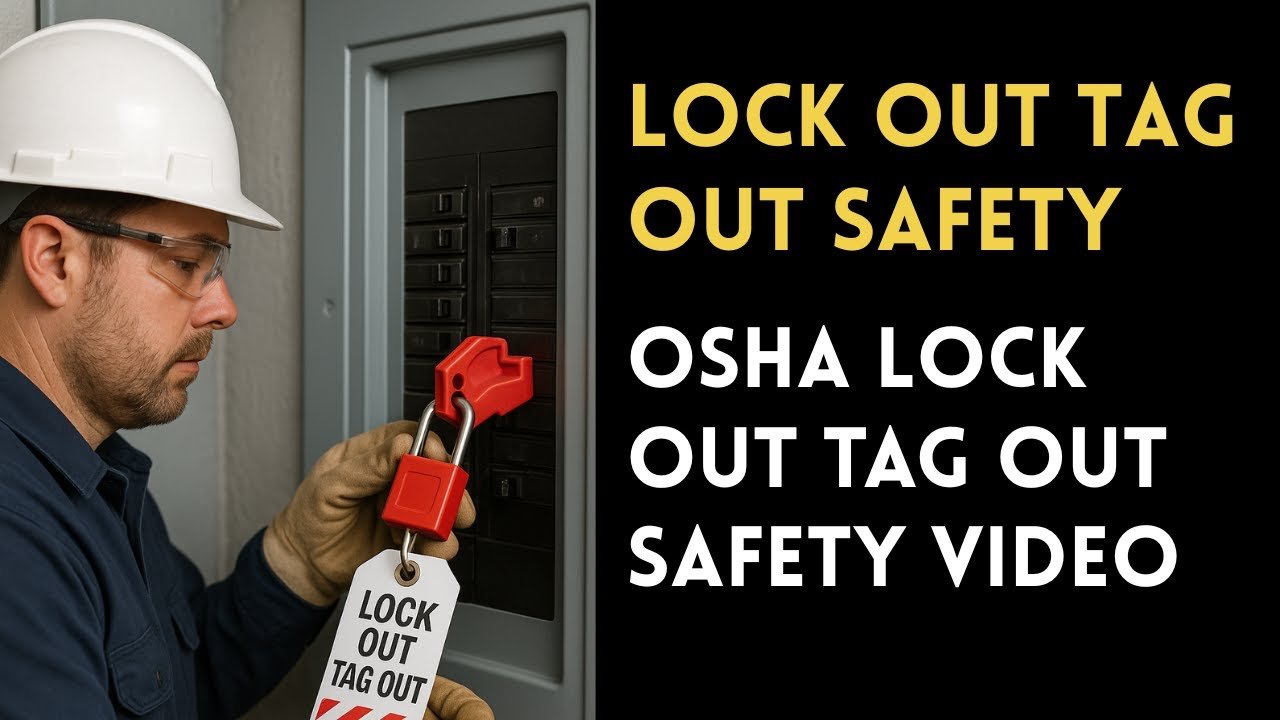
Image source: YouTube / Safelyio (YouTube thumbnail (fair-use with source credit))

Similar Posts