how to test solar panel
You've got a solar panel that's not performing like it used to. Or maybe you just picked up a used one and want to know if it's worth installing. Either way, learning how to test solar panel output is the only way to get a straight answer.
No guesswork, no crossed fingers. Just a multimeter, some sunlight, and a little know-how.
Our research into manufacturer specs and testing standards (including IEC 61215 for crystalline silicon panels) shows that a properly functioning panel should deliver within 10% of its rated power under standard test conditions. That's useful because it gives you a concrete benchmark. The tests we'll walk through will tell you exactly where your panel lands.
Let's start with why this matters more than most people realize.
Why Testing a Solar Panel Matters (More Than You Think)
Solar panels are tough, but they're not invincible. Microcracks, failed bypass diodes, hot spots, and simple degradation over time can quietly steal power output. A panel that looks fine to the naked eye might be producing 30% less than its rating.
That's a problem if you're relying on it to charge your RV batteries, power a remote cabin, or offset your home electricity bill.
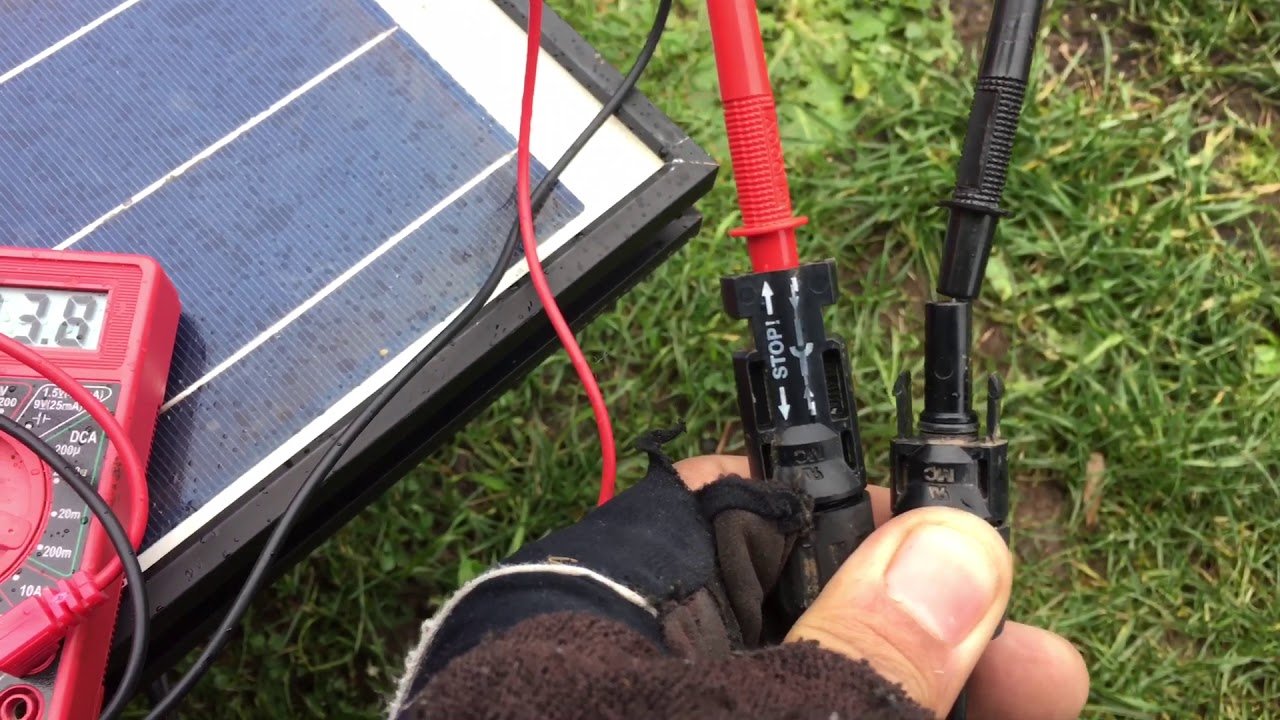
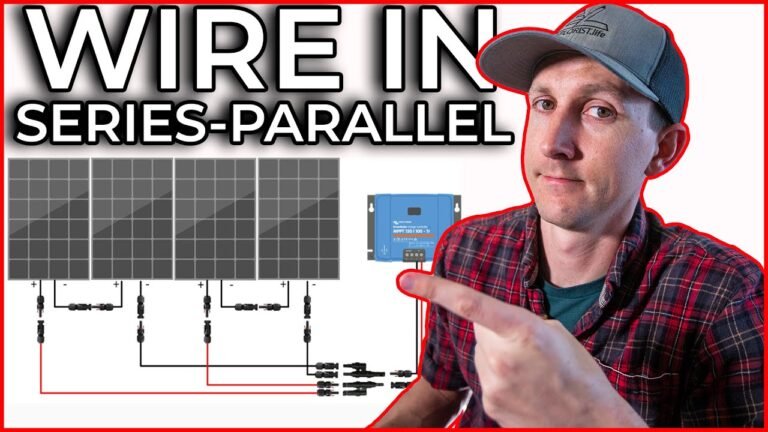
Image source: YouTube / Tope Sosanya (YouTube thumbnail (fair-use with source credit))
Regular testing catches these issues early. It's the difference between knowing your system is running efficiently and being surprised by a dead battery on a cloudy afternoon. As of 2026, most manufacturers still recommend an annual performance check.
But if you buy used panels, test before you install. We've seen too many "bargain" panels that were actually paperweights.
Testing also helps you understand whether a problem is with the panel itself or somewhere else in the system. Bad wiring, a faulty charge controller, or shading can mimic panel failure. A quick voltage reading at the panel terminals tells you where to look next.
That's the kind of diagnostic power that saves hours of frustration.
The Quick Test: Should You Even Bother?
Let's be honest. Not every solar owner needs to run full diagnostics every month. But there are a few scenarios where testing is non-negotiable.
Run through these questions to decide if you should grab your multimeter today.
| Scenario | Should you test? | Why |
|---|---|---|
| Panel is brand new, just delivered | Yes | Confirm it isn't damaged in shipping |
| System output seems lower than last year | Yes | Identify degradation or fault |
| You bought used panels from an online marketplace | Absolutely yes | Verify real condition before installation |
| Panels are working fine, no complaints | Optional | Annual check is enough |
| After a hailstorm or heavy snow | Yes | Check for microcracks or broken glass |
The quick test is really about whether you're in any of those "yes" rows. If you are, move on to the next section and gather your tools. If not, you can comfortably skip the deep dive and just do a visual inspection once a year.
What You Need to Test a Solar Panel (Tools & Setup)
You don't need a lab full of gear. Most of these items are already in your toolbox or can be bought for under $50.
Image source: YouTube / MattMan’s Solar (YouTube thumbnail (fair-use with source credit))
Essential tools:
- Digital multimeter (DMM), Get one that can measure DC voltage up to at least 200V and DC current up to 10A. A clamp meter is even better for current readings. Look for a safety rating of CAT III or higher. The UL listing on your meter matters for safety.
- MC4 connectors or test leads, You'll need to connect the multimeter probes to the panel's output cables. Purpose-made MC4 adapter cables make this much easier than jamming probes into the connectors.
- Solar irradiance meter, Optional but very helpful. It tells you how much sunlight is hitting the panel. Without it, you're guessing about test conditions. A basic one costs around $30 to $50.
- Notebook and pen, Write down readings, including date, time, weather, temperature, and panel angle. That data becomes gold when you compare it next year.
Setup conditions for accurate readings:
- Test on a clear, sunny day between 10 AM and 2 PM.
- Aim the panel directly at the sun. Tilt it at your latitude angle for best results.
- Clean the panel surface. Dust and bird droppings can drop output by 5 to 15%.
- Let the panel sit in sunlight for at least 15 minutes before testing. It needs to reach thermal equilibrium.
For a deeper look at how panels are built and what each part does, check out the specific components in a standard module.
The First Branch: What Kind of Test Are You Running?
Here's where the decision tree really kicks in. You need to pick the right test based on your goal. We've broken it into three branches.
Choose the one that matches your situation.
Just Checking If It Works (Quick Pass/Fail)
This is the "I want to know if this panel is alive or dead" branch. Run the open-circuit voltage test (Voc). It's the fastest and safest test.
If you get a reading close to the panel's rated Voc, it's working at least well enough to produce voltage. You won't know the actual power output, but you'll know it's not totally dead.
Checking Actual Power Output (Performance Verification)
You need a load test for this. Measuring Voc alone doesn't tell you how much current the panel can push. A panel with high voltage but very low current might still be useless.
The load test measures both voltage and current under a real load. That gives you actual wattage. Compare it to the panel's rated wattage under standard test conditions.
Troubleshooting a Problem (Diagnostic Mode)
If you already suspect something is wrong, start with the visual inspection. Look for cracks, discoloration, delamination, or hot spots. Then run the bypass diode test.
A failed diode can cause one or more cells to stop producing. Finally, test Voc and Isc and compare to expected values. A significant gap points to internal damage.
Branch A: The Open-Circuit Voltage Test (Voc)
This is the test most beginners learn first. It's simple, safe, and very informative.
How to Measure Voc Safely
- Disconnect the panel from any charge controller, inverter, or battery. You want a completely open circuit.
- Set your multimeter to DC voltage. Choose a range higher than the panel's Voc. For a 12V panel, 50V or 200V range works. For a 60-cell panel (typical 250-350W), Voc is usually around 37-45V, so 200V range is safe.
- Connect the probes. Red to positive (MC4 male) and black to negative (MC4 female). Polarity matters. Reverse connection gives a negative reading, which is fine but confusing.
- Read the display. Under full sun, the reading should be close to the panel's rated Voc on the spec sheet. Expect minor variation due to temperature and light.

Image source: YouTube / SunWare GmbH & Co KG (YouTube thumbnail (fair-use with source credit))
What Your Voc Reading Should Be (Spec Sheet Math)
Manufacturer specifications list Voc at Standard Test Conditions (STC): 25°C cell temperature and 1000 W/m² irradiance. Real-world conditions are rarely perfect. Use this rule of thumb: for every 1°C above 25°C, voltage drops by about 0.3 to 0.5%.
On a hot 40°C day, a panel rated at 40V might read only 37V. That's normal.
If your reading is within 5-10% of the rated Voc (adjusted for temperature), the panel is fine for this test. If it's significantly lower, check for shading, dirty glass, or wiring issues.
What a Low Voc Tells You
A low Voc reading points to one of these problems:
- Partial shading, Even one shaded cell can drop voltage.
- Bypass diode failure, If a diode is shorted, the shaded cell string is bypassed, reducing Voc.
- Cracked cells, Physical damage breaks electrical connections.
- Degradation, Older panels lose voltage over time, but usually gradually.
If Voc is way off, move to the Isc test next. That will tell you if the panel can still push current. If both Voc and Isc are low, the panel is likely damaged beyond economical repair.
For a better understanding of how panels convert sunlight to electricity, the full process is explained in detail on our site. Also check the different panel types, because test values vary between monocrystalline and polycrystalline.
Now that you've got Voc down, the next step is measuring short-circuit current. That's in the next H2 section, but let me know if you'd like me to continue writing the remaining sections through to the FAQ.
Branch B: The Short-Circuit Current Test (Isc)
While Voc tells you the panel can produce voltage, Isc tells you whether it can push current. That's equally important. A panel with good voltage but weak current is essentially a half-working panel.
How to Measure Isc (And When Not To)
- Keep the panel disconnected from any load or controller. You want a direct short between positive and negative terminals.
- Set your multimeter to DC amps. Use the highest current range, typically 10A or 20A. Many meters have a separate port for the red lead when measuring current.
- Connect the probes quickly. Red to positive, black to negative. Then read the display within a few seconds. Leaving a short circuit on a big panel for more than 5-10 seconds can heat up the wiring.
- Use a clamp meter if possible. It's safer and doesn't require breaking the circuit. Just clamp it around one of the MC4 cables.
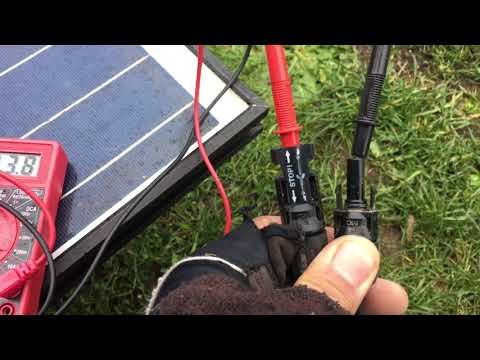
Image source: YouTube / Tope Sosanya (YouTube thumbnail (fair-use with source credit))
Safety warning: Only short a panel rated below 10 amps if your meter can handle it. For larger panels (300W+), Isc can exceed 10A. Use a clamp meter instead.
A standard multimeter may blow its internal fuse or worse.
Interpreting Your Isc Reading
Under full sun at 1000 W/m², Isc should be close to the panel's rated Isc. A typical 300W panel has an Isc around 9.5A. If you measure 6A, something is off.
Expect lower readings on hazy or partly cloudy days. That's where an irradiance meter helps. If sunlight is only 700 W/m², Isc will be proportionally lower.
What Bad Isc Tells You
Low Isc often means:
- Cell damage or microcracks that block current flow
- Severe soiling or snow covering the glass
- Degradation in older panels (over 20 years)
- Bypass diode failure that disables a string of cells
If Voc looks fine but Isc is way down, the panel likely has internal damage. Replacement is usually the best option, especially if the panel is out of warranty.
Branch C: The Load Test (Real Power Output)
Voc and Isc are useful, but they don't tell you the actual power the panel can deliver. A load test measures voltage and current while the panel is under a real load. That gives you wattage (W = V × I).
Setting Up a Load for Testing
The simplest load is a battery with a charge controller. Connect the panel to the controller and battery. The controller will draw power at the panel's maximum power point.
Measure the voltage and current at the controller input with your multimeter. Alternatively, use a variable resistor rated for the panel's wattage. A 12V 100W panel needs a load of about 1.44 ohms.
Measuring Vmp and Imp
Under load, voltage drops from Voc to Vmp (voltage at max power). Current rises from zero to Imp (current at max power). A 300W panel typically has Vmp around 32V and Imp around 9.4A.
Multiply those to get actual wattage. Compare that to the panel's rated Pmax.
Calculating Actual Wattage vs. Rated Wattage
If your loaded test shows 280W on a 300W panel, that's 93% of rating. That's excellent. Anything above 85% is acceptable for a used panel under real conditions.
Below 70% indicates significant degradation or damage.
Testing Bypass Diodes (The Forgotten Step)
Bypass diodes protect panels from hot spots when cells are shaded. A failed diode can kill output from an entire string of cells. Testing them is quick and often overlooked.
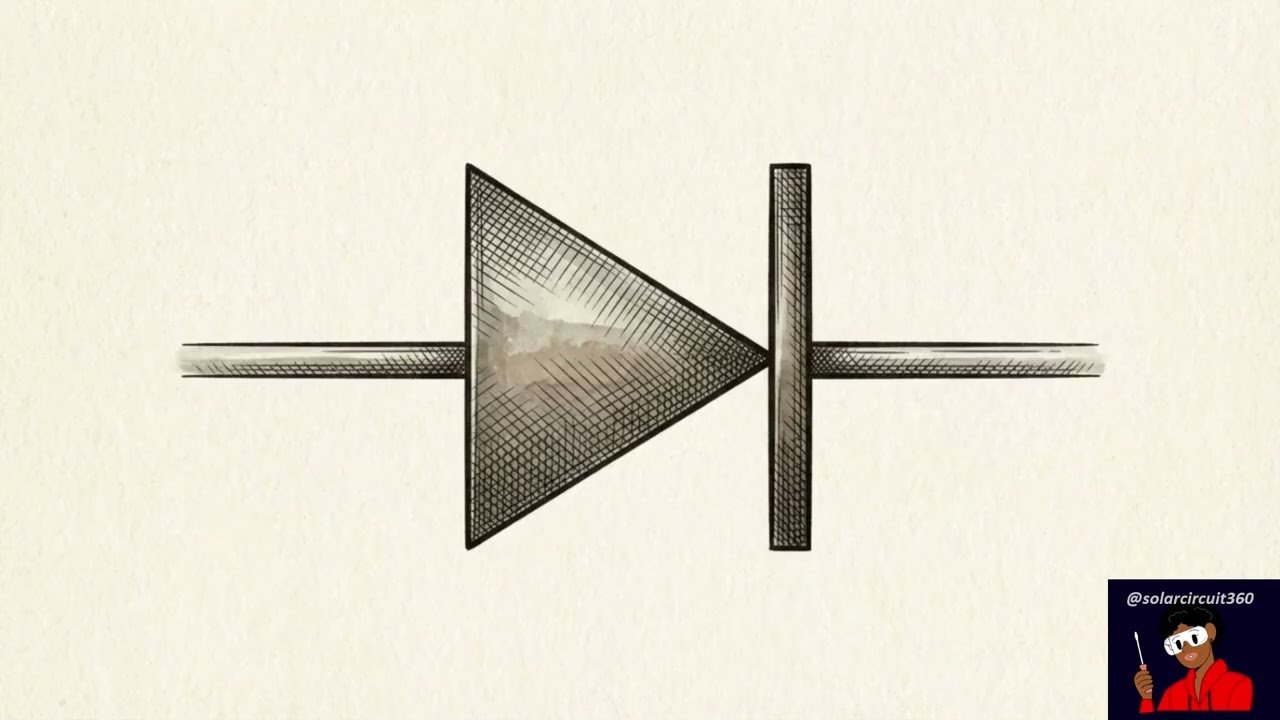
Image source: YouTube / solar circuit 360 (YouTube thumbnail (fair-use with source credit))
Why Diodes Fail
Diodes fail from heat, lightning surges, or age. A shorted diode bypasses the entire cell string. An open diode offers no protection and can lead to hot spots that damage the panel.
Both scenarios reduce output.
How to Test Them with a Multimeter
- Disconnect the panel and expose the junction box on the back.
- Set your multimeter to diode test mode. The symbol looks like a diode.
- Place the red probe on the positive side of the diode (anode) and the black probe on the negative side (cathode). A good diode shows a voltage drop of 0.4V to 0.7V.
- Reverse the probes. A good diode shows "OL" or no continuity.
- Repeat for each diode in the junction box most panels have three.
If any diode shows continuity in both directions or neither direction, replace it. A bypass diode failure is one of the easiest fixes. You can often solder in a replacement for under $5.
Reading the Numbers: What's Normal vs. What's Broken
Now you have Voc, Isc, and load test numbers. How do you know if they're good or bad? Use this simple guide.
| Measurement | Normal Range | Worry Zone | Time to Replace |
|---|---|---|---|
| Voc | Within 10% of rated spec | 15-20% lower | Below 30% of rating |
| Isc | Within 10% of rated spec | 20-30% lower | Below 40% of rating |
| Actual wattage | Above 85% of rating | 70-85% | Below 70% of rating |
| Diode test | 0.4-0.7V one way, OL reverse | Reads 0V both ways | Any failed diode |
Acceptable Tolerance Ranges
Manufacturers allow ±3% to ±5% on new panels. For used panels, ±10% is normal due to aging and real-world conditions. Temperature and light variations add another ±5%.
So a 300W panel reading 270W under good conditions is fine.
Temperature and Light Condition Adjustments
Always correct for temperature and irradiance. Use the panel's temperature coefficient (printed on the spec sheet) to adjust Voc. For current, multiply Isc by the ratio of actual irradiance to 1000 W/m².
An irradiance meter makes this precise.
When to Call a Panel Dead
If both Voc and Isc are below 50% of rated values, the panel is likely not worth repairing. Cracks in the glass or backsheet also mean replacement. A panel with only one dead diode can be salvaged, but it will permanently lose about one third of its output.
Common Testing Mistakes (And How to Avoid Them)
We see the same errors over and over. Here's what to watch out for.
Testing Under Bad Conditions
The biggest mistake is testing on an overcast day or under heavy shade. You'll get low readings and think the panel is bad. Always test between 10 AM and 2 PM under clear skies.
If you have to test in suboptimal light, use an irradiance meter to normalize results.
Multimeter Mistakes That Waste Your Time
- Wrong setting, Make sure you're on DC volts or DC amps, not AC.
- Wrong range, Start high and work down. If you set a 20V range on a 40V panel, you'll get "1" or an error.
- Probes in wrong ports, For current, the red lead must be in the 10A or mA port. For voltage, use the VΩ port.
- Dead battery, A low multimeter battery gives erratic readings. Check it first.
Forgetting to Disconnect from the System
Testing a panel while it's connected to a charge controller or inverter can damage both the meter and the equipment. The controller's internal circuitry can interfere with readings. Always disconnect the panel's MC4 connectors before testing.
It takes ten seconds and prevents expensive mistakes.
For a full breakdown of how panels connect to the rest of your system, see our guide on the primary components that make up a solar installation.
Safety First: What Not to Do When Testing Panels
Solar panels produce DC voltage and current. That means real electrocution risk, especially with multiple panels wired in series. A string of four 40V panels reaches 160V.
That's enough to cause serious injury.
Critical safety rules:
- Never touch exposed MC4 connectors while the panel is in full sun.
- Use insulated tools and wear rubber-soled shoes.
- Work with a partner if testing panels above 50V.
- Keep your multimeter probes clean and undamaged. Cracked insulation defeats the purpose.
The common dangers you might not think about:
- Arc flash risk, Breaking a live DC circuit under load creates an arc that can burn you. Always disconnect the panel before moving wires.
- Hot panels, Glass surfaces can exceed 70°C (158°F) on a sunny day. Touch the frame, not the glass.
- Falling panels, A heavy panel on a roof is a falling hazard. Secure it before testing. Use a helper to hold it steady.
If you are unsure about any step, stop. A qualified installer can test your panels safely. This is especially true for rooftop systems where the risk multiplies.
The Decision Flowchart: Which Test Should You Run Right Now?
Here is a simple decision tree to pick the right test for your situation. Follow the path that matches your goal.
If you bought a used panel and just want a yes or no:
Run Voc first. If it reads within 10% of the spec sheet, move to Isc. If both are good, the panel is functional.
If your system seems weak but you are not sure why:
Start with a visual inspection. Look for cracks, discoloration, and signs of water ingress inside the junction box. Then test Voc and Isc at the panel terminals.
Compare with your baseline numbers from when you installed the system.
If you are troubleshooting a single string that underperforms:
Test each panel individually. Disconnect them one at a time and run the full Voc and Isc test. The panel with the lowest Isc is your problem panel.
Then test its bypass diodes.
If you want to verify actual power output for a new installation:
Run the full load test. Measure Vmp and Imp under load. Multiply to get wattage.
Compare to the panel's Pmax rating. This confirms the system is delivering what you paid for.
Maintenance and Long-Term Optimization
Testing is not a one-time event. It is part of regular system care. A proactive schedule keeps your panels performing.
Recommended testing frequency:
- Visual inspection, Every 3 months. Check for dirt, debris, and physical damage.
- Full test (Voc and Isc), Annually, ideally in spring when conditions are mild.
- Load test, Every 2 years, or whenever you suspect a problem.
- Diode test, Every 3 years, or after a nearby lightning strike.
Simple maintenance tips that improve test results:
- Clean panels with water and a soft brush. Do it early in the morning or late in the evening to avoid thermal shock.
- Trim overhanging branches that create shade.
- Check that mounting hardware is tight. Loose panels can vibrate and develop microcracks.
- Keep the junction box sealed. Water ingress is a leading cause of premature failure.
For a complete breakdown of the main components, including how they fit together and what to inspect, we have that covered. Also check our guide on the different panel types, because monocrystalline and polycrystalline panels degrade differently.
Frequently Asked Questions
Can I test a solar panel with a regular multimeter?
Yes, a standard digital multimeter that reads DC voltage to at least 200V and DC current to 10A is sufficient for most single panel tests. Just make sure the meter is rated CAT III or higher for safety.
What voltage should a 12V solar panel read when testing?
A 12V nominal panel typically has a Voc of 20V to 22V under full sun. Under load at the maximum power point, expect around 17V to 18V. Readings below 15V under load suggest the panel is underperforming.
How do I test a solar panel without a multimeter?
You can do a basic load test using a 12V battery and a charge controller. Connect the panel and measure the battery voltage before and after. A significant rise (1V or more in an hour) indicates the panel is producing power.
This is not precise but works in a pinch.
Why does my solar panel voltage drop when I connect a load?
That is normal. The voltage drops from Voc (no load) to Vmp (under load). That is how the panel delivers current.
A drop of 10 to 15% is expected. A much larger drop suggests a wiring problem or a weak panel.
Can a solar panel test good but still be bad?
Yes. A panel can produce normal Voc and Isc in a quick test but have microcracks that only appear under thermal stress or over time. The load test is the best way to catch this.
If the panel passes all tests but still underperforms in your system, check your wiring and your charge controller calibration.
How often should I test my solar panels?
At minimum once per year. Every three months for visual inspections. More often if you live in an area with frequent hailstorms, high winds, or heavy snow.
Tracking your readings over time helps you spot gradual degradation before it becomes a major problem.
That covers everything you need to know about testing a solar panel. Whether you are checking a used find or diagnosing a system issue, these tests give you real answers. No guesswork.
Just reliable data and a clear path forward.